How to Add Vector Assets in Android Studio?
Last Updated :
18 Apr, 2021
Vector Assets in Android Studio helps to add material icons and import Scalable Vector Graphics and Adobe Photoshop Document files into your project as vector drawable resources.
How Vector Asset is different from Image Asset?
Image Asset Studio helps us create different types of icons with different densities and shows us exactly where they’ll be placed in our project. It includes tools for adjusting our icons and adding backdrops, all while displaying the result in a preview pane, so they appear exactly as we intended. Vector Asset Studio helps to add a vector graphic to our project as an XML file that describes the image.
Problem using PNG’s
The PNG format can surely handle high-resolution photos. PNG format is a lossless web format. Hence, file sizes tend to get very large. If we want to work with photos on the web, we should always try to continue with JPEG. And the main issue for printing a .png file is its inherent color profile. The colors of the images may be a little dull since the printer has to interpret a different color language. Each PNG asset which we use is a certain density specific. Therefore, we have to deal with different versions of the same image for different screen sizes. To get rid of such problems we use vector assets.
Bitmap vs Vector
There are the following differences between Bitmap and Vector:
- Bitmap uses pixels while vector uses geometric shapes.
- Bitmap images are comparatively larger than vector images.
- Bitmap type is suitable for photographs while vector type is suitable for logos, clip arts, and icons.
- Resizing the images affects the resolution in the case of Bitmap images which resolution is preserved in Vector images.
- Bitmap images can be edited using Adobe photograph while Vector images can be edited using Adobe Illustrator.
Benefits of Vector Assets
Image scalability is the major advantage of using the vector drawable. The same file can be resized for different screen sizes without loss of image quality which results in smaller APK files and less developer maintenance. We can also use vector images for animation.
How do vector assets render?
The vector assets are first compiled to binary format at compile time and then at runtime. Next, the application is needed to load this up, generates a model object from binary code, and perform some canvas operations to draw the individual paths to the screen.
Vector Formats
There are the following vector file formats:
- .ai: abbreviation for Adobe Illustrator which is commonly used to print media and digital graphics.
- .eps: abbreviation of Encapsulated PostScript which doesn’t support transparency in the way .ai format does.
- .pdf: abbreviation of Portable Document Format which is built for the exchange of documents across platforms.
- .svg: The Scalable Vector Graphics format is based on XML. It’s useful for the web, where it can be indexed, searched, and scripted.
Step by Step Implementation
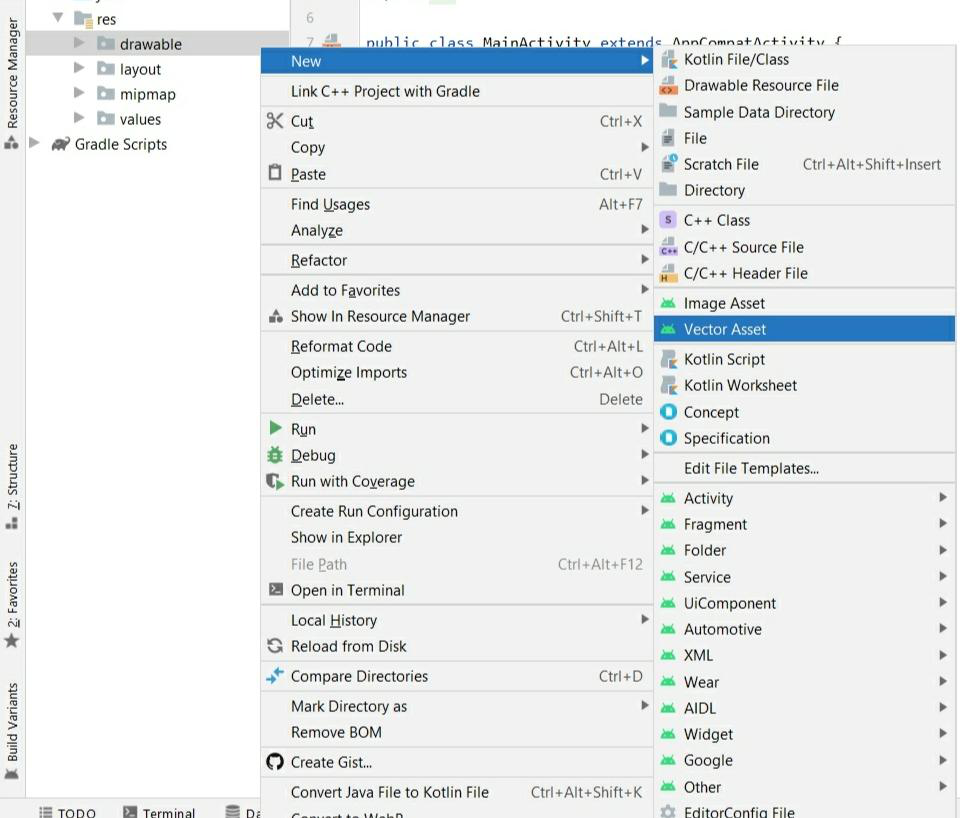
Step 1: Right-click on drawable > New > Vector Asset
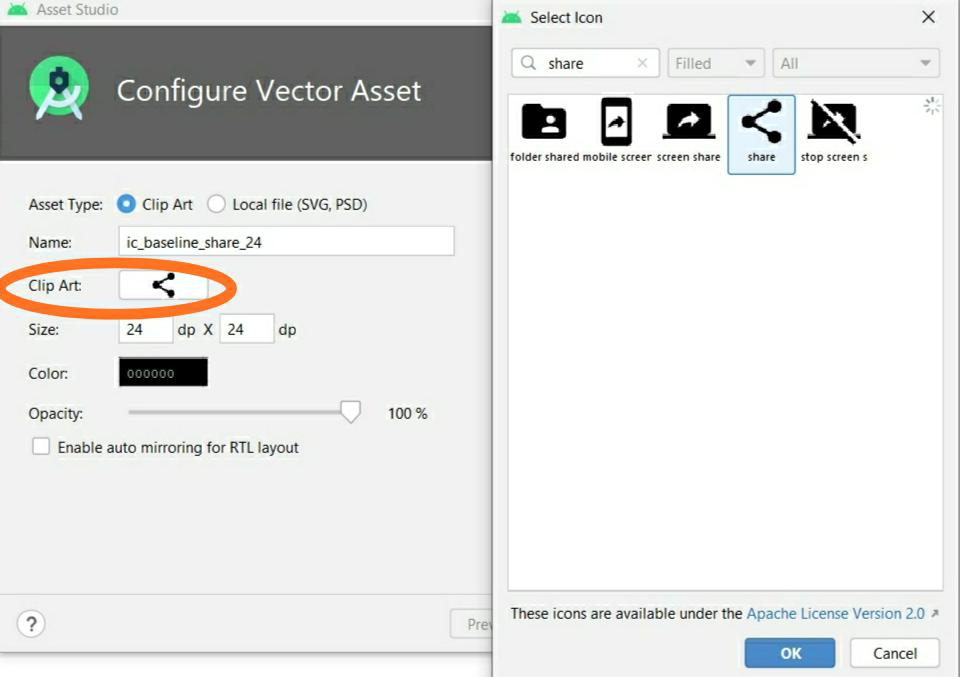
After clicking on Vector Asset a new dialog box is opened that is shown below.
Step 2: Click on Clip Art and Search for the Icons and click ok button
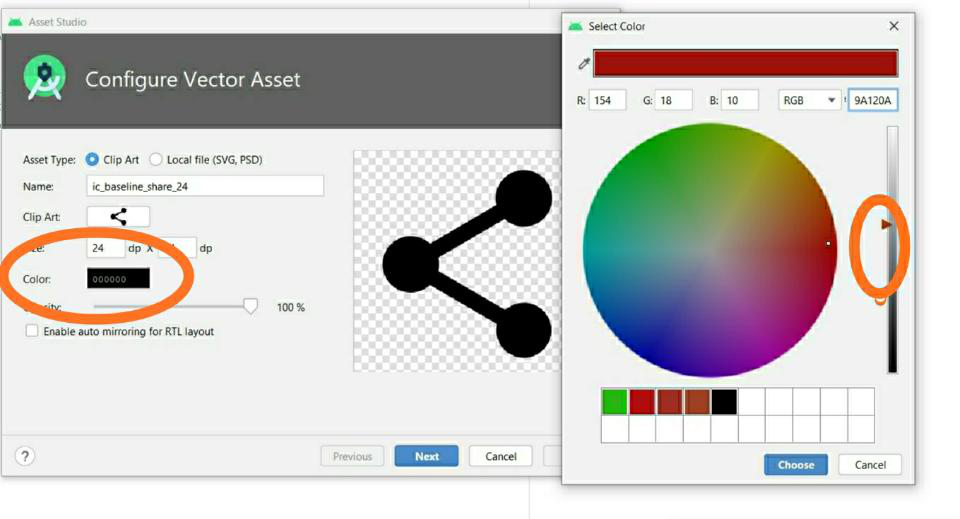
Step 3: Change the color of the icon
Icon color can be changed either by directly adding color code or by adjusting the color using brightness and then click on choose button.
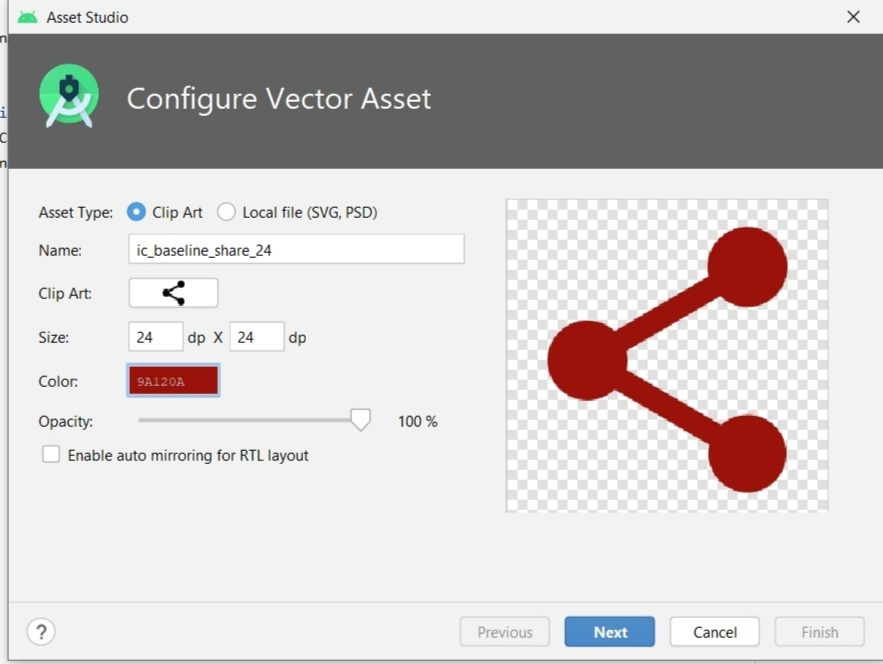
Step 4: Click Next
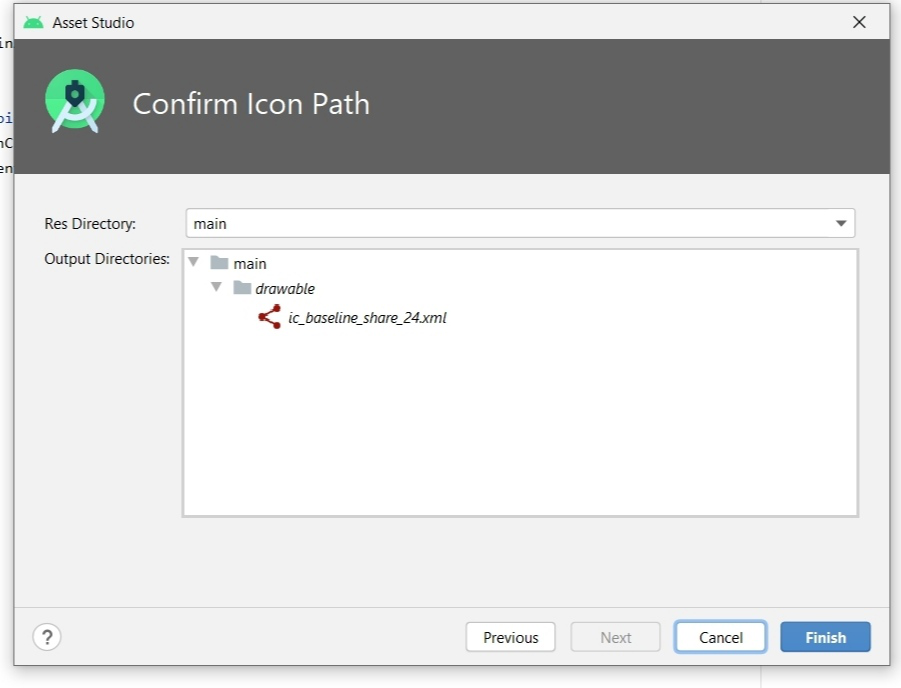
Step 5: Now Click on Finish Button
Step 6: Icon is created in the drawable folder as shown in the image

Like Article
Suggest improvement
Share your thoughts in the comments
Please Login to comment...