How to add moving platforms in PyGame
Last Updated :
15 Dec, 2022
Prerequisite: Drawing in Pygame
In this article, we will learn how we can add moving platforms to our game using PyGame in Python.
Creating a Platform
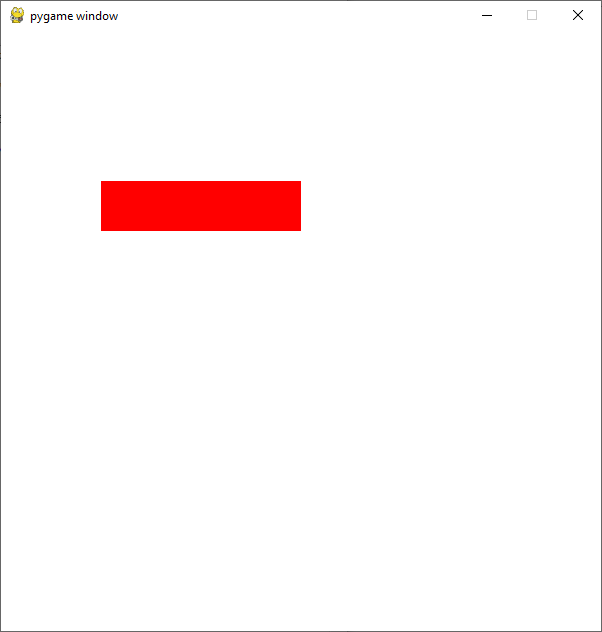
We can easily create any type of platform in pygame using the draw( ) method. For this, we will create react with specific width and height using the draw.rect() function.
Syntax: pygame.draw.rect(surface, color, rect, width)
Parameters:
- surface : Here we can pass the surface on which we want to draw our rectangle.
- color : Here we can pass the color for our rectangle.
- rect : Here we can pass the rectangle, position, and dimensions.
- width : Here we can pass the line thickness. we can also create a solid rectangle by changing the value of this width parameter.
Code:
Python3
import pygame
from pygame.locals import *
pygame.init()
window = pygame.display.set_mode((600,600))
clock = pygame.time.Clock()
x = 100
y = 150
rect = Rect(x, y, 200, 50)
run = True
while run:
clock.tick(30)
pygame.draw.rect(window, (255, 0, 0),rect)
pygame.display.update()
window.fill((255,255,255))
|
Output:
Moving the Platform
To move the platform we can create a velocity variable with some numeric value and we can add that velocity to the x coordinate of our platform. After that, we will multiply the velocity variable with -1 if its x coordinate is less than 100 or greater than or equal to 300.
Code:
Python3
import pygame
from pygame.locals import *
pygame.init()
window = pygame.display.set_mode((600,600))
clock = pygame.time.Clock()
platform_vel = 5
x = 100
y = 150
rect = Rect(x, y, 200, 50)
run = True
while run:
clock.tick(30)
if rect.left >=300 or rect.left<100:
platform_vel*= -1
rect.left += platform_vel
pygame.draw.rect(window, (255, 0, 0),rect)
pygame.display.update()
window.fill((255,255,255))
|
Output:
Adding Player Sprite and Collision
Now we are going to add our player and collision between our player and platform. For this, we are using colliderect() method.
Syntax: pygame.Rect.colliderect(rect1 , rect2)
Parameters: It will take two rects as its parameters.
Returns true if any portion of either rectangle overlap.
If the player is colliding with the platform then we will set the coordinate of player bottom equal to the top of the platform and then we will add the platform velocity. We are also creating a gravity variable.
Code:
Python3
import pygame
from pygame.locals import *
pygame.init()
window = pygame.display.set_mode((600,600))
clock = pygame.time.Clock()
platform_vel = 5
x = 100
y = 150
player_x = 180
player_y = 0
gravity = 8
player_rect = Rect(player_x, player_y, 50, 50)
rect = Rect(x, y, 200, 50)
run = True
while run:
clock.tick(30)
if rect.left >=300 or rect.left<100:
platform_vel*= -1
collide = pygame.Rect.colliderect(rect, player_rect)
if collide:
player_rect.bottom = rect.top
player_rect.left += platform_vel
rect.left += platform_vel
player_rect.top += gravity
pygame.draw.rect(window, (255, 0, 0),rect)
pygame.draw.rect(window, (0, 255, 0),player_rect)
pygame.display.update()
window.fill((255,255,255))
|
Output:
Like Article
Suggest improvement
Share your thoughts in the comments
Please Login to comment...