How to Add Local HTML File in Android Studio?
Last Updated :
18 Feb, 2021
HTML stands for HyperText Markup Language. It is used to design web pages using a markup language. HTML is the combination of Hypertext and Markup language. Hypertext defines the link between the web pages. A markup language is used to define the text document within the tag which defines the structure of web pages. HTML is a markup language that is used by the browser to manipulate text, images, and other content to display it in the required format. Some basic characteristics of HTML are given below:
- Easy to understand: It is the easiest language you can say, very easy to grasp this language, and easy to develop.
- Flexibility: This language is so much flexible that you can create whatever you want, a flexible way to design web pages along with the text.
- Linkable: You can make linkable text like users can connect from one page to another page or website through these characteristics.
- Limitless features: You can add videos, gifs, pictures, or sound anything you want that will make the website more attractive and understandable.
- Support: You can use this language to display the documents on any platform like Windows, Linux, or Mac.
The structure of the HTML document are given below:
HTML
<!DOCTYPE html>
<html>
<head>
<title> </title>
</head>
<body>
</body>
</html>
|
Android Studio is the official integrated development environment for Google’s Android operating system, built on JetBrains’ IntelliJ IDEA software and designed specifically for Android development. In Android, we usually need HTML files for displaying the content in WebView. If the developer wants to add any website page or want to create a local webpage for the app then it could be done using HTML files. In this article, we are going to will show how to add a local HTML file in Android Studio. We can do it using two methods.
Method 1
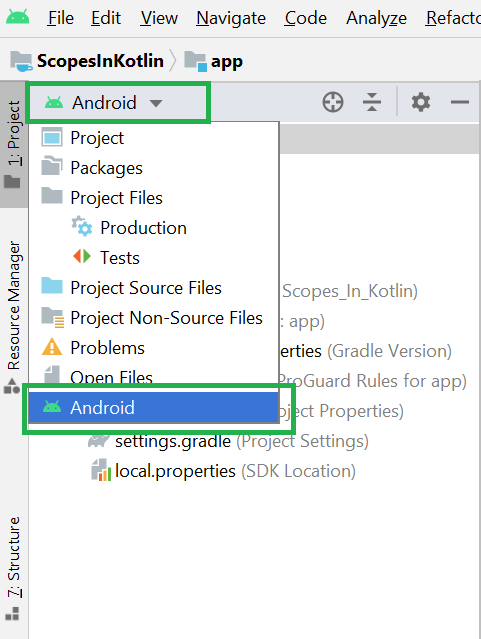
Step 1: To add a local HTML file into your Android project there must be an asset folder in it. To create an asset folder in Android studio open your project in Android mode first as shown in the below image.
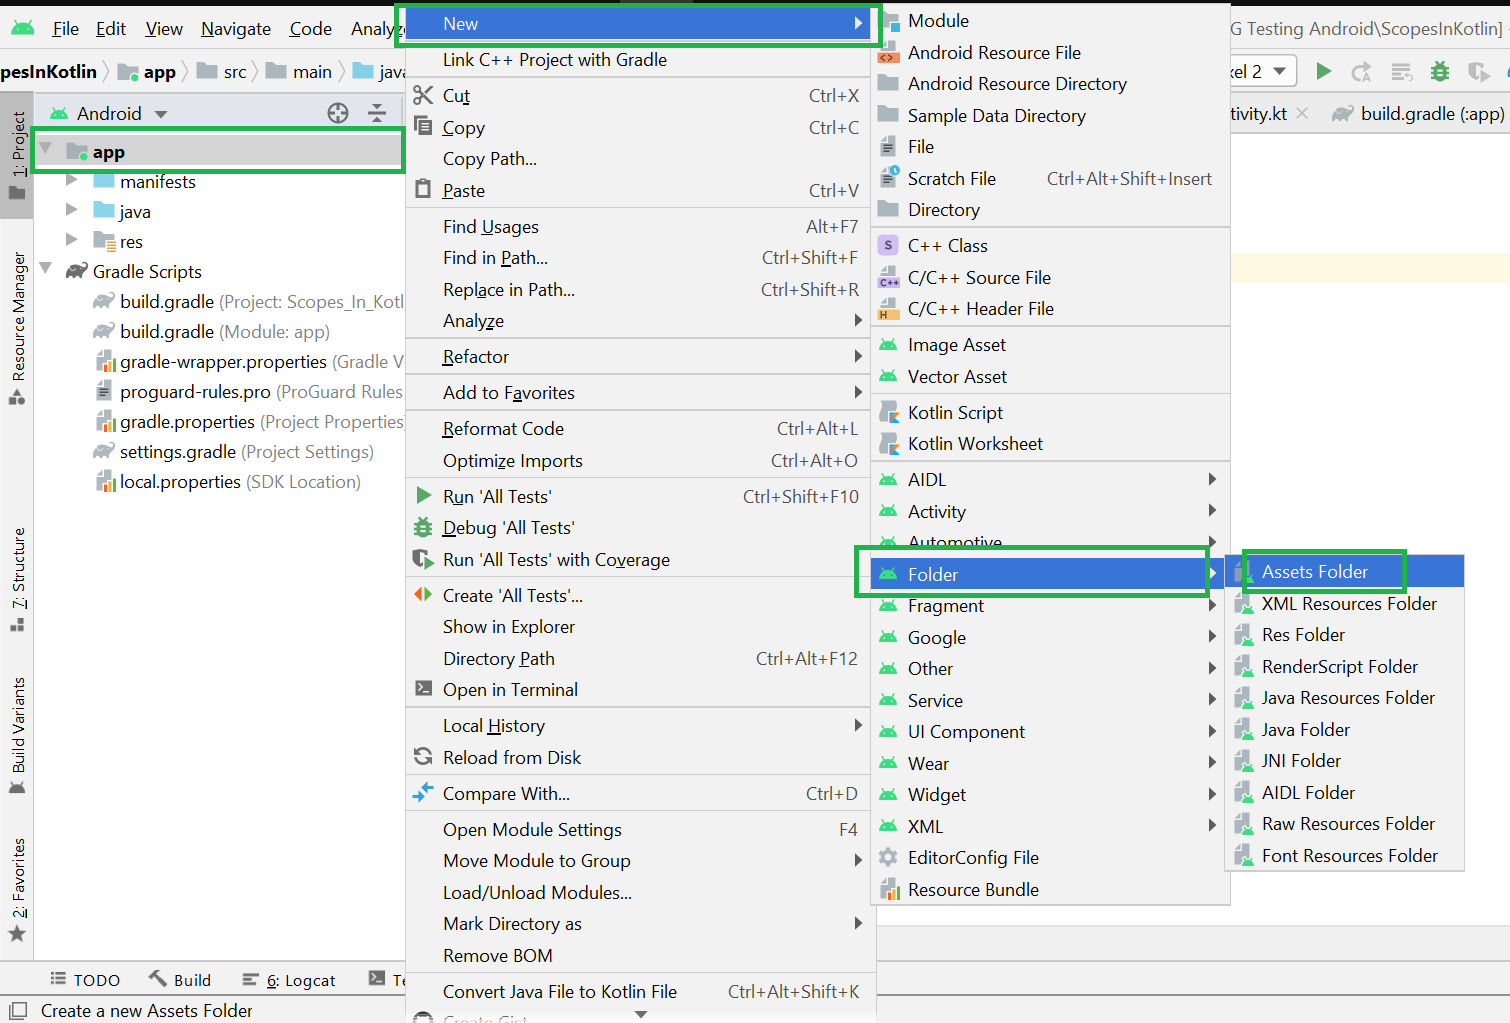
Step 2: Go to the app > right-click > New > Folder > Asset Folder and create the asset folder.
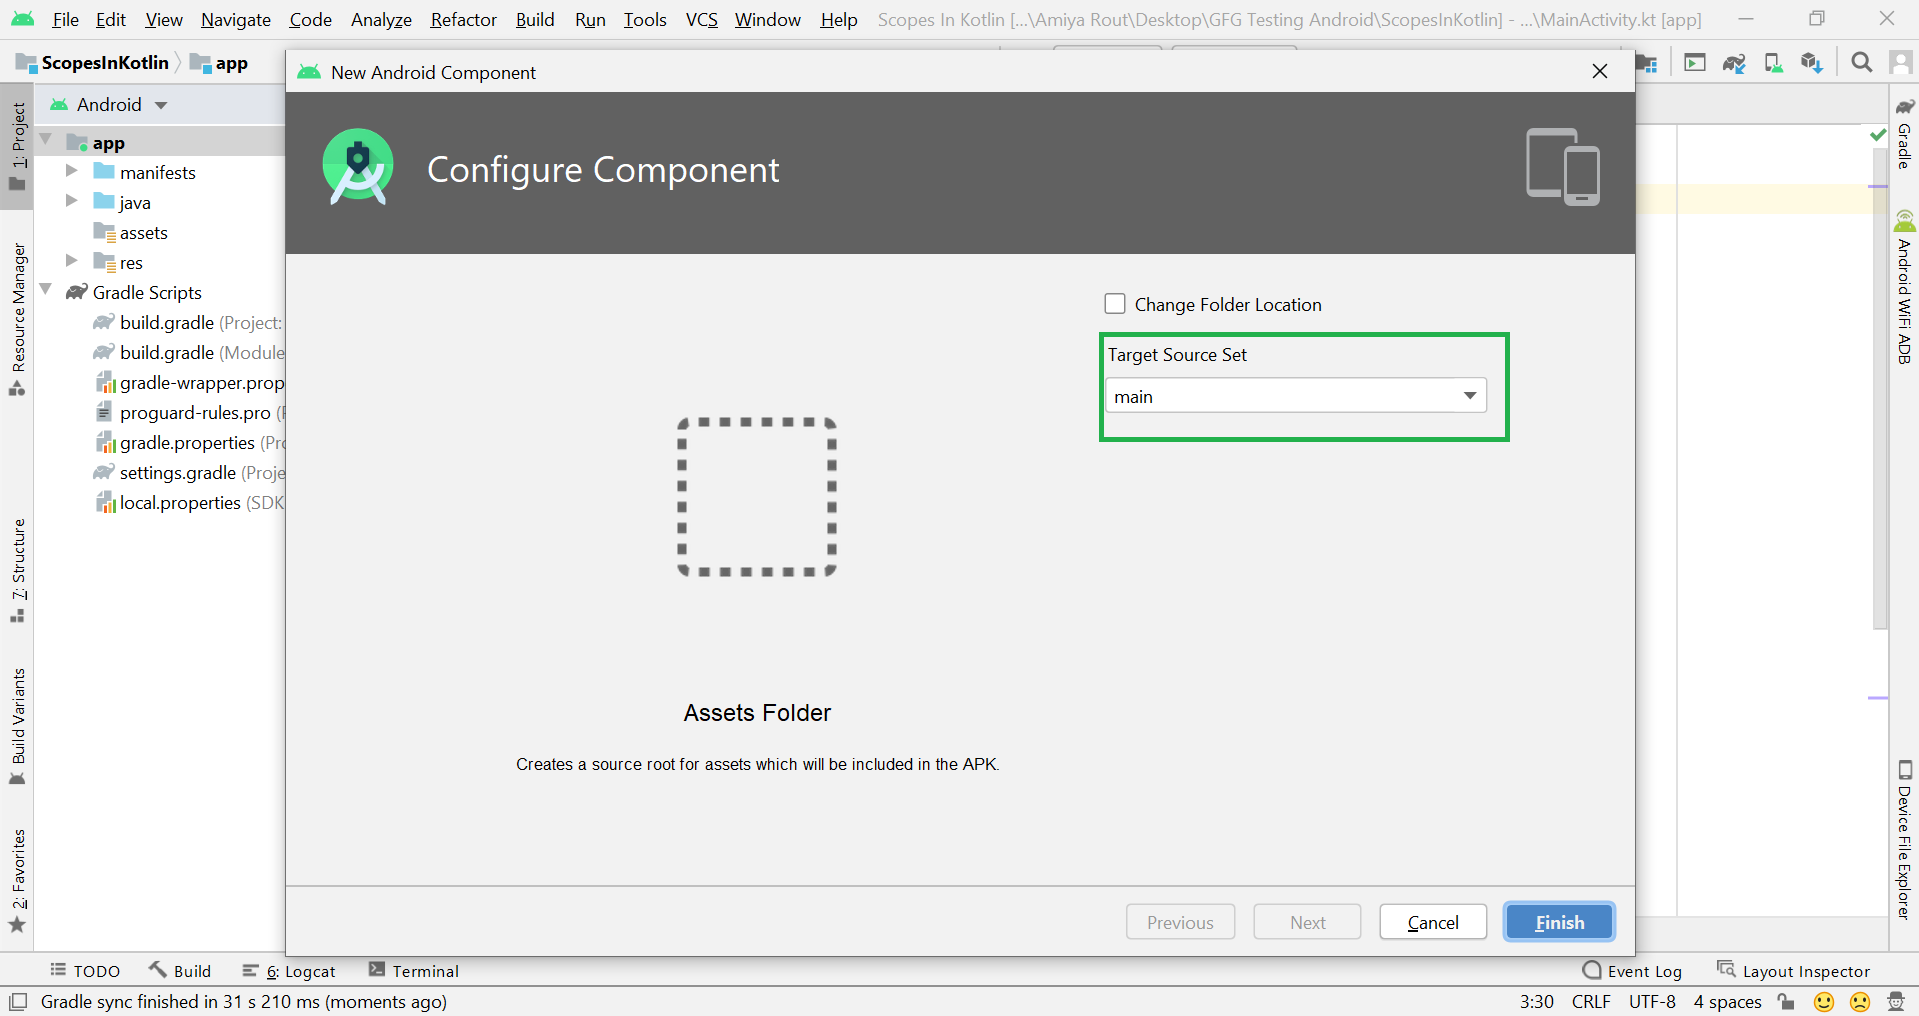
Step 3: Android Studio will open a dialog box. Keep all the settings default. Under the target source set, option main should be selected. and click on the finish button.
Step 4: The asset folder has been created as shown in the below image. Go to assets > right-click > New > File and a dialog box will pop up.

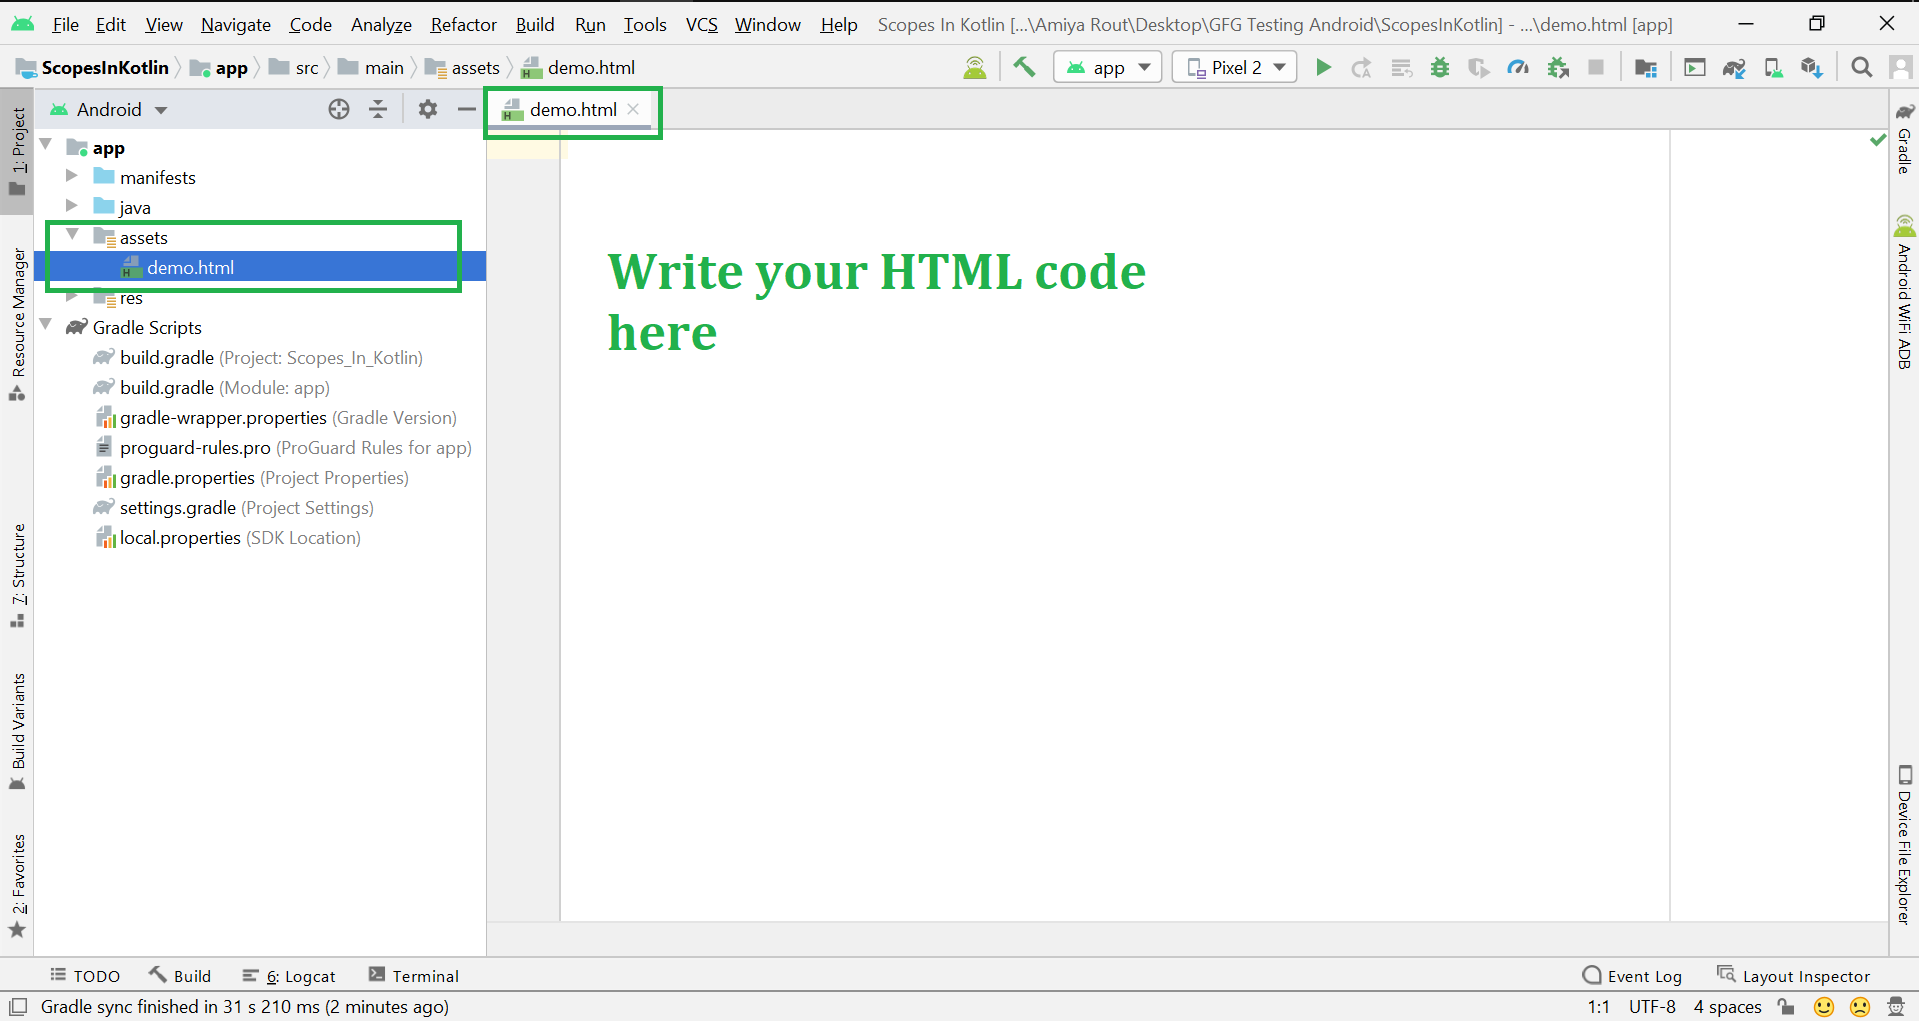
Step 5: Provide a name to your file as shown below. For example “demo.html“.

Step 6: Now your HTML file has been created as shown in the below image. You may write your HTML code inside the code section.
Method 2
Method 2 is very easy to implement. You have to just follow two simple steps as follows:
- Step 1: Create an HTML page anywhere on your PC and then copy the required HTML files.
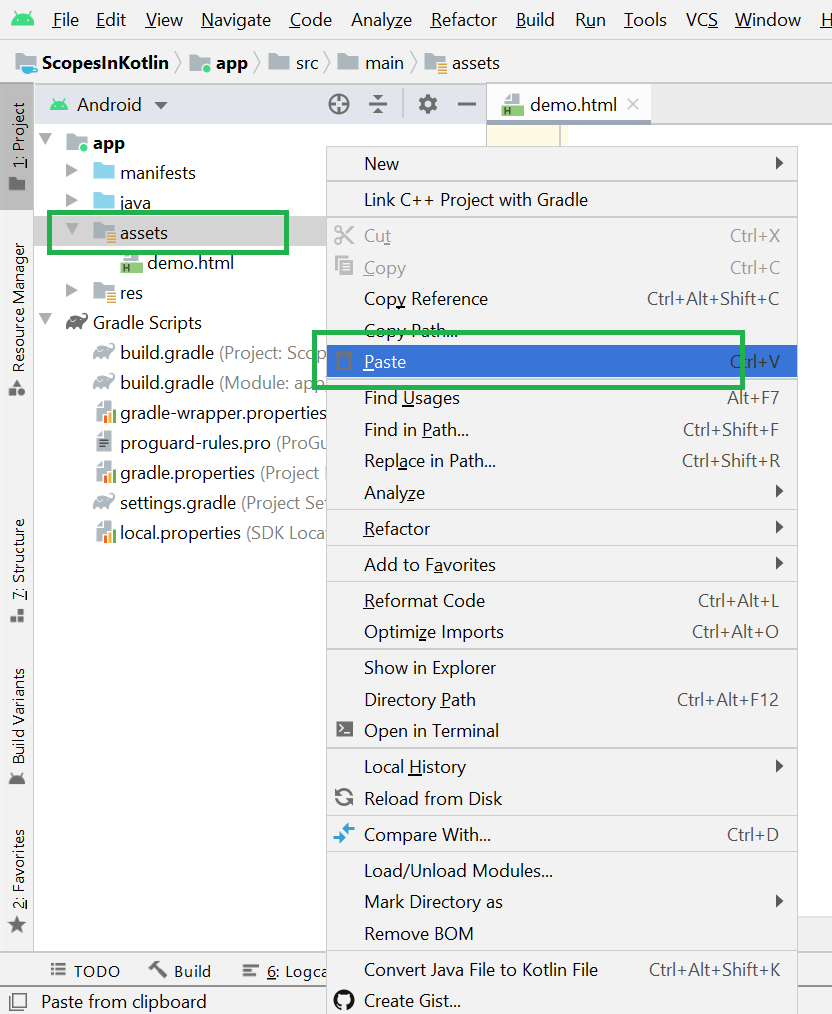
- Step 2: Paste it inside the assets folder by right-clicking on the assets folder as shown in the below image.
Like Article
Suggest improvement
Share your thoughts in the comments
Please Login to comment...