How to Add External Library in Android Studio?
Last Updated :
05 May, 2021
Android Studio is the official IDE (Integrated Development Environment) for Android app development and it is based on JetBrains’ IntelliJ IDEA software. Android Studio provides many excellent features that enhance productivity when building Android apps. In this article, we will learn how to add external libraries to our android project.
Method 1: Copy external library to the libs folder
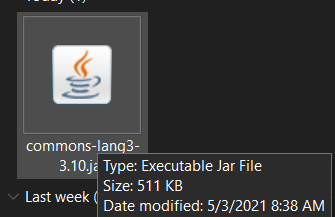
Let us have an external library that we want to use in our project i.e a jar file.
Create a new project named GFGAddLib.
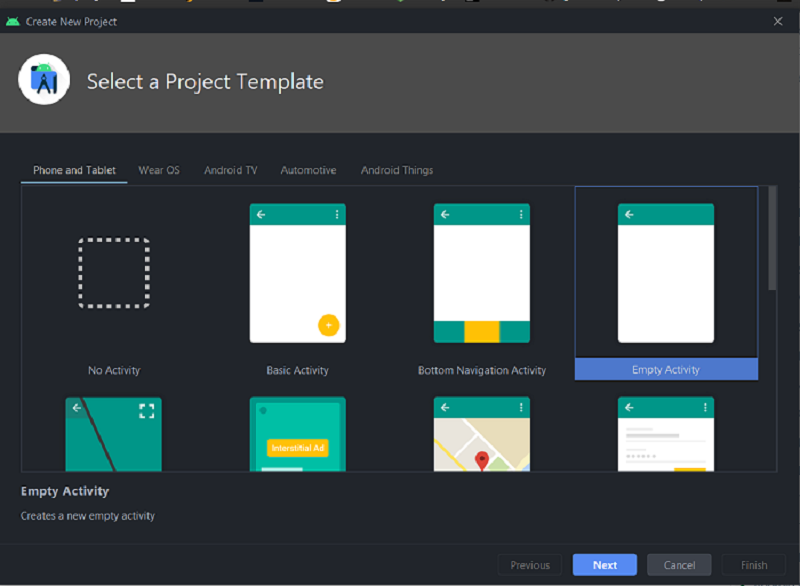
Now, our project has been created.
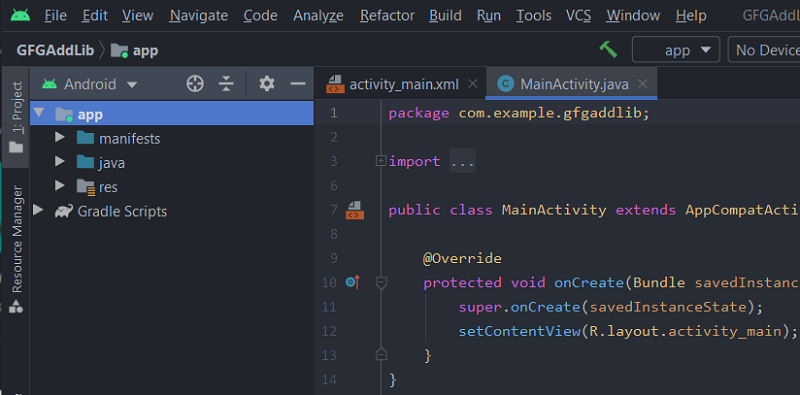
Now click on the Android drop-down and change to Project files.
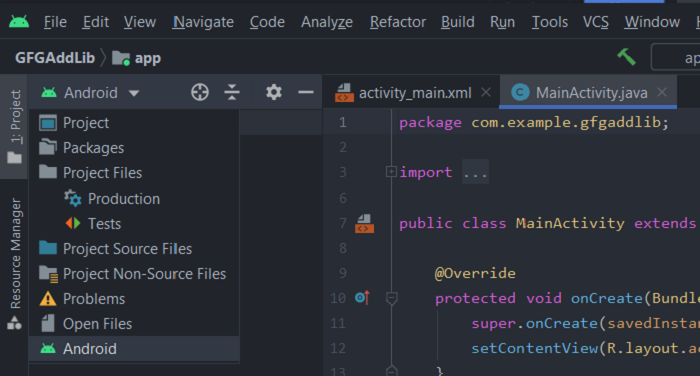
Click on Project files.
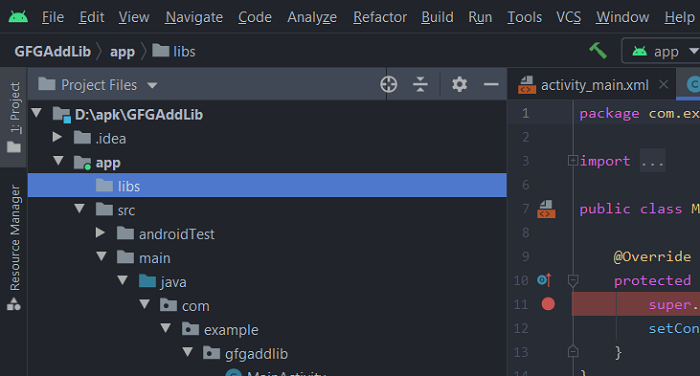
Copy the jar file to the libs folder.
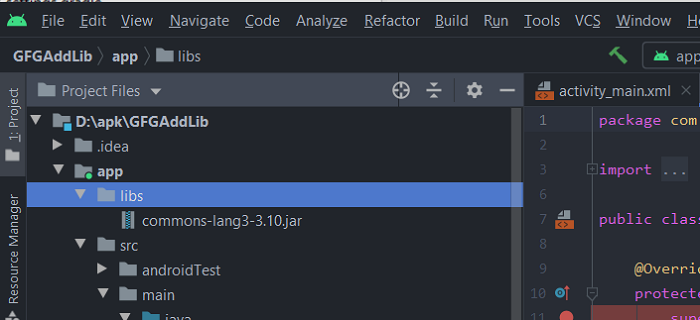
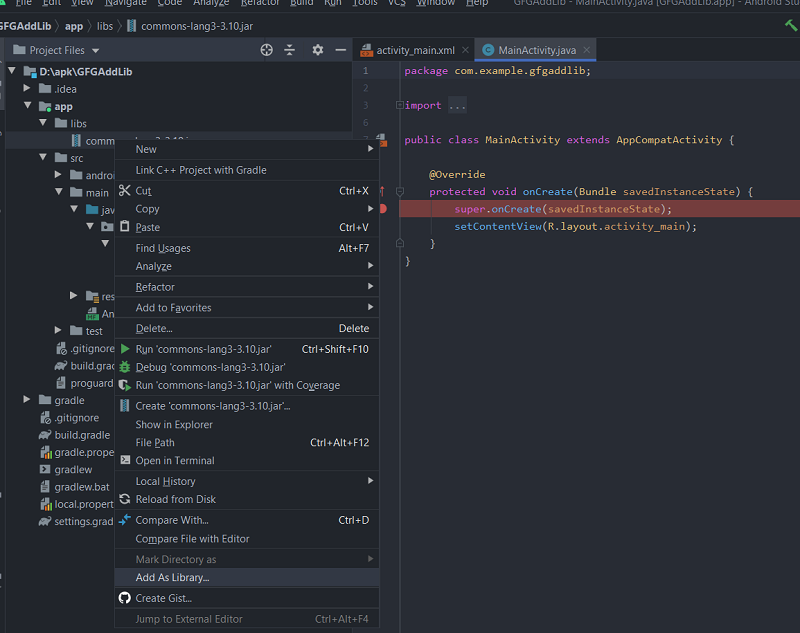
Here, you can see our added jar file under the libs folder. Right-click on the jar file and select Add As Library.
Now come back to the Android tab, you can see that your library has been already declared in build.grade (Module: GFGAddLib.app)
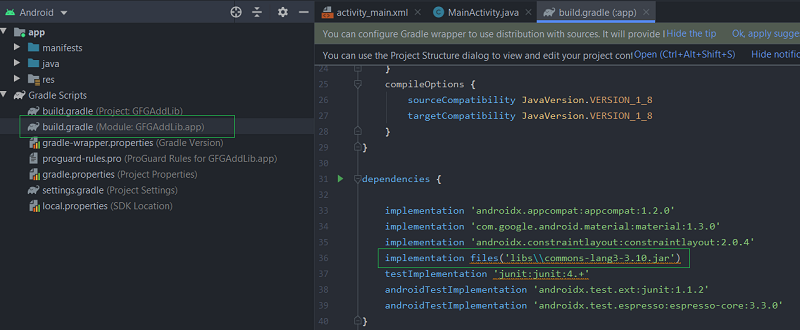
The library is successfully added to our project.
Method 2: Using the module library
Let us have a new project GFGAddLib2 and we want to use the same common-lang3-3.4.jar library for this project.
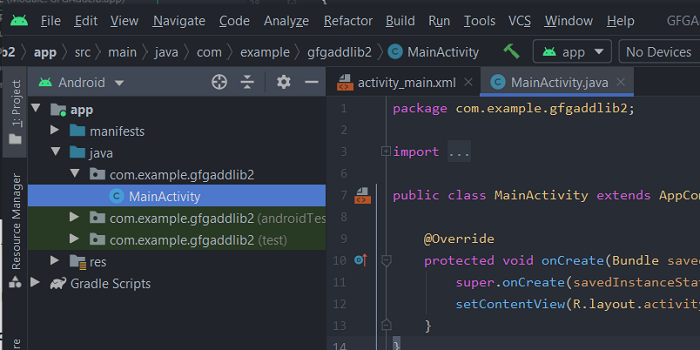
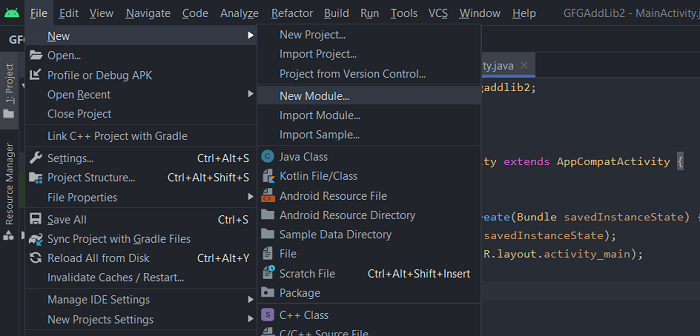
Create a new Android Module. Go to the File -> New -> New Module
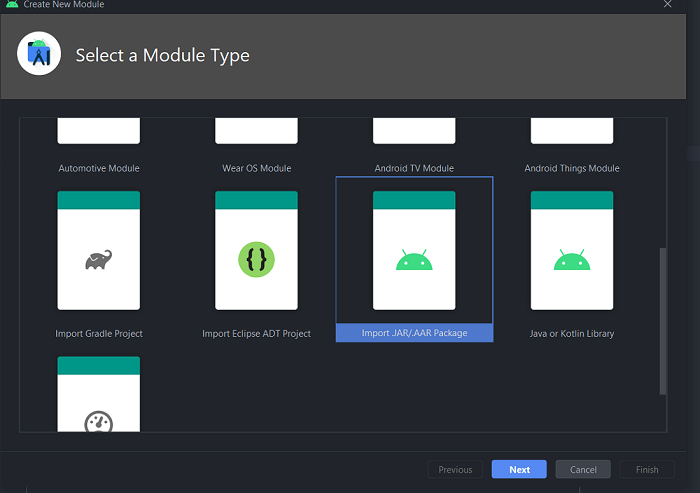
Select Import JAR/.AAR Package and click Next.
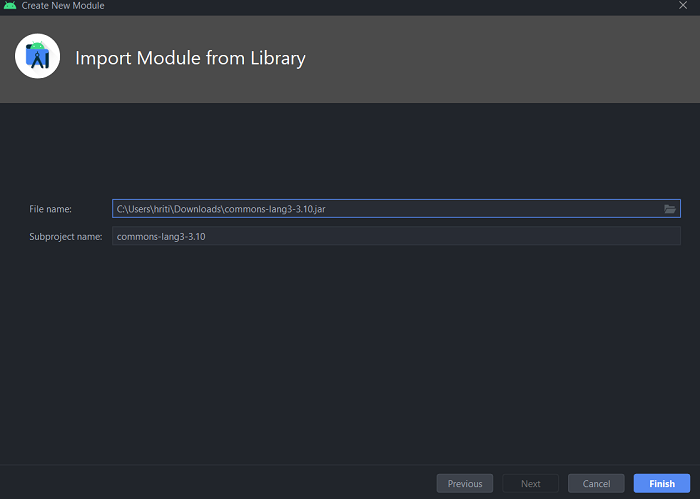
Select the location of your JAR file and click on Finish.
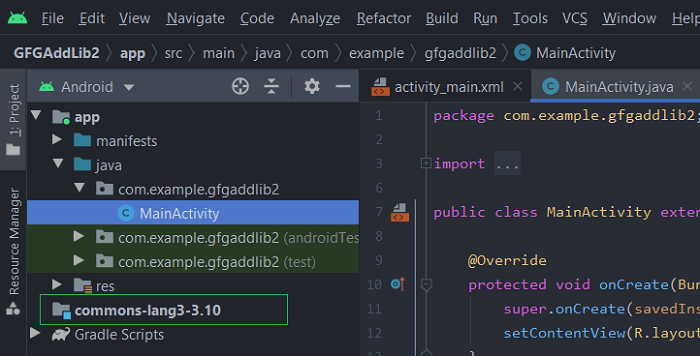
Module library has been created. Next, we need to declare the dependency of the main project on the newly created module. Now go to the File and click on Project structure.
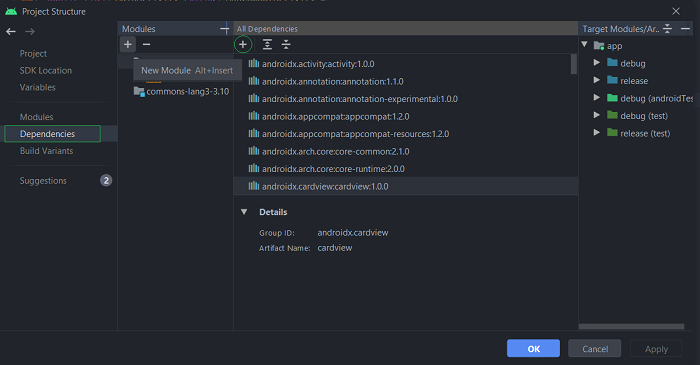
Now click on circled + sign and select Module Dependency
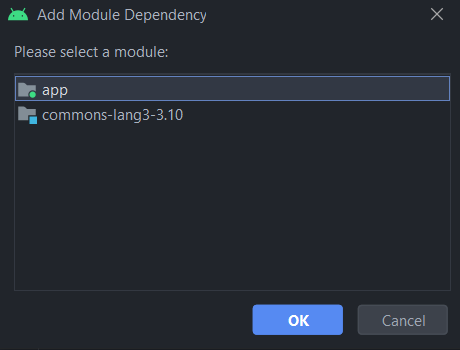
Click OK, a new dialogue box will appear, select the jar file and click OK.
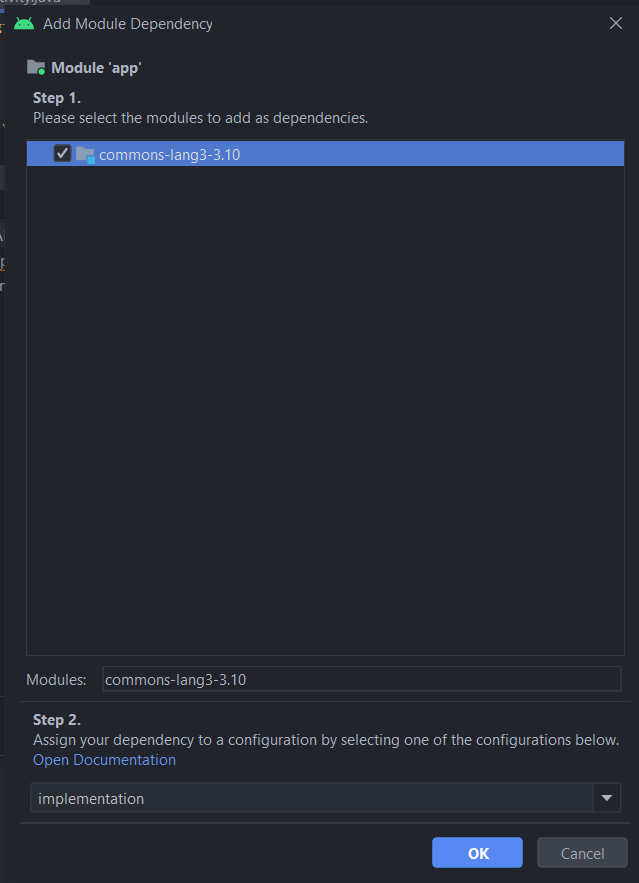
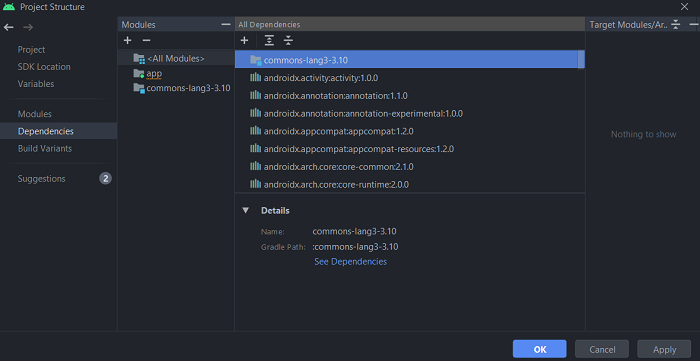
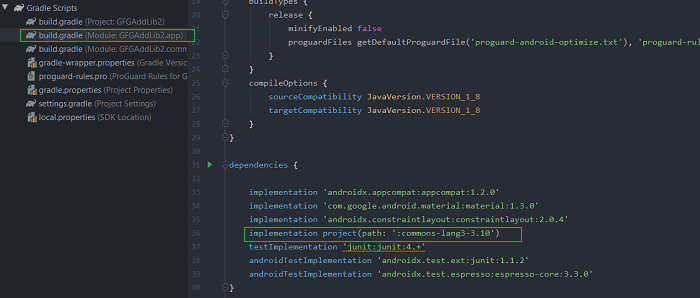
Click OK once again and our Jar file is added. You can check your module which has been declared in build.grade (Module: GFGAddLib.app).
Like Article
Suggest improvement
Share your thoughts in the comments
Please Login to comment...