How to add a Digital Clock in Next.js ?
Last Updated :
05 Jan, 2023
In this article, we are going to learn how we can add Clock in NextJs. NextJS is a React-based framework. It has the power to Develop beautiful Web applications for different platforms like Windows, Linux, and mac. The linking of dynamic paths helps in rendering your NextJS components conditionally.
Approach: To add our Clock we are going to use the react-live-clock package. The react-live-clock package helps us to add a clock anywhere in our app. So first, we will install the react-live-clock package and then we will add a clock on our homepage.
Create NextJS Application: You can create a new NextJs project using the below command:
npx create-next-app gfg
Install the required package: Now we will install the react-live-clock package using the below command:
npm i react-live-clock
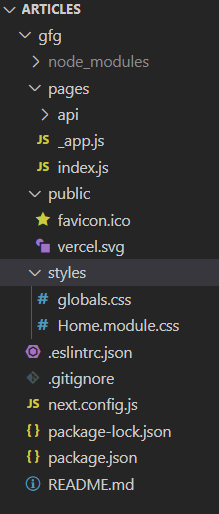
Project Structure: It will look like this.
Adding the Clock: We can easily add the clock in our app after installing the react-live-clock package. For this example, we are going to add the clock to our homepage.
Add the below content in the index.js file:
Javascript
import React from "react";
import Clock from 'react-live-clock';
export default function MyQuotesSlider() {
return (
<div>
<h3>GeeksforGeeks Digital Clock</h3>
<Clock
format={'h:mm:ssa'}
style={{fontSize: '1.5em'}}
ticking={true} />
</div>
);
}
|
Explanation: In the above example first, we are importing the Clock component from the installed package. After that, we are adding the format, style, and other parameters in our clock component.
Steps to run the application: Run the below command in the terminal to run the app.
npm run dev
Output:

Like Article
Suggest improvement
Share your thoughts in the comments
Please Login to comment...