Hosting A Static Website On Firebase For Free
Last Updated :
26 Nov, 2020
Building a web application is always a time-consuming job, especially for the beginner developers who have just landed their feet in the vast world of programming. And one of the most exciting parts is when the application is available for all to see. Being a new bee in programming most beginners lack the knowledge of hosting, servers, and how to present their project to the end-user. And this is exactly the problem Firebase is going to solve for us. Although we have a couple of other ways to host a website for free like GitHub pages, netlify, Firebase is considered best as it gives developers a ton of functionalities to choose from. Here, we will see how one can host his/her static website on firebase just in a couple of minutes and that too free.
Firebase is a platform developed by Google to help developers create and grow mobile and web applications faster. It does help the developers by providing a ton of backend functionality to developers such as Cloud Firestore (a real-time database), Firebase ML (deploys machine learning models), Authentications (authentication service), Hosting (best in class hosting service), etc. Here we will be using the hosting service to deploy our static website because it is low latency hosting which will automatically secure our website with an SSL certificate in addition to providing many other features. And the most important thing its free up-to one gigabit of storage for a single project, which is more than enough for most of the projects.
Prerequisites:
- A Gmail Account, which will be required to sign-in to firebase.
- Node JS, is required to install Firebase-CLI (command-line interface) which will deploy or website to the servers.
- You must be ready with a static website. The website we will be deploying here is a tutorial website.
Step 1: Creating a new project and a web instance in firebase
Visit firebase.google.com, sign in with your Gmail account. And after signing-in go to console and add a new project.
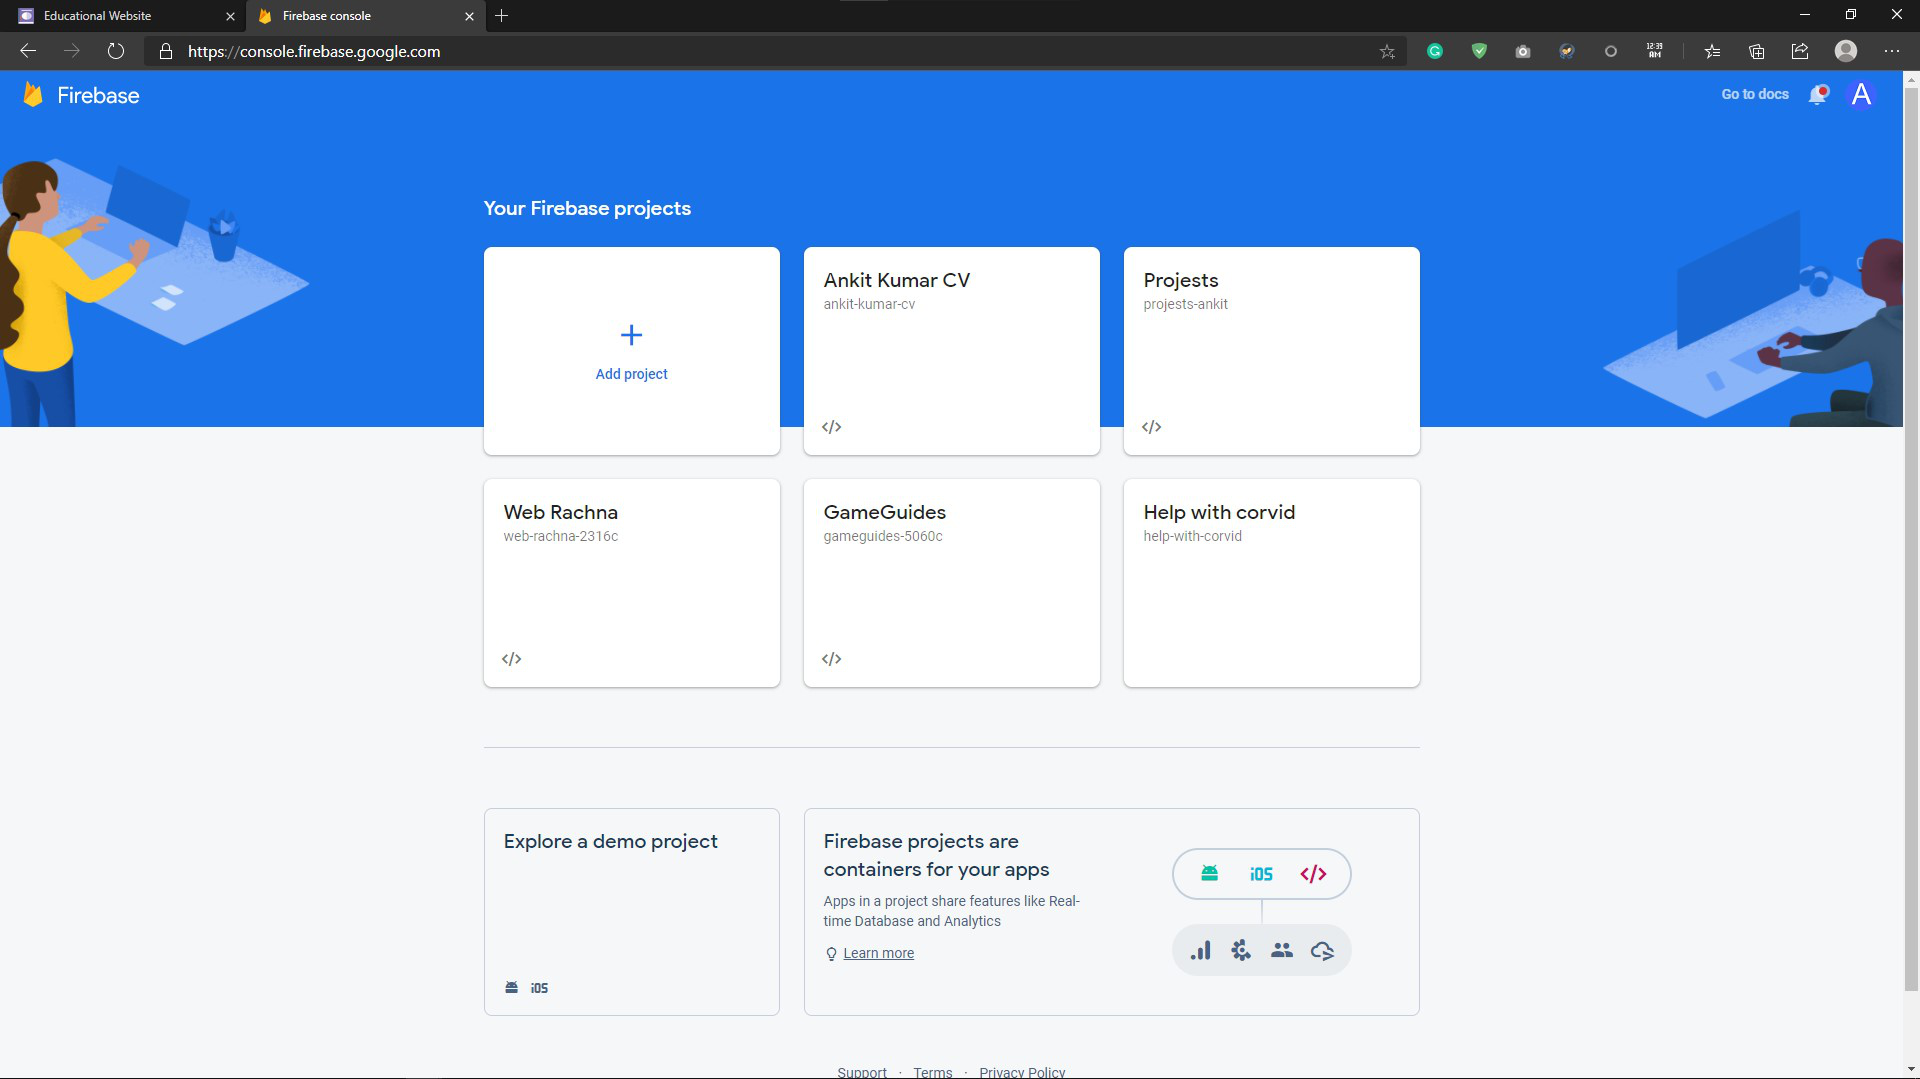
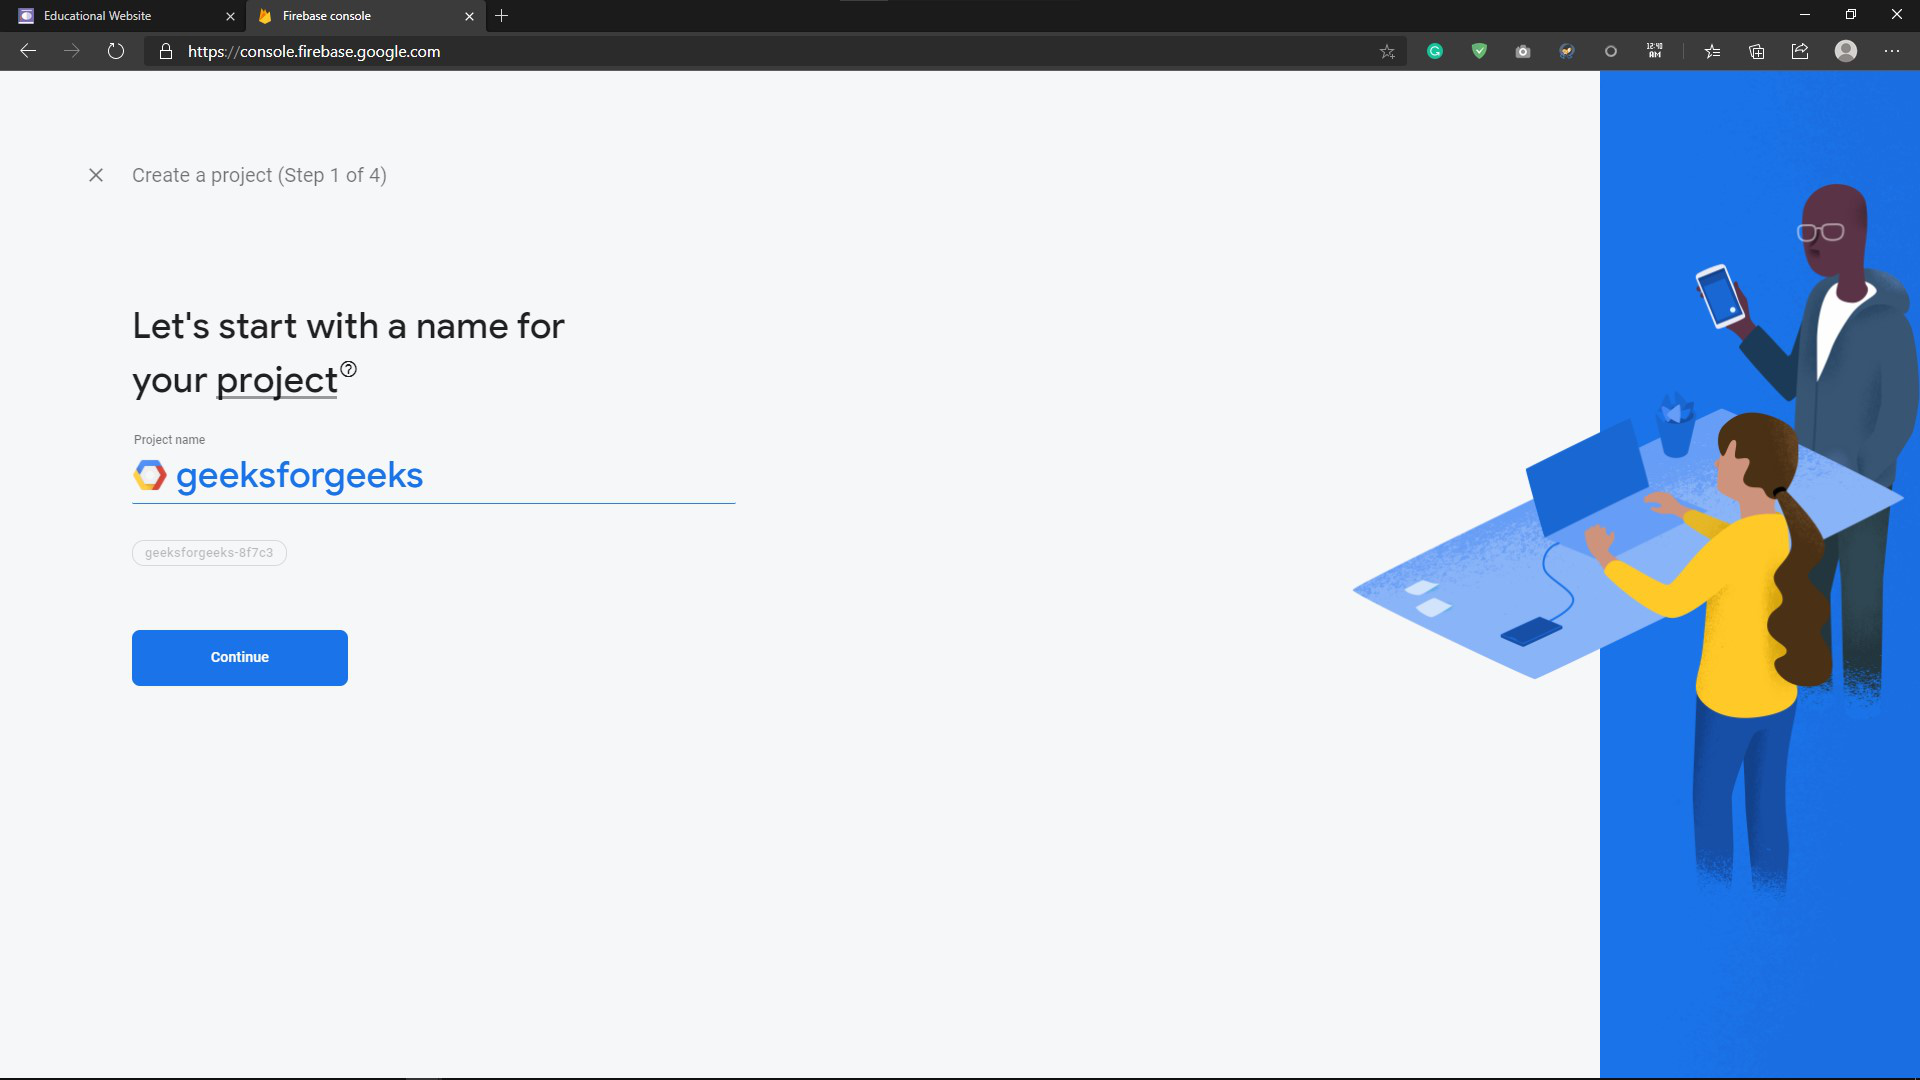
Give the project a name of your choice here I have given ‘geeksforgeeks’. And go through other following step without selecting Google analytics (for simplicity) and your project will be ready in ten seconds.
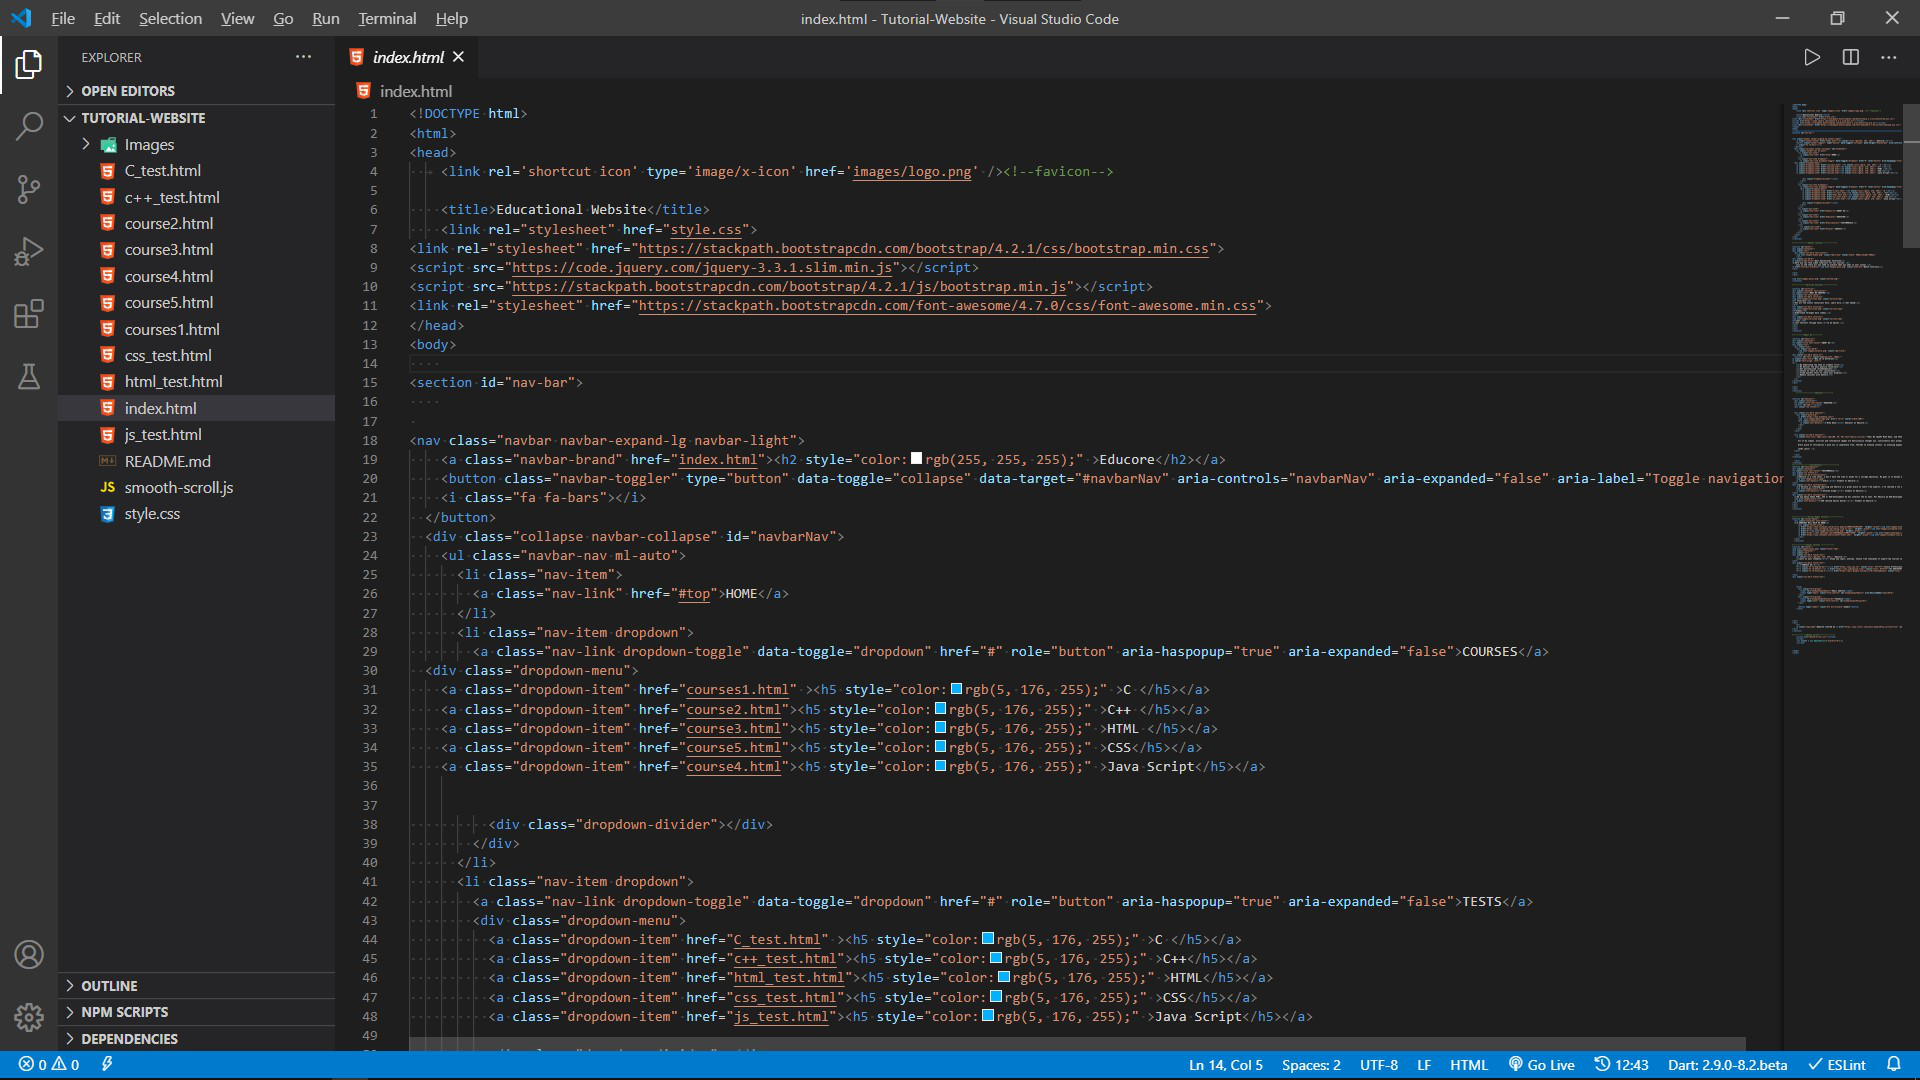
Step 2: Open the website in an IDE
Now, we need to open the folder containing the website’s files in an IDE. And open a terminal. Here I am using VS Code.
Step 3: Register App
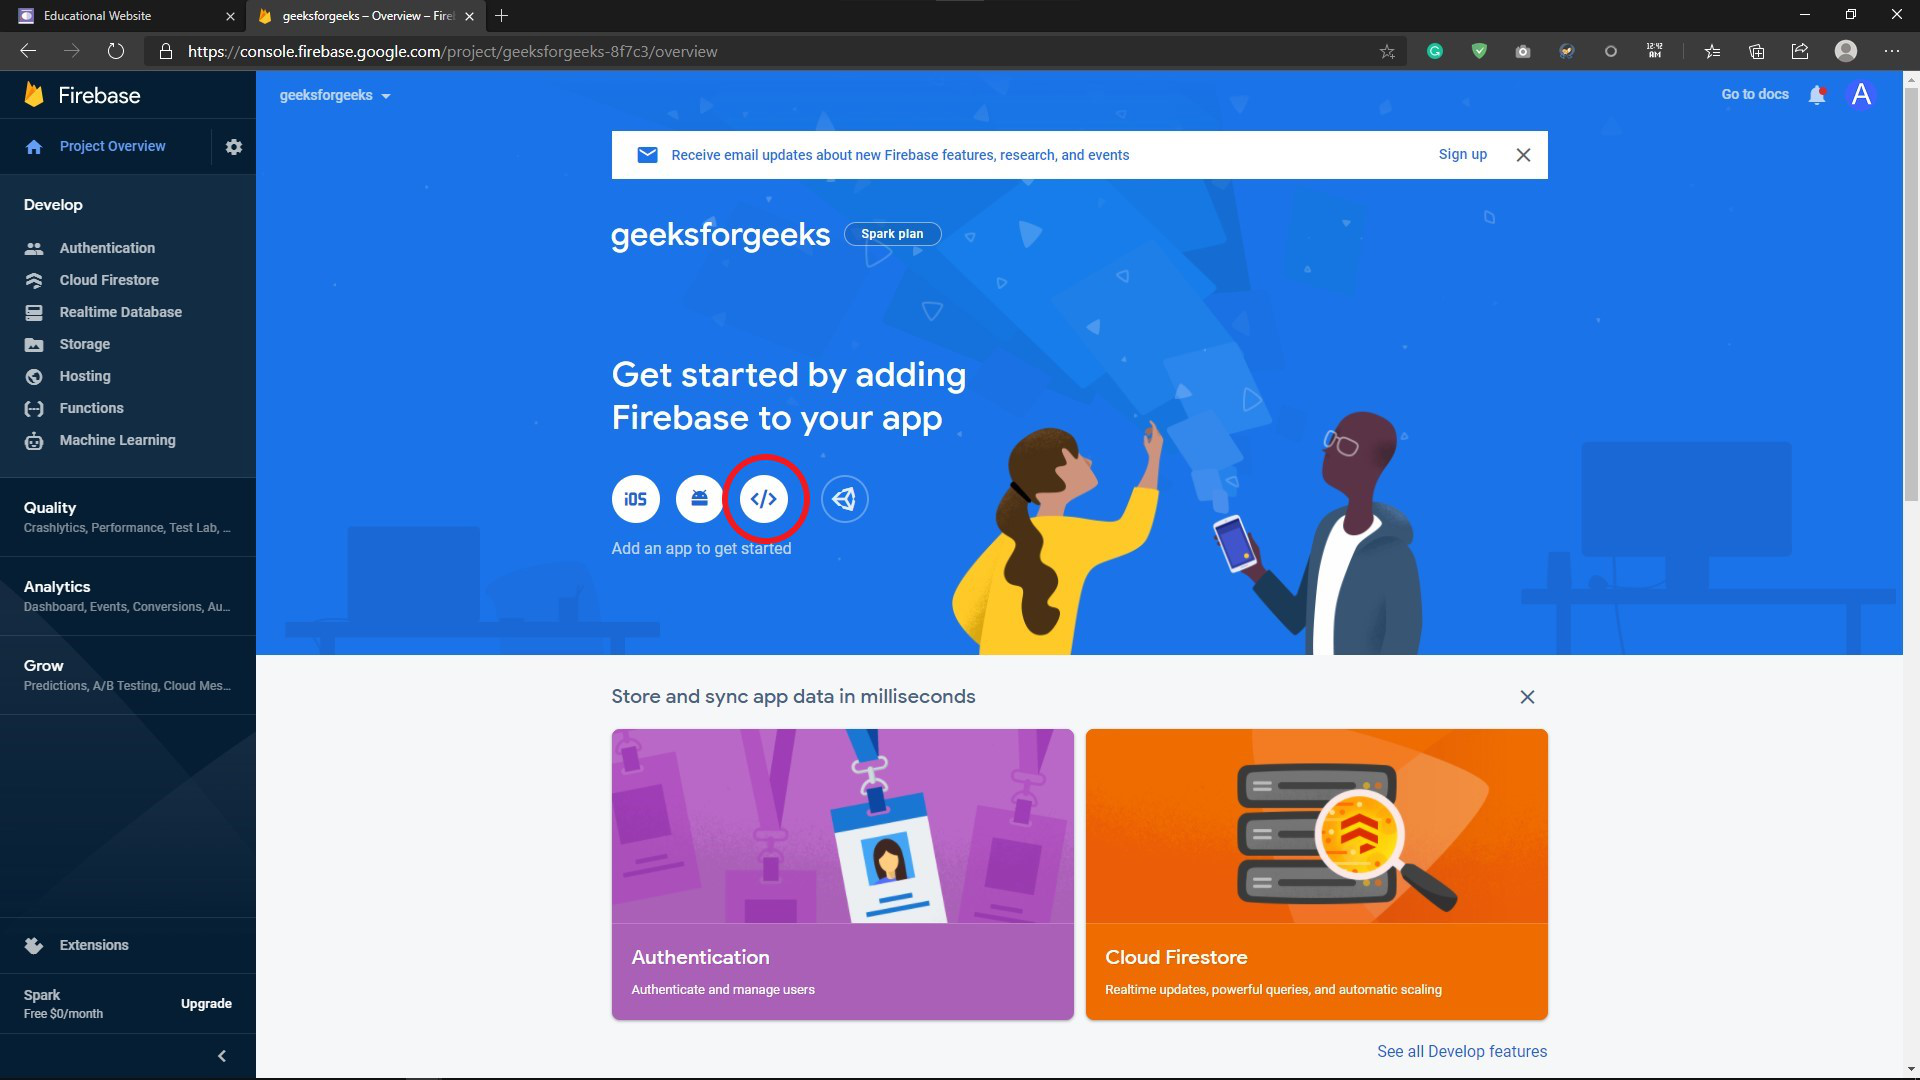
The project dashboard will look something like this. Here click on the web button (circled red). Which will create a web instance of our project.
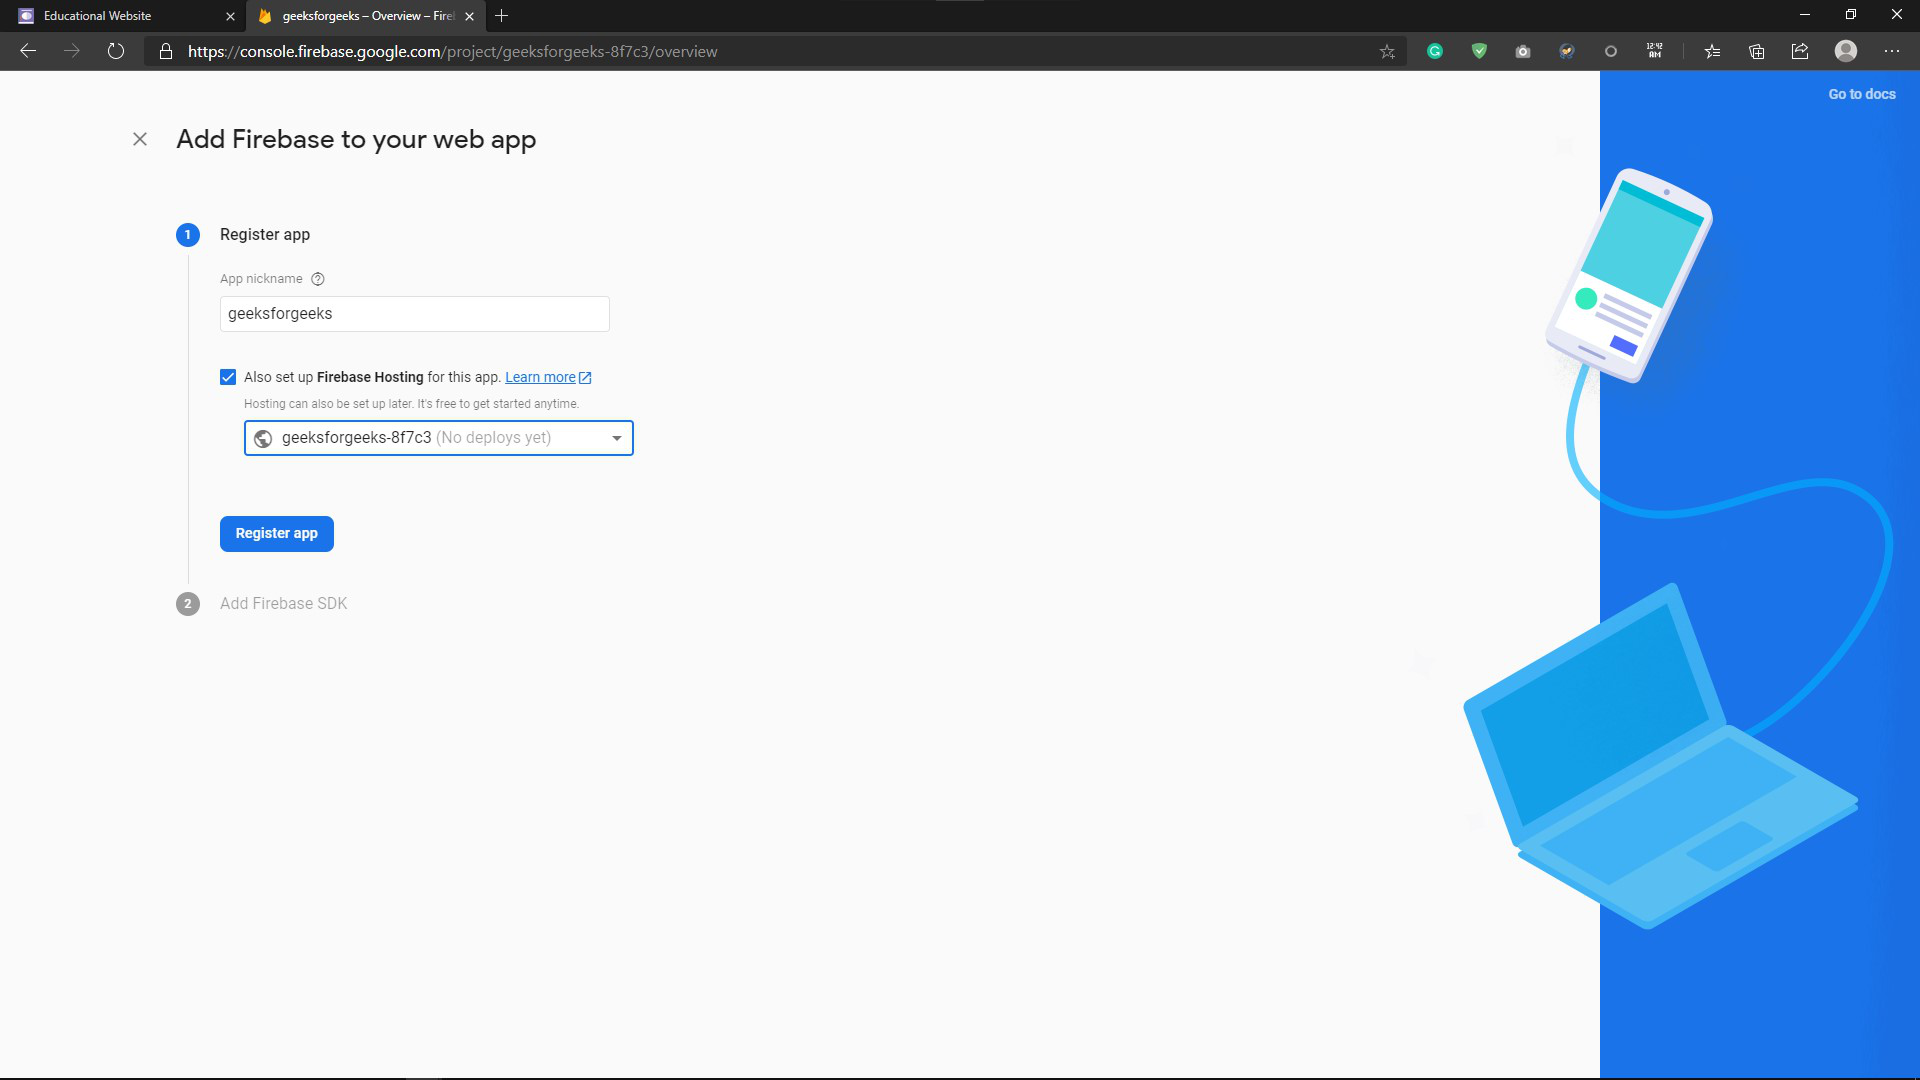
Now here it will ask for a name that we want to give our website (web instance). You can choose one, select ‘Also setup Firebase Hosting’, and click on the register app.
Step 4: Add Firebase SDK
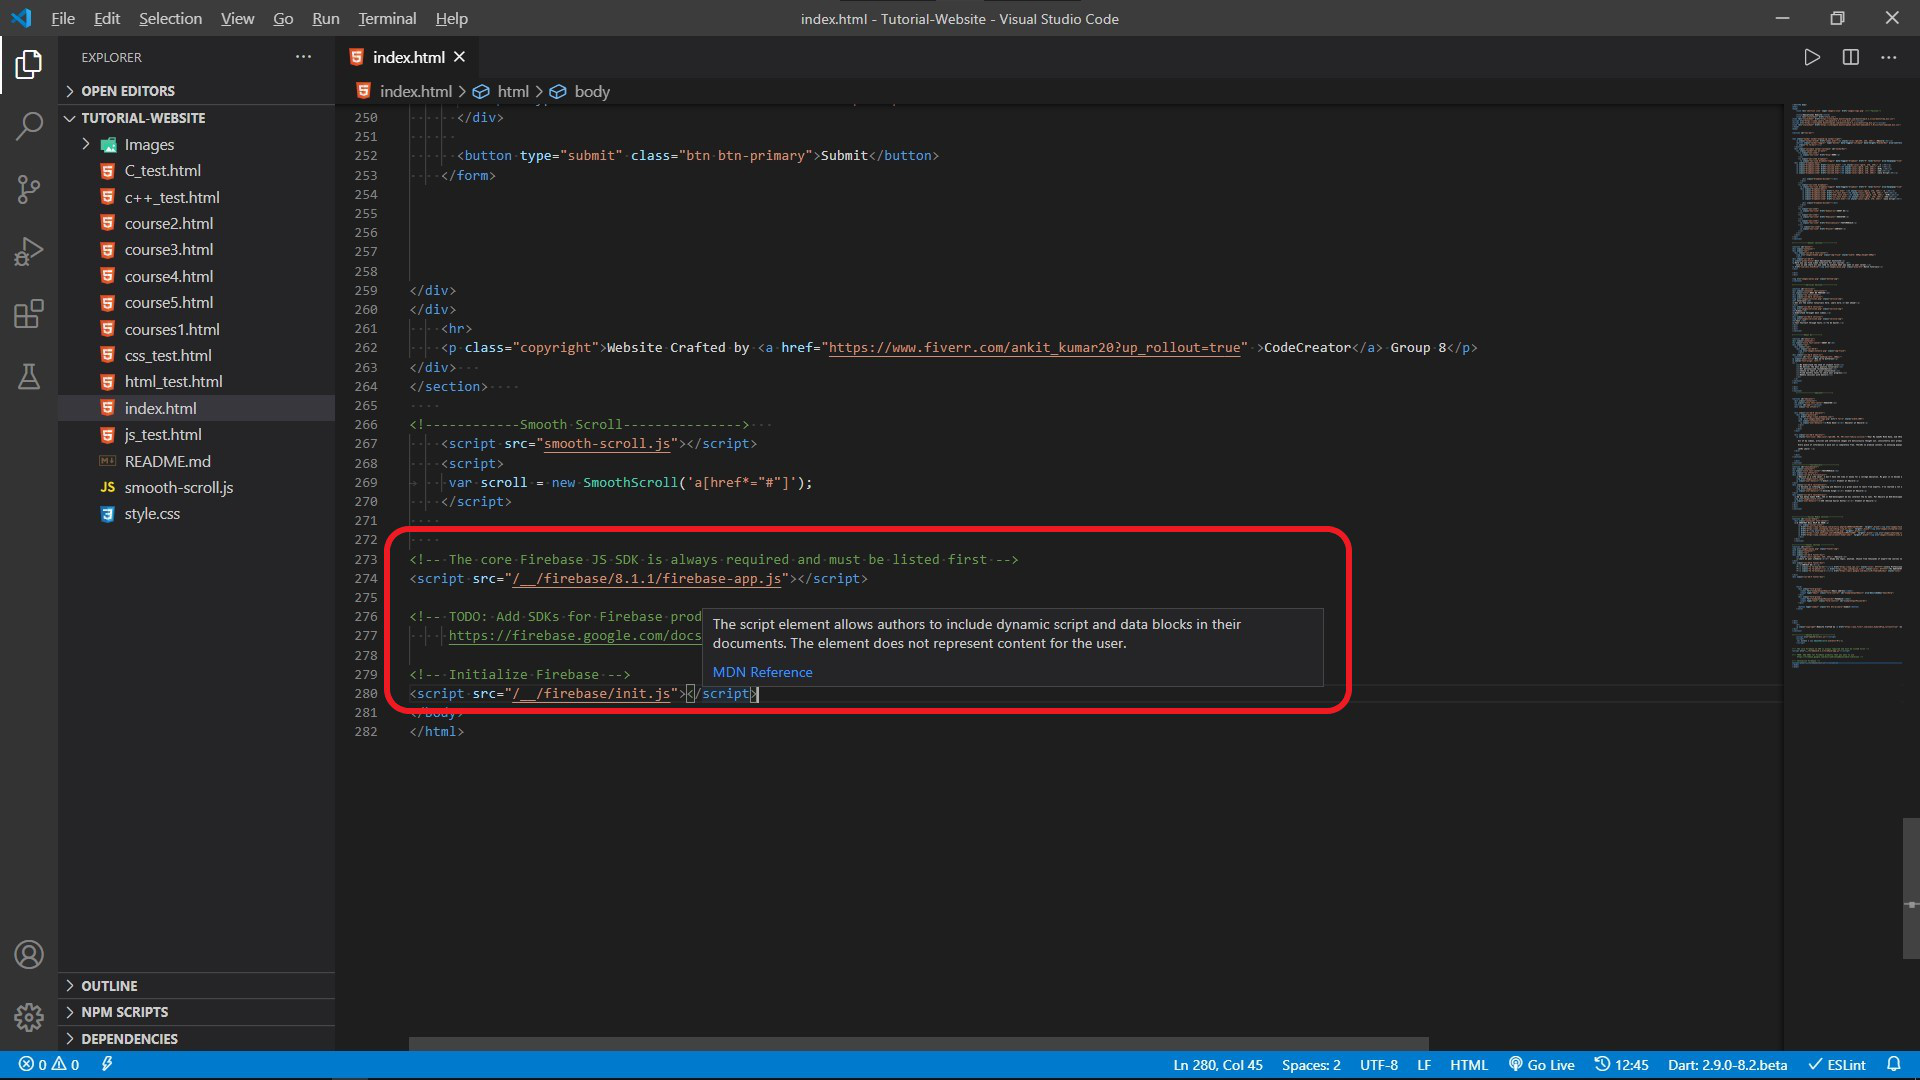
Now, we will be given a code snippet that has to be pasted in the body of our website’s home page.
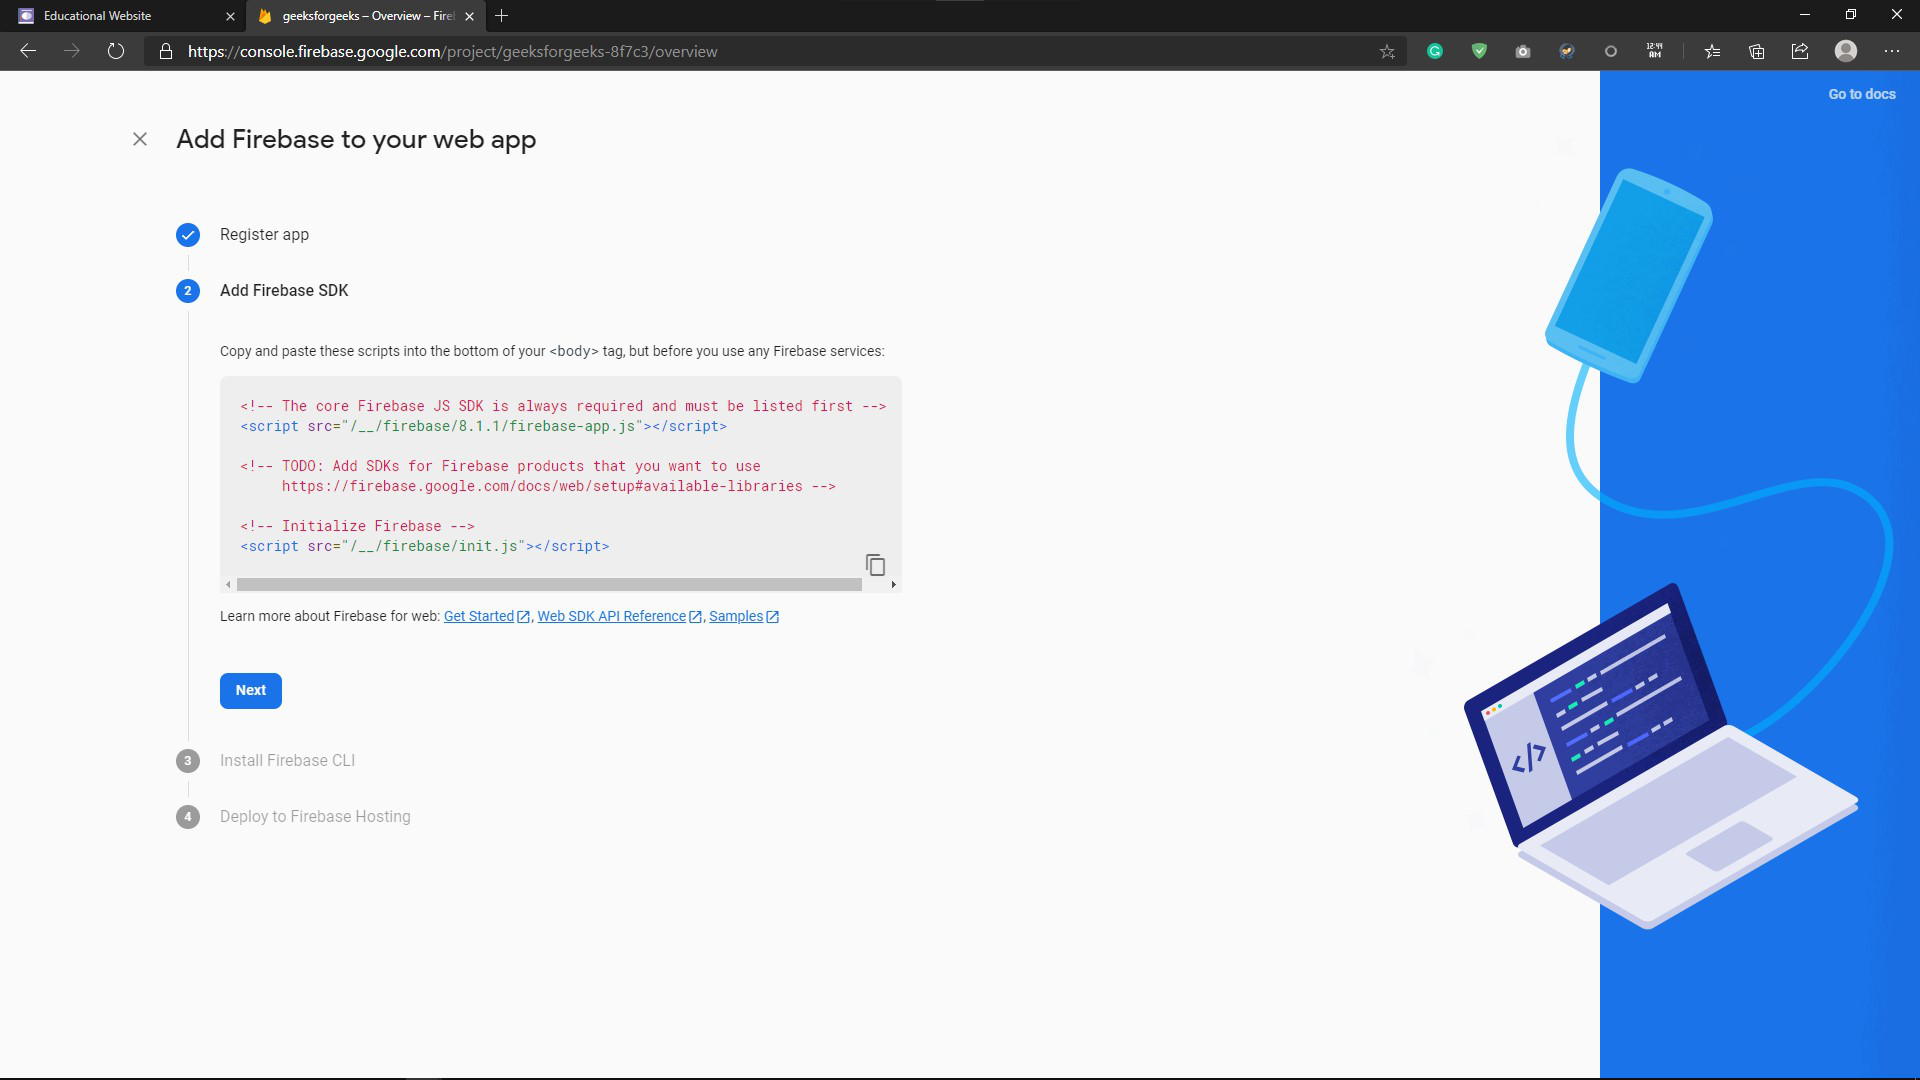
Something like this.
Step 5: Installing Firebase CLI
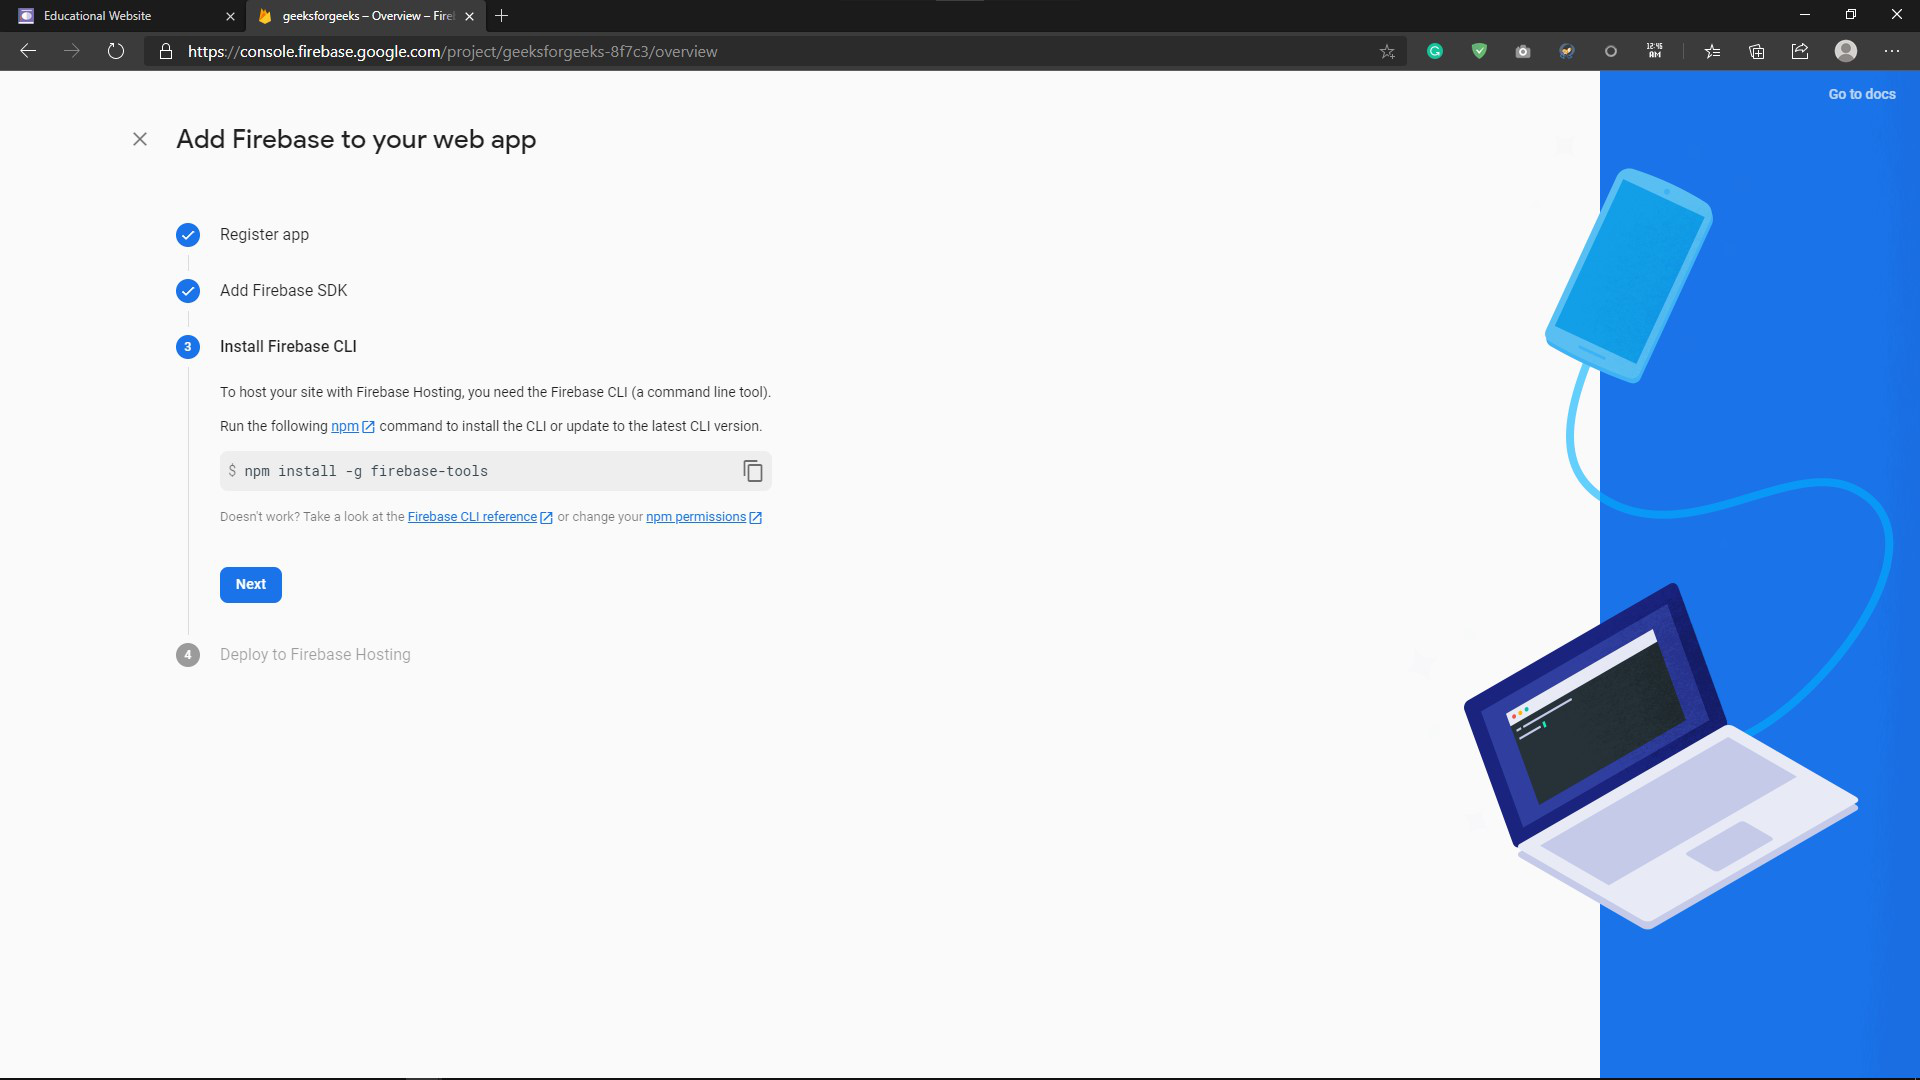
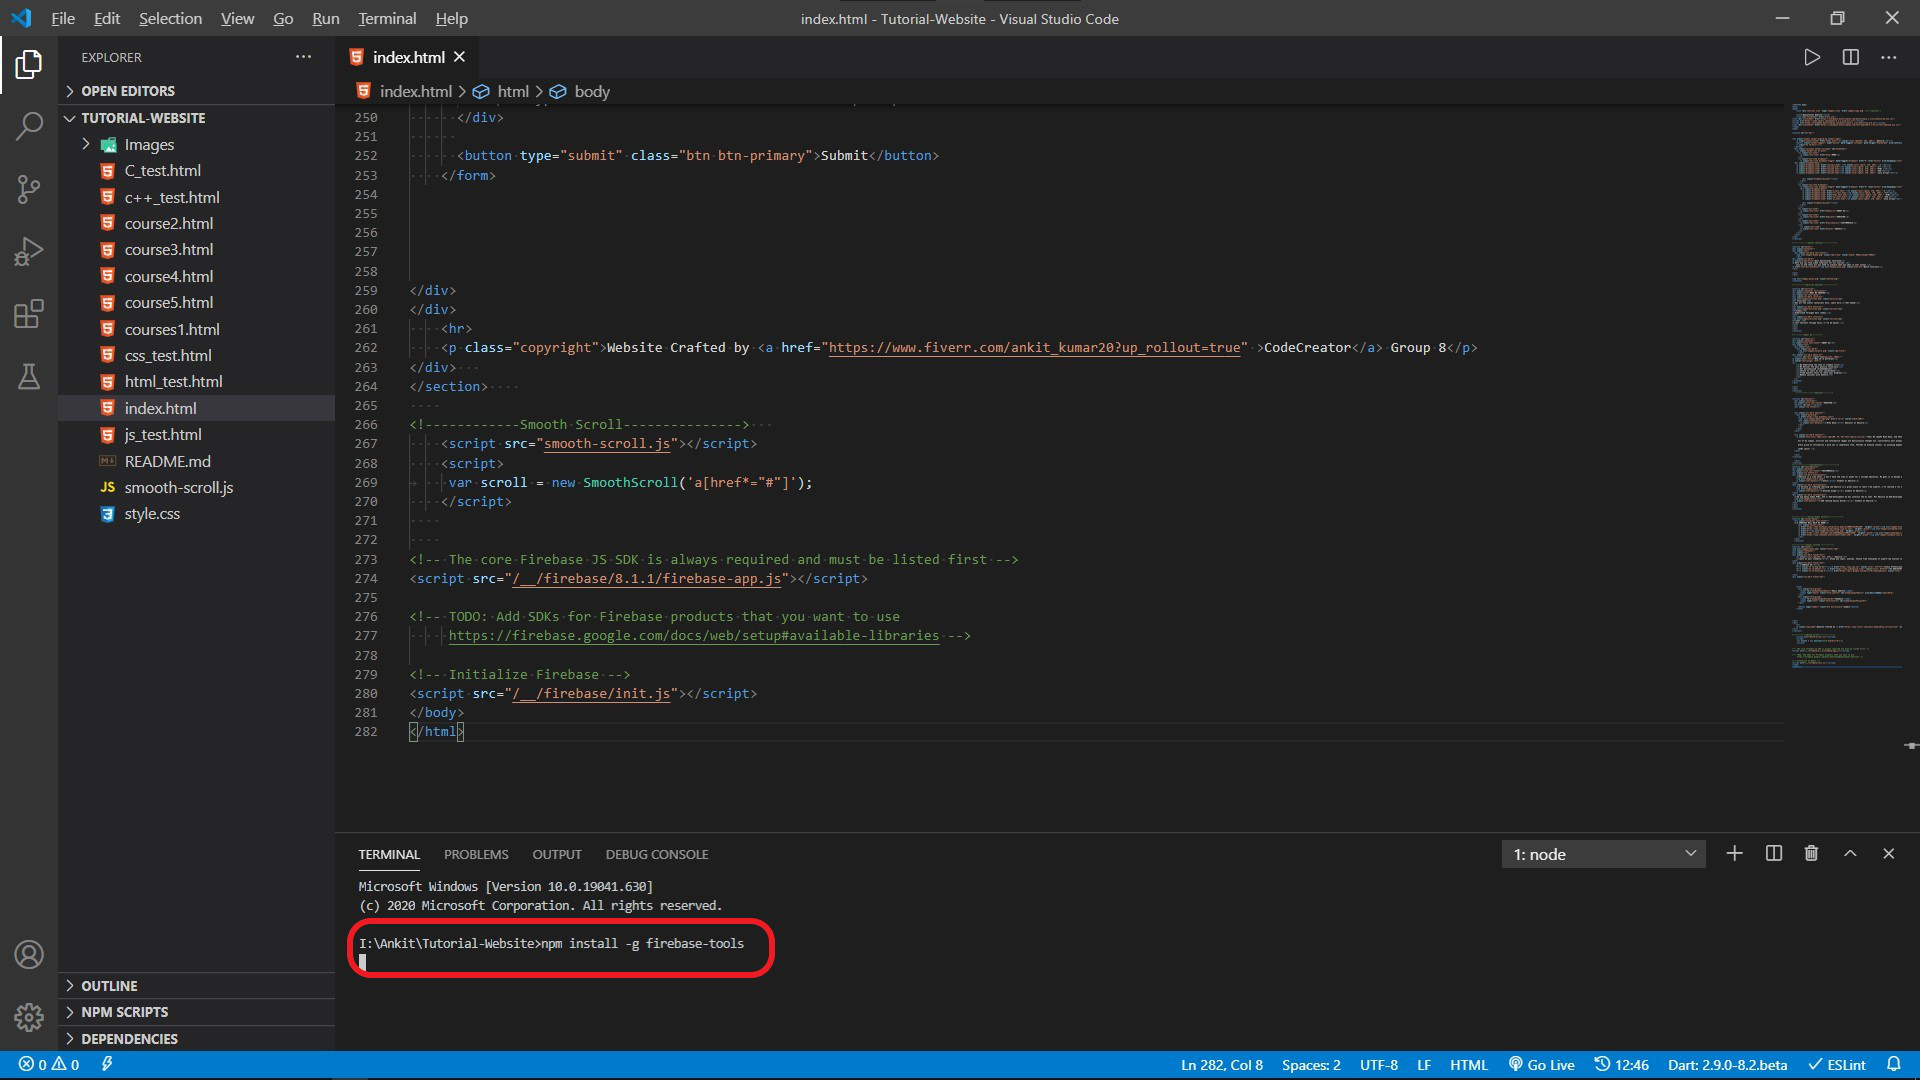
After pasting the script in the body go back to the firebase and click next. Now, you will be presented with a command ‘npm install -g firebase-tools‘ which need to be run in the terminal where we have our website’s files.
This is how it would look. This command will install firebase CLI on our machine. It may take from a few seconds to a couple of minutes to install depending on your internet speed. And after doing this click next on the website.
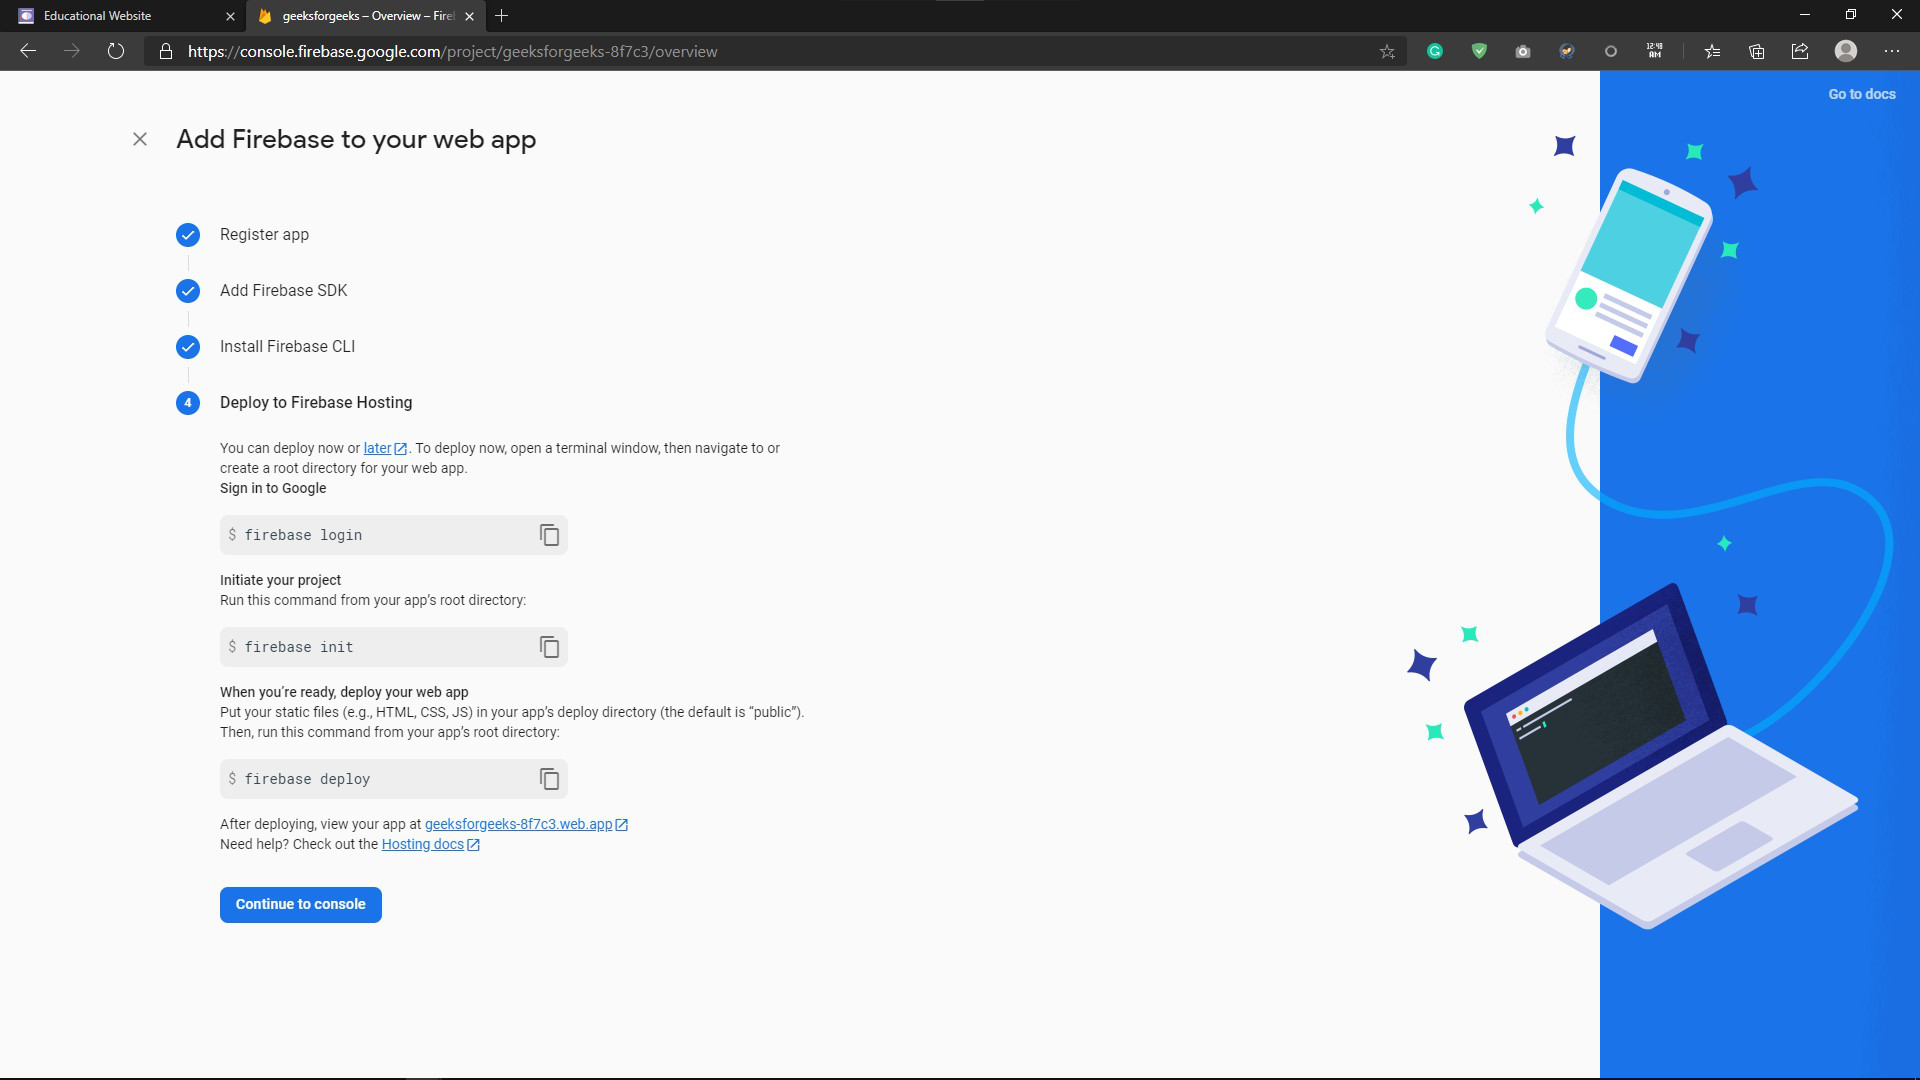
Step 6: Deploying to firebase hosting
Now, in the firebase website were given commands which should be run in order to deploy our website to firebase hosting.
We can copy each code and paste it into the terminal and hit enter to run it. The first is ‘firebase login‘.

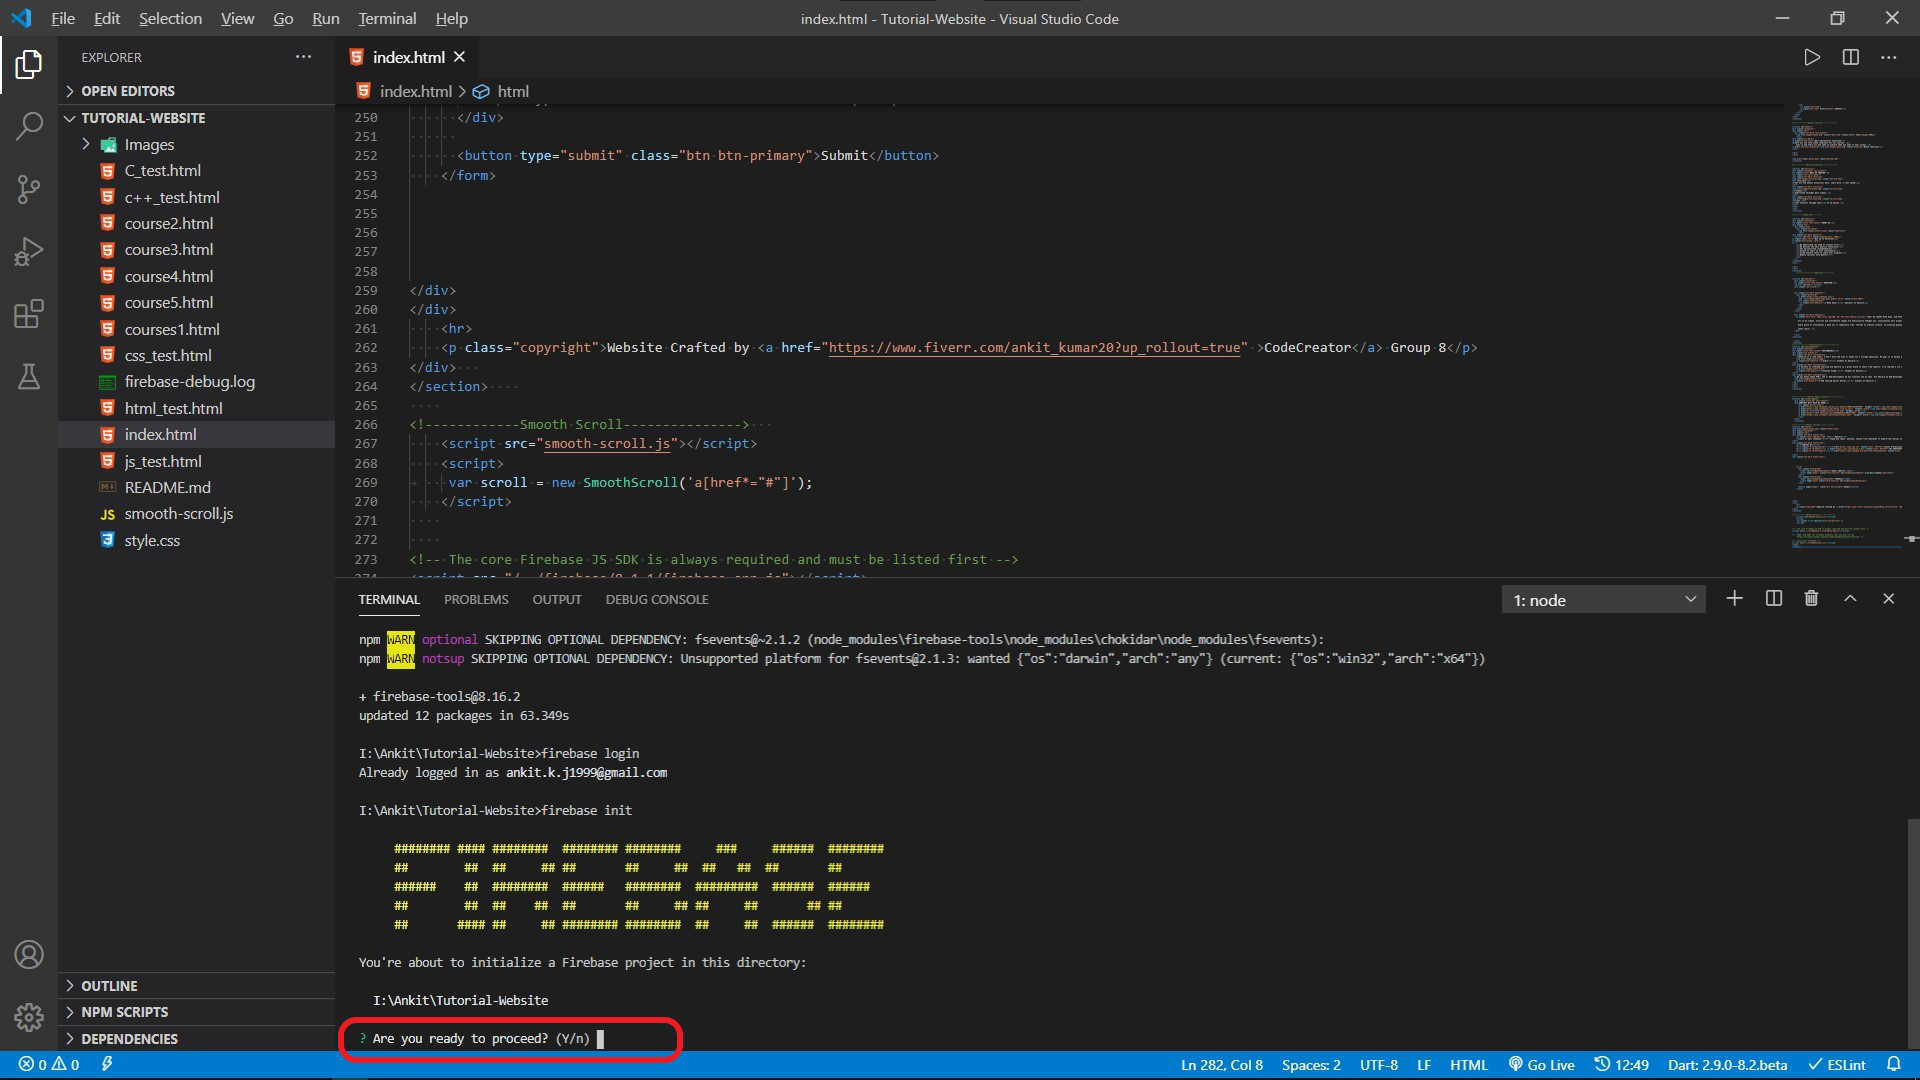
Now running ‘firebase init‘ we will get the following options. Click y and hit enter.
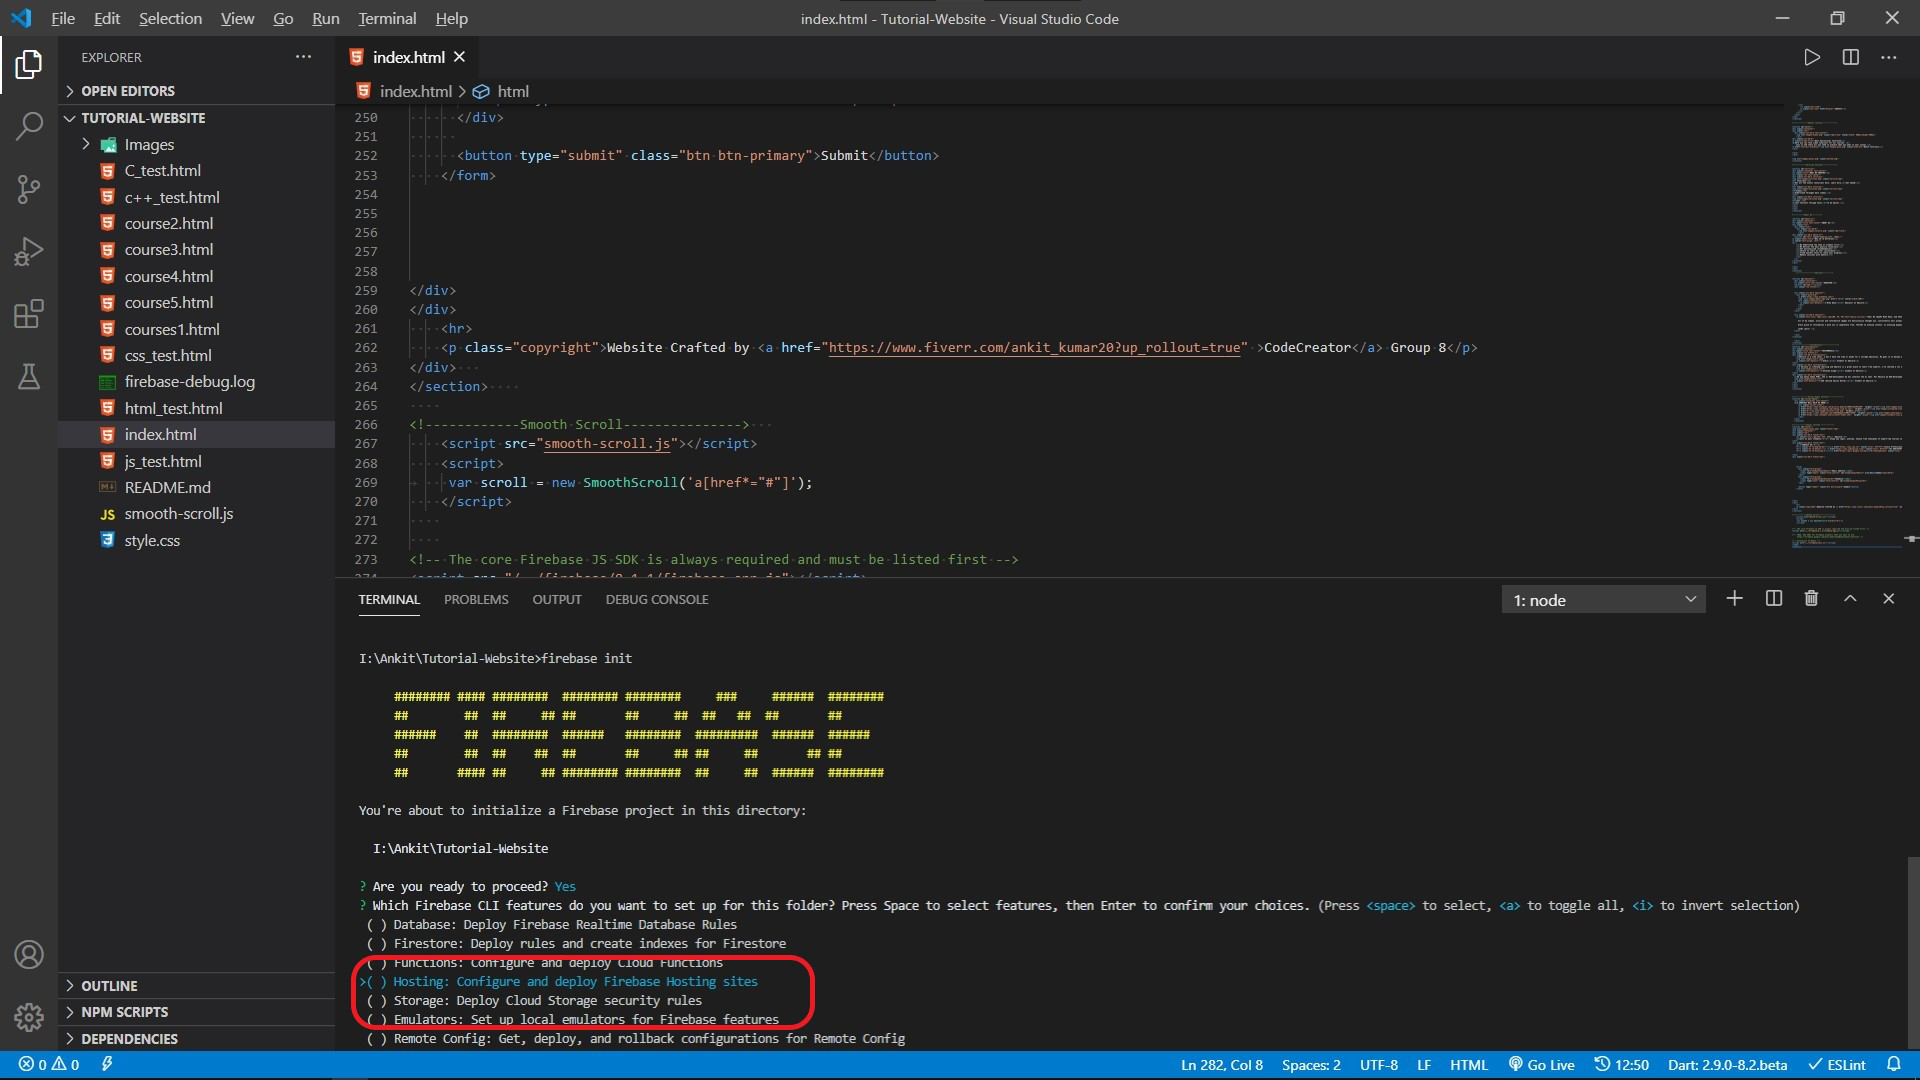
Here, we need to choose Hosting: Configure and deploy Firebase Hosting sites, (by clicking the space-bar) as this is the service we want.
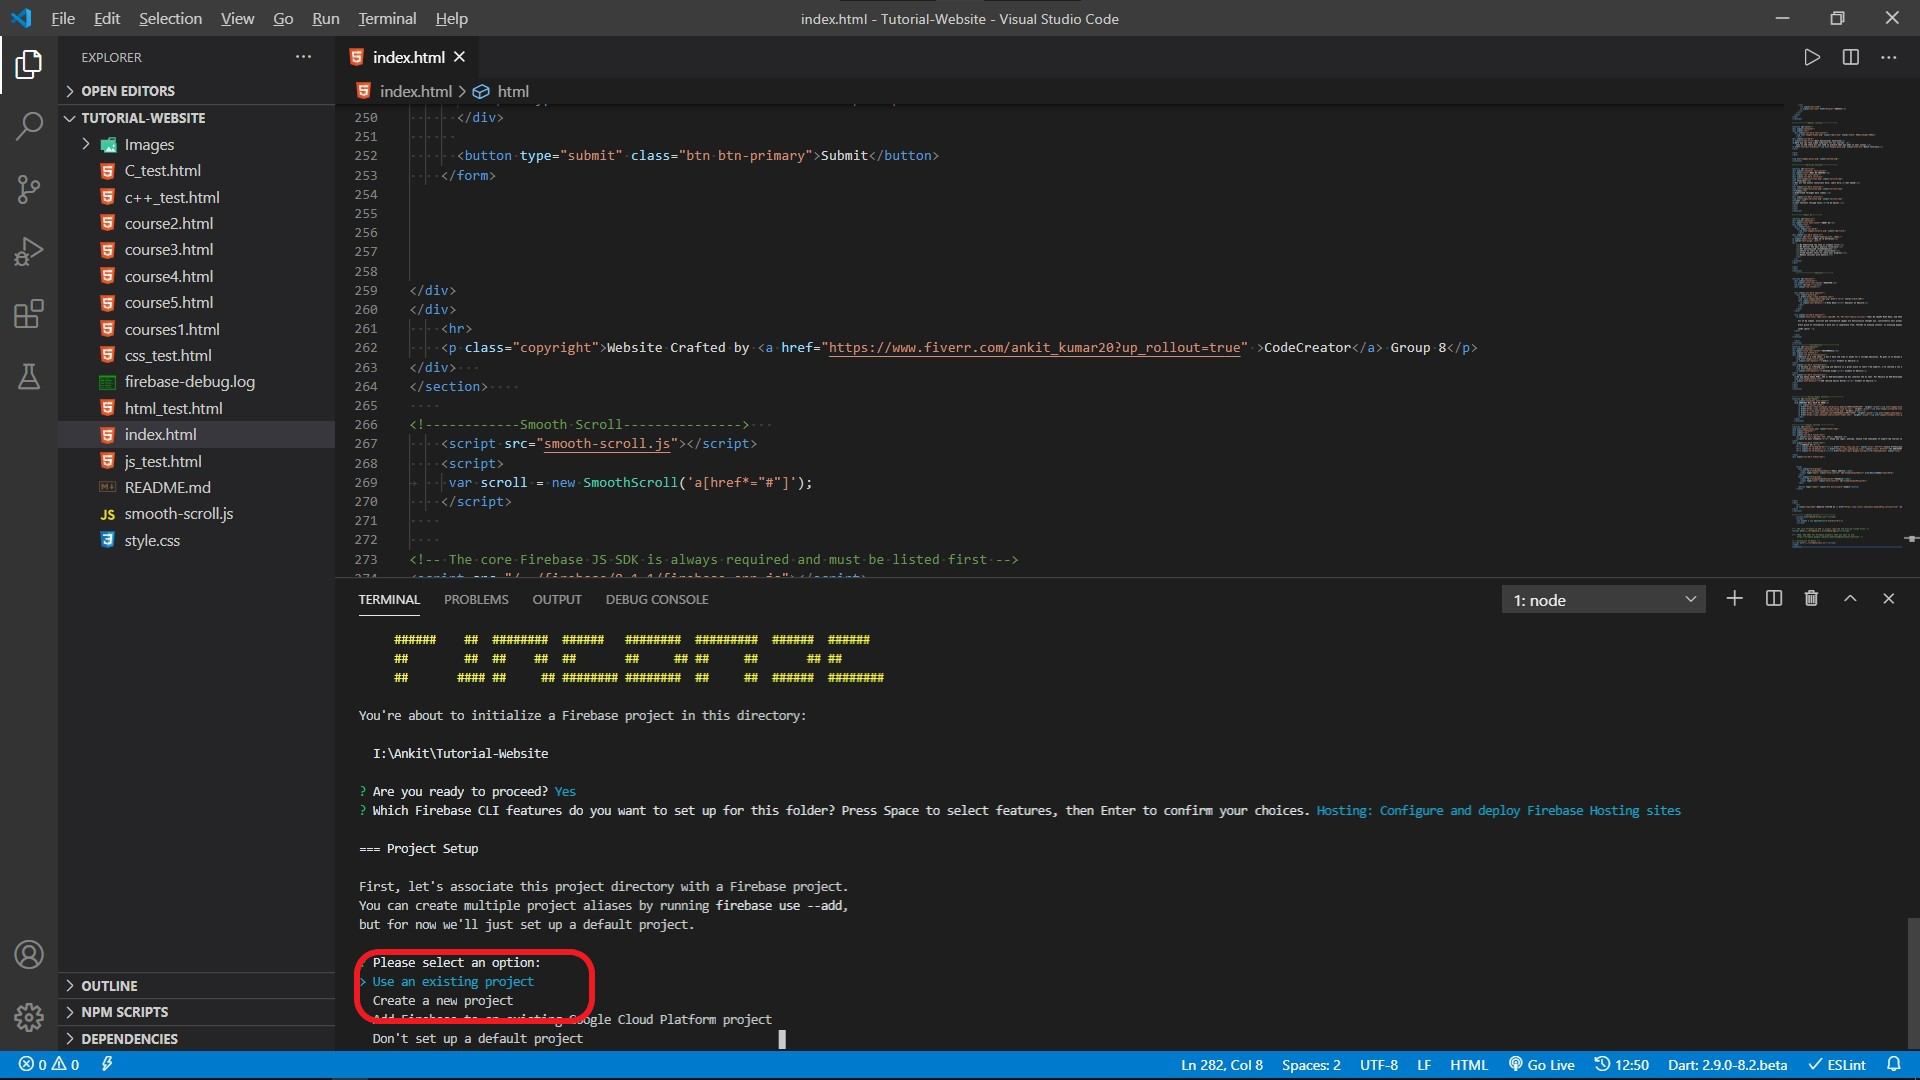
Now, it will ask whether we want to create a project or use an existing one. We will choose the existing as we have already created the project.
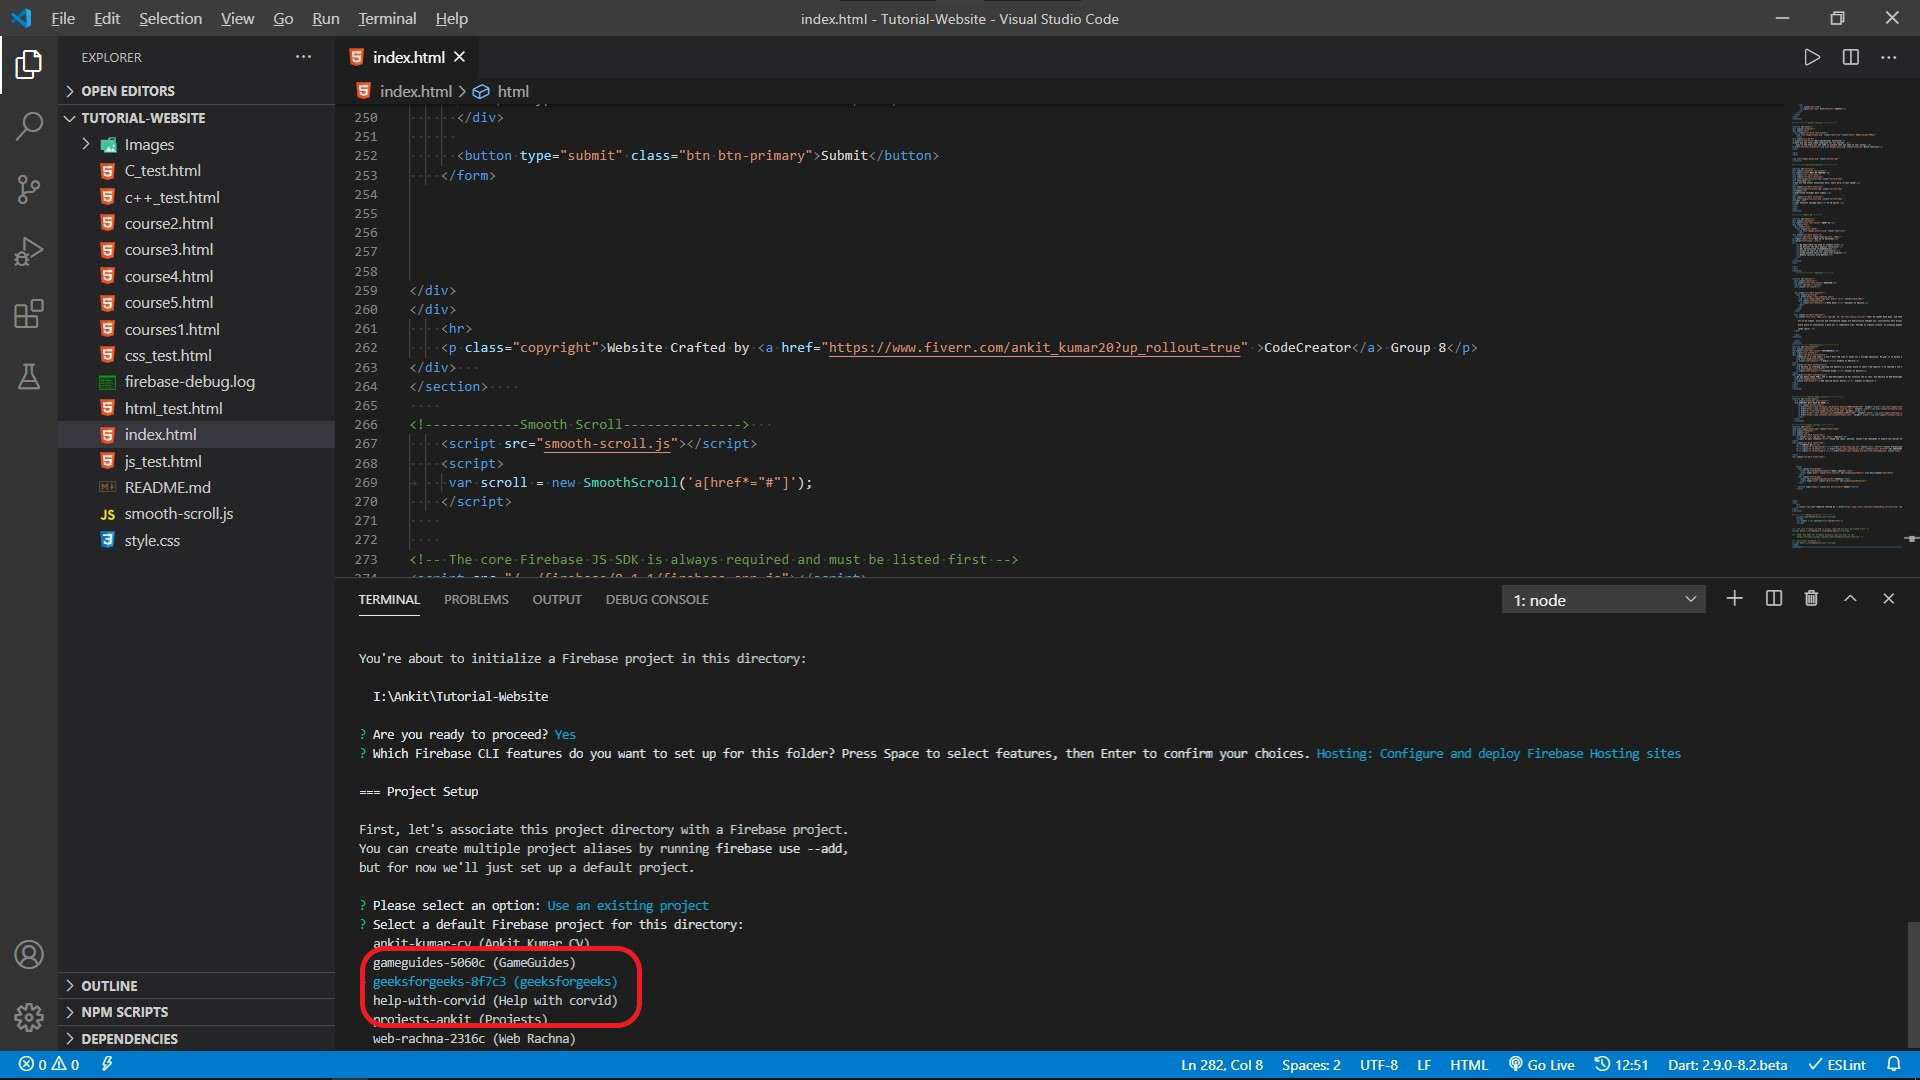
Here, I am getting geeksforgeeks-gf7c3 (the web instance we created) as one of the options. I will choose this because we want to deploy our website at this web instance.
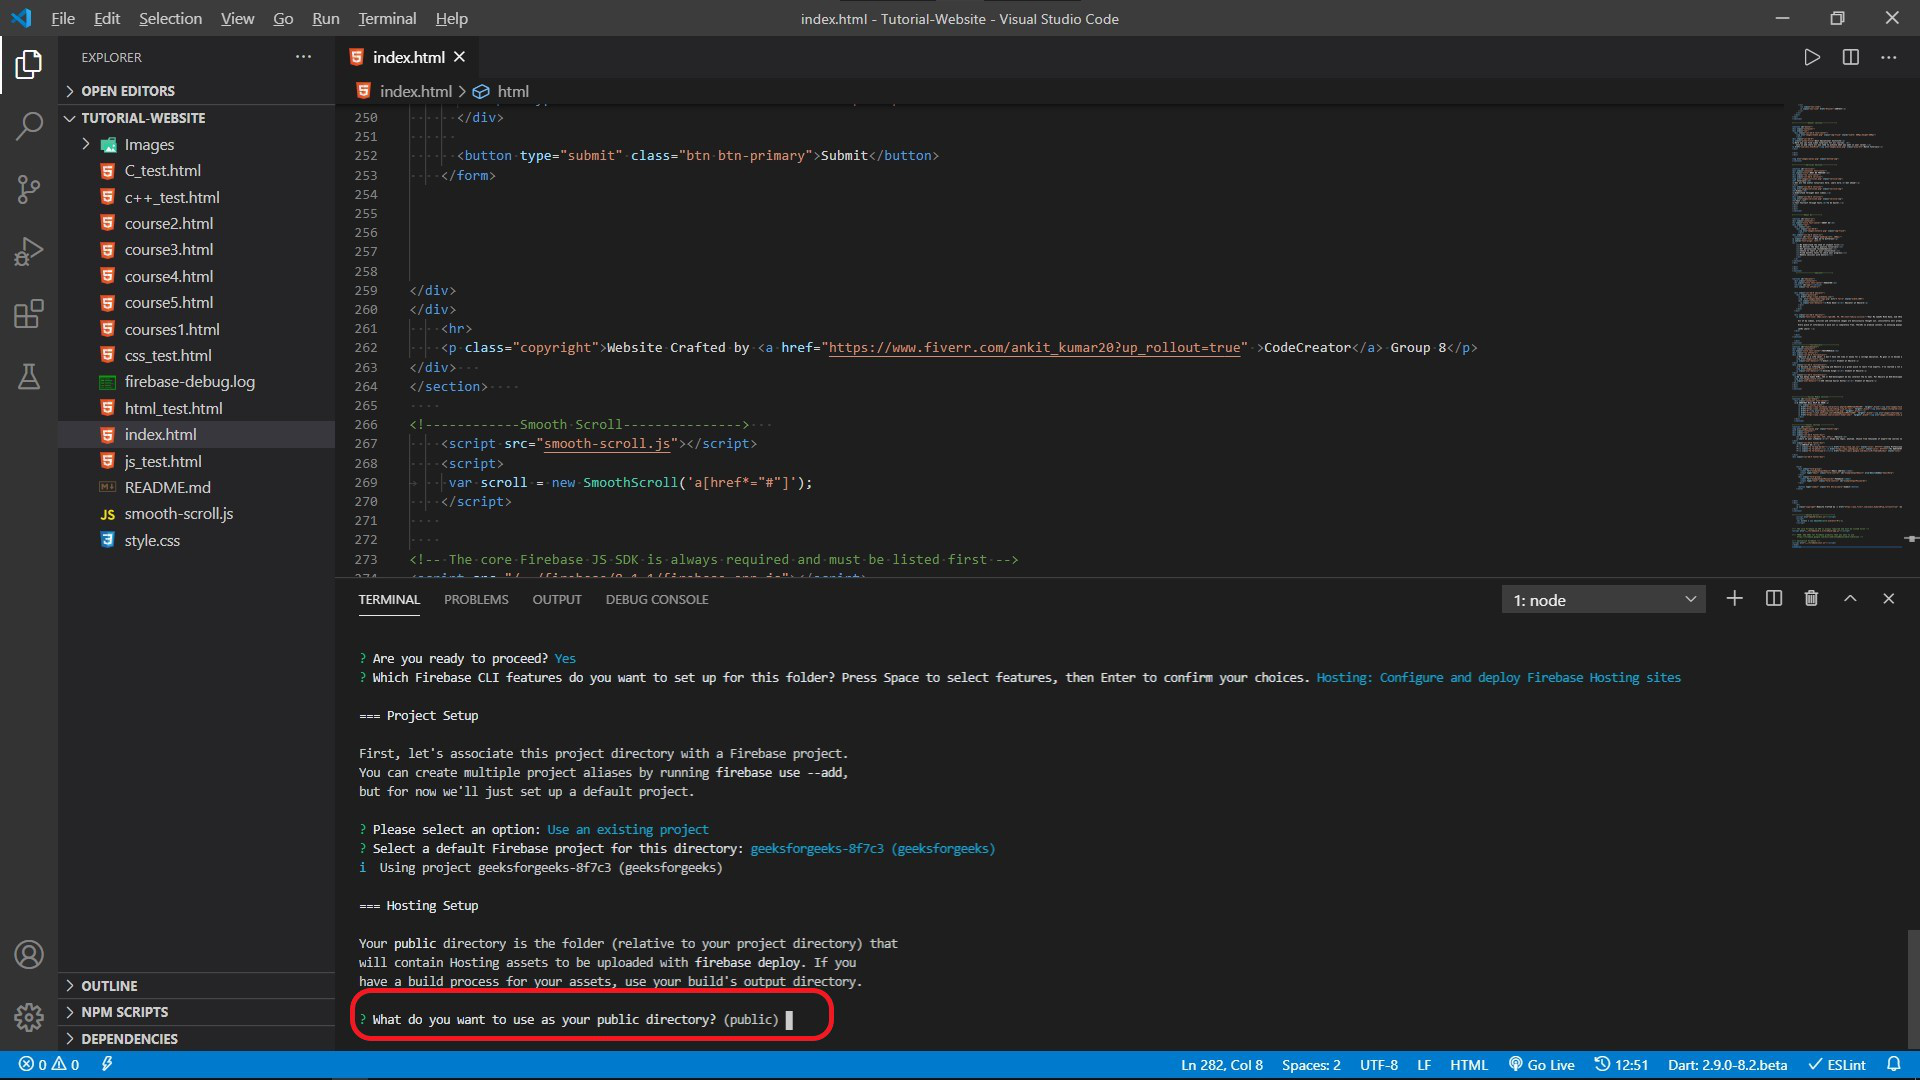
Now, we are asked what do we want to use in our public directory? That means which folder should the one containing all the files of the website to be hosted. If we hit enter a public folder will be automatically created for us.
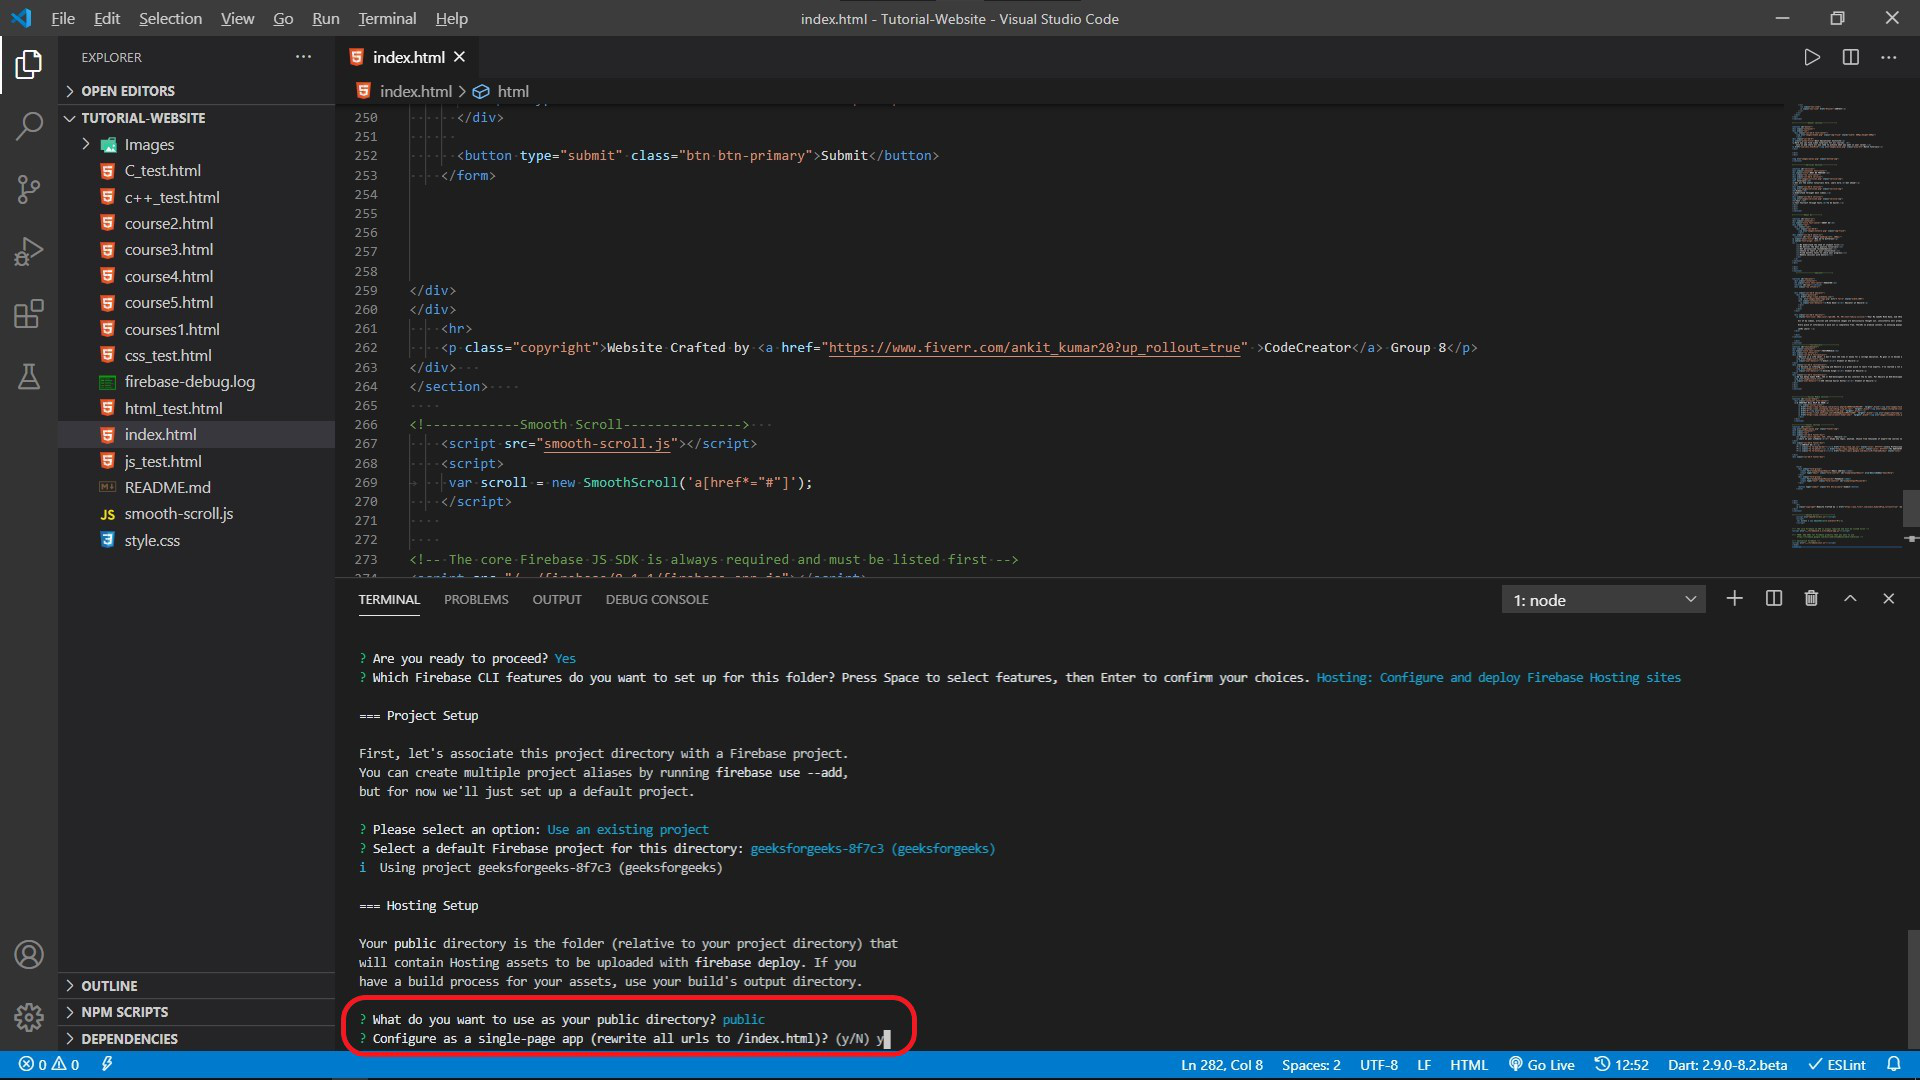
Here we should type y (yes) to rewrite all the URL to index.html. And hit enter.
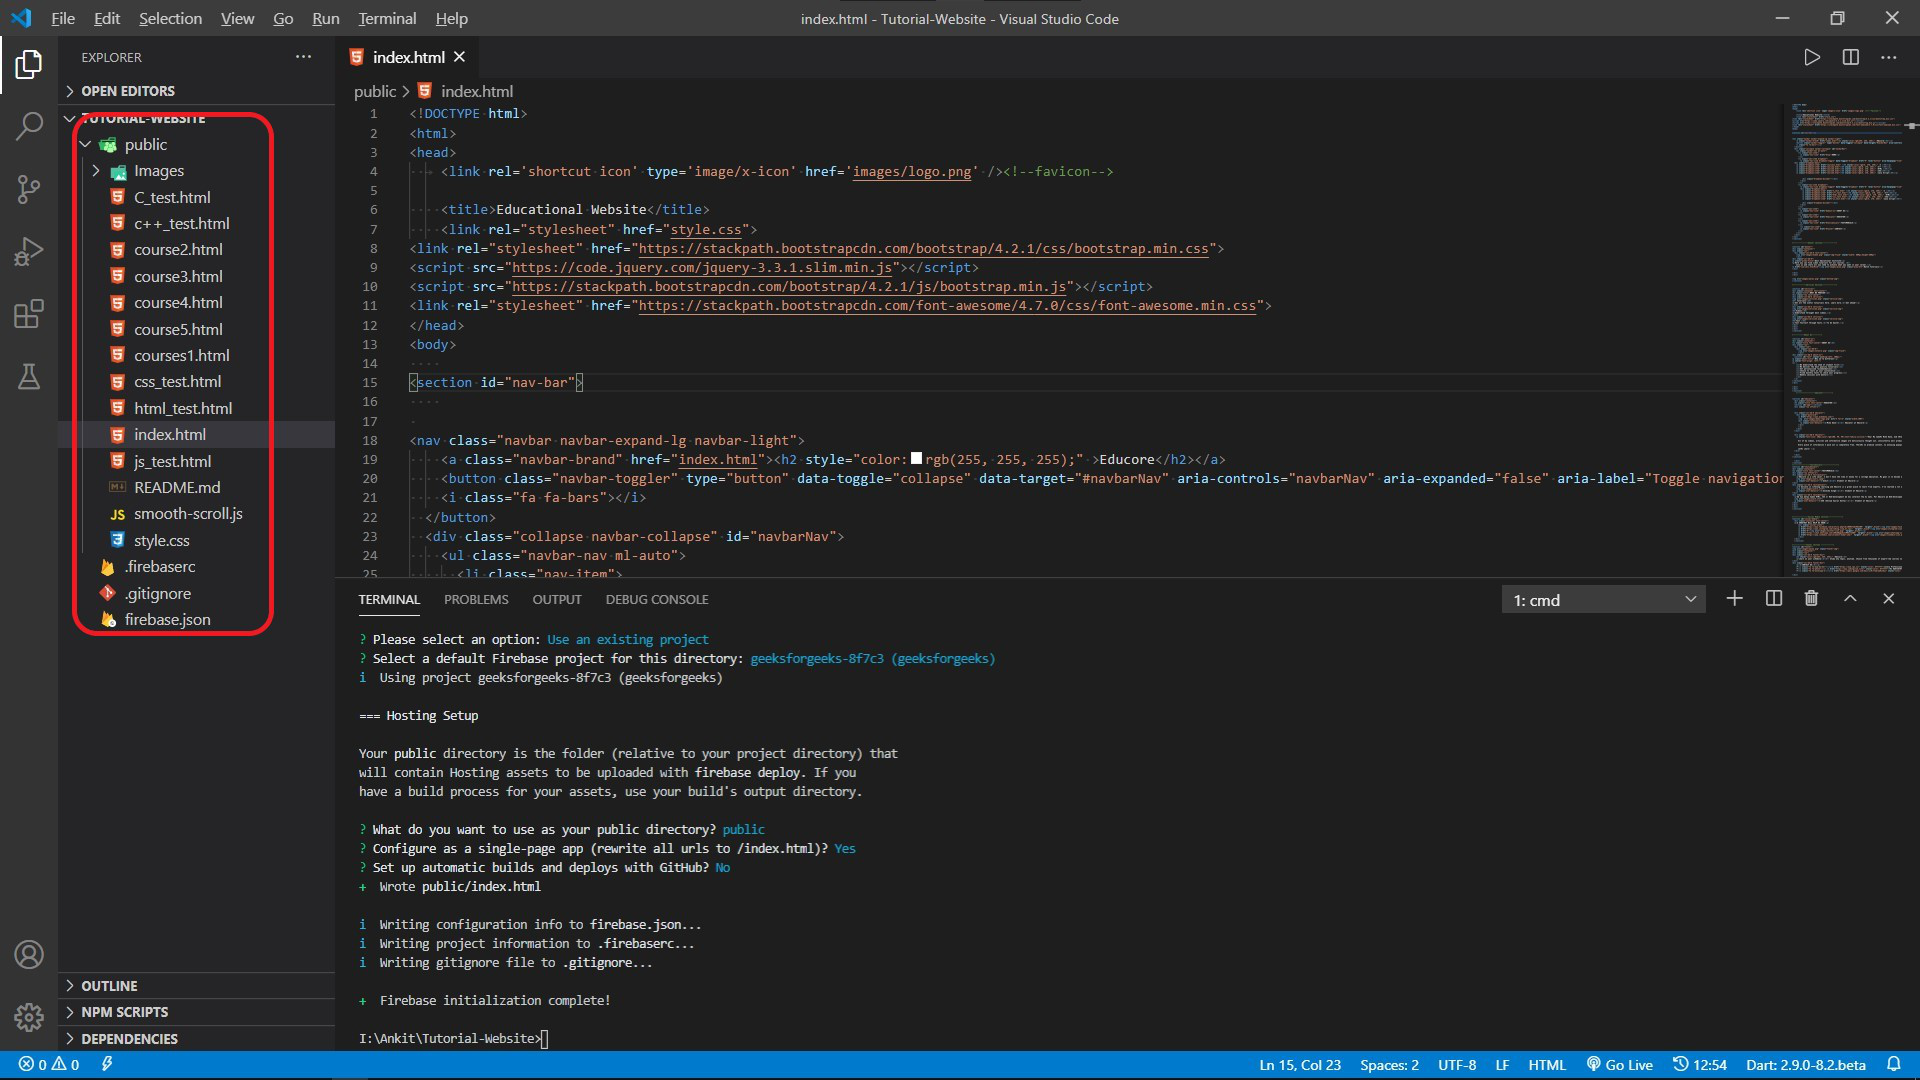
And you will see a public folder is created in addition to three other files. Now what we need to do is cut all our websites’ files and shift them to the public folder.
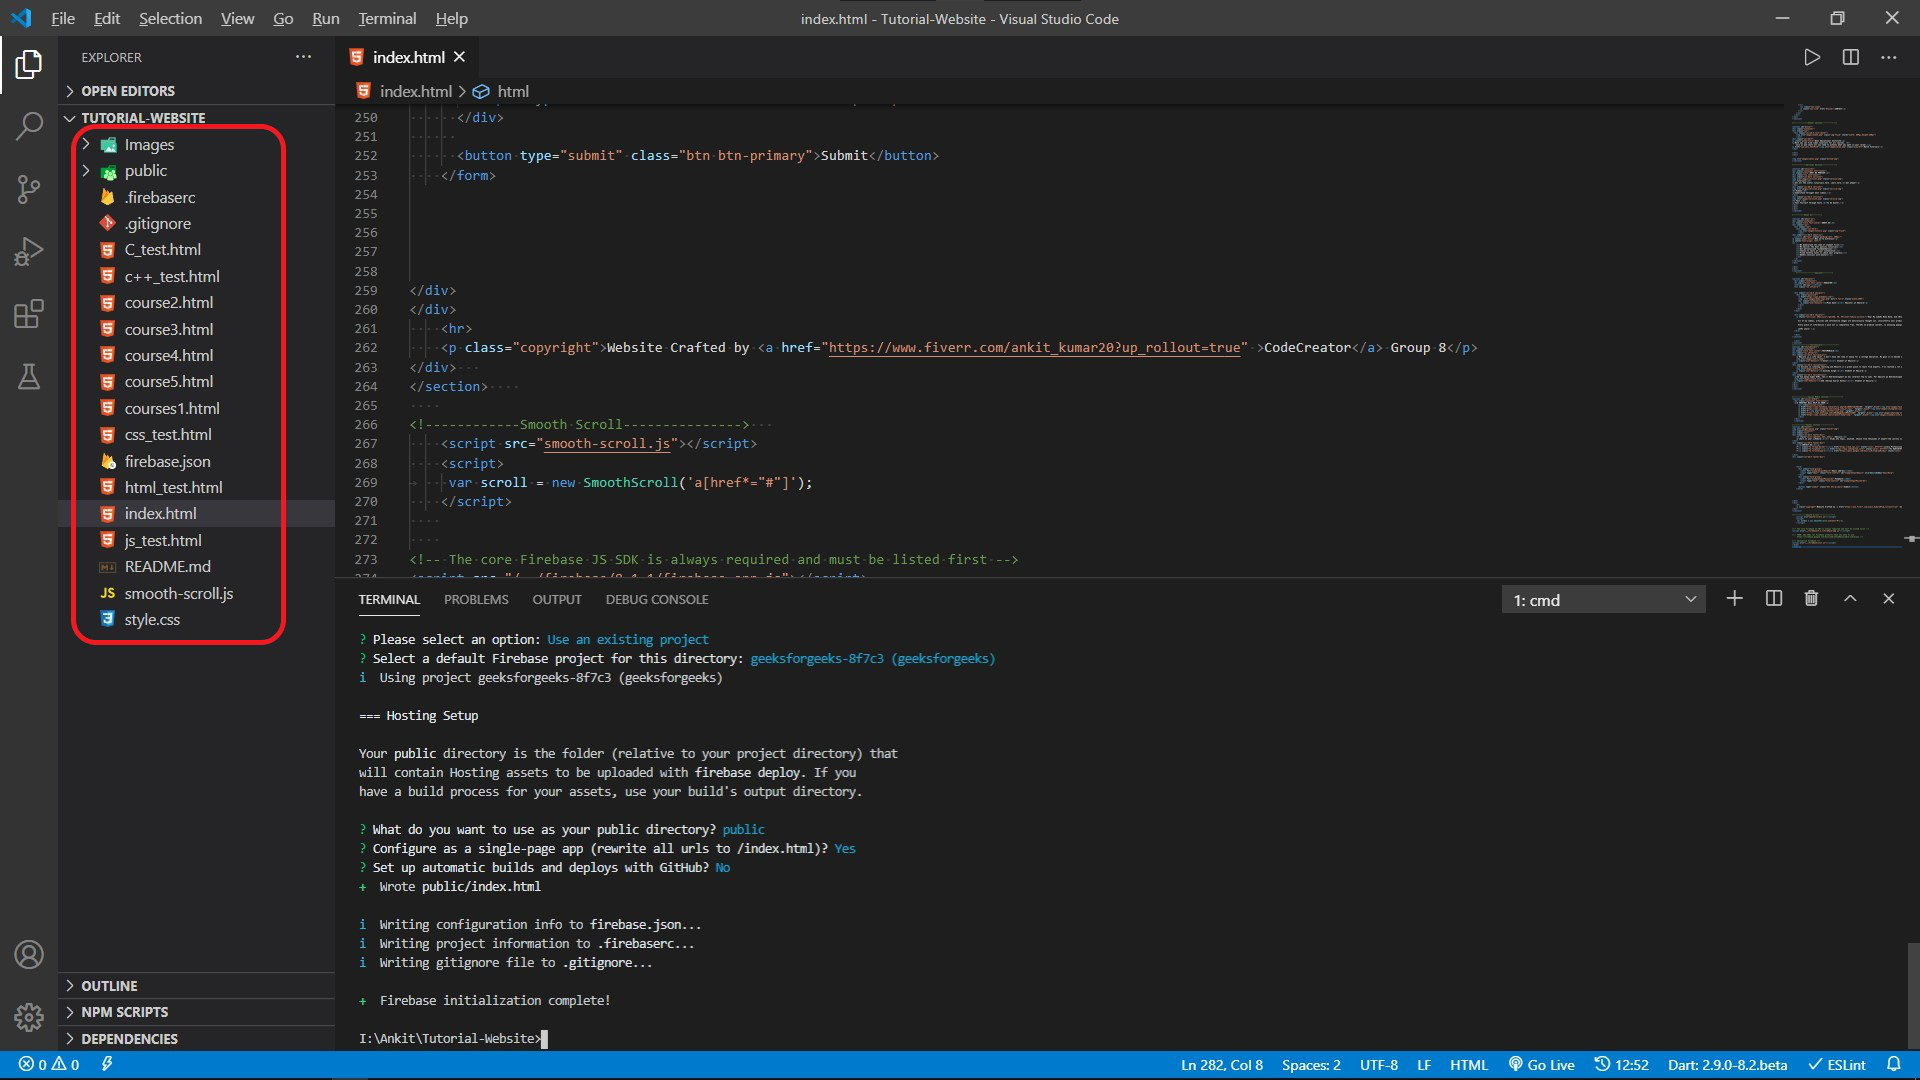
All the files associated with our website should be in the public folder.
Now, we have one last command to run ‘firebase deploy‘ (you can copy from the firebase website).
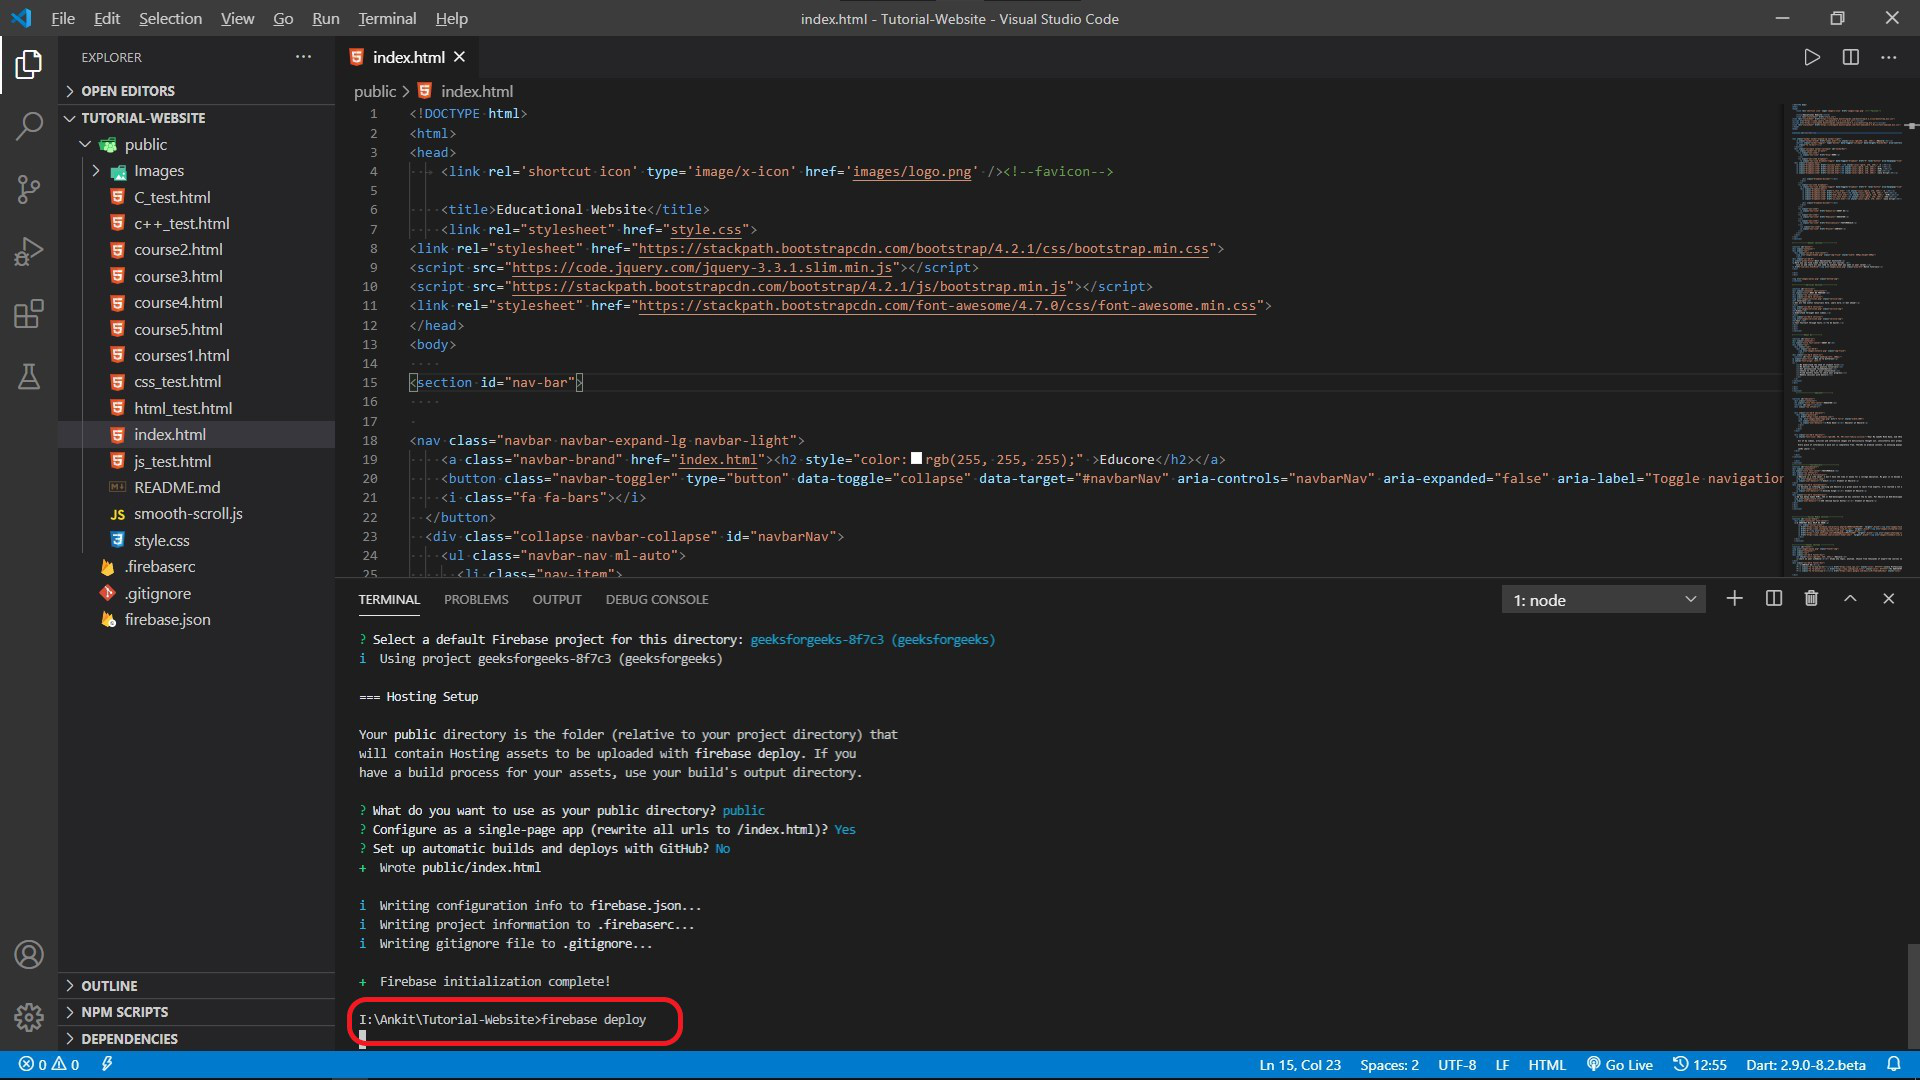
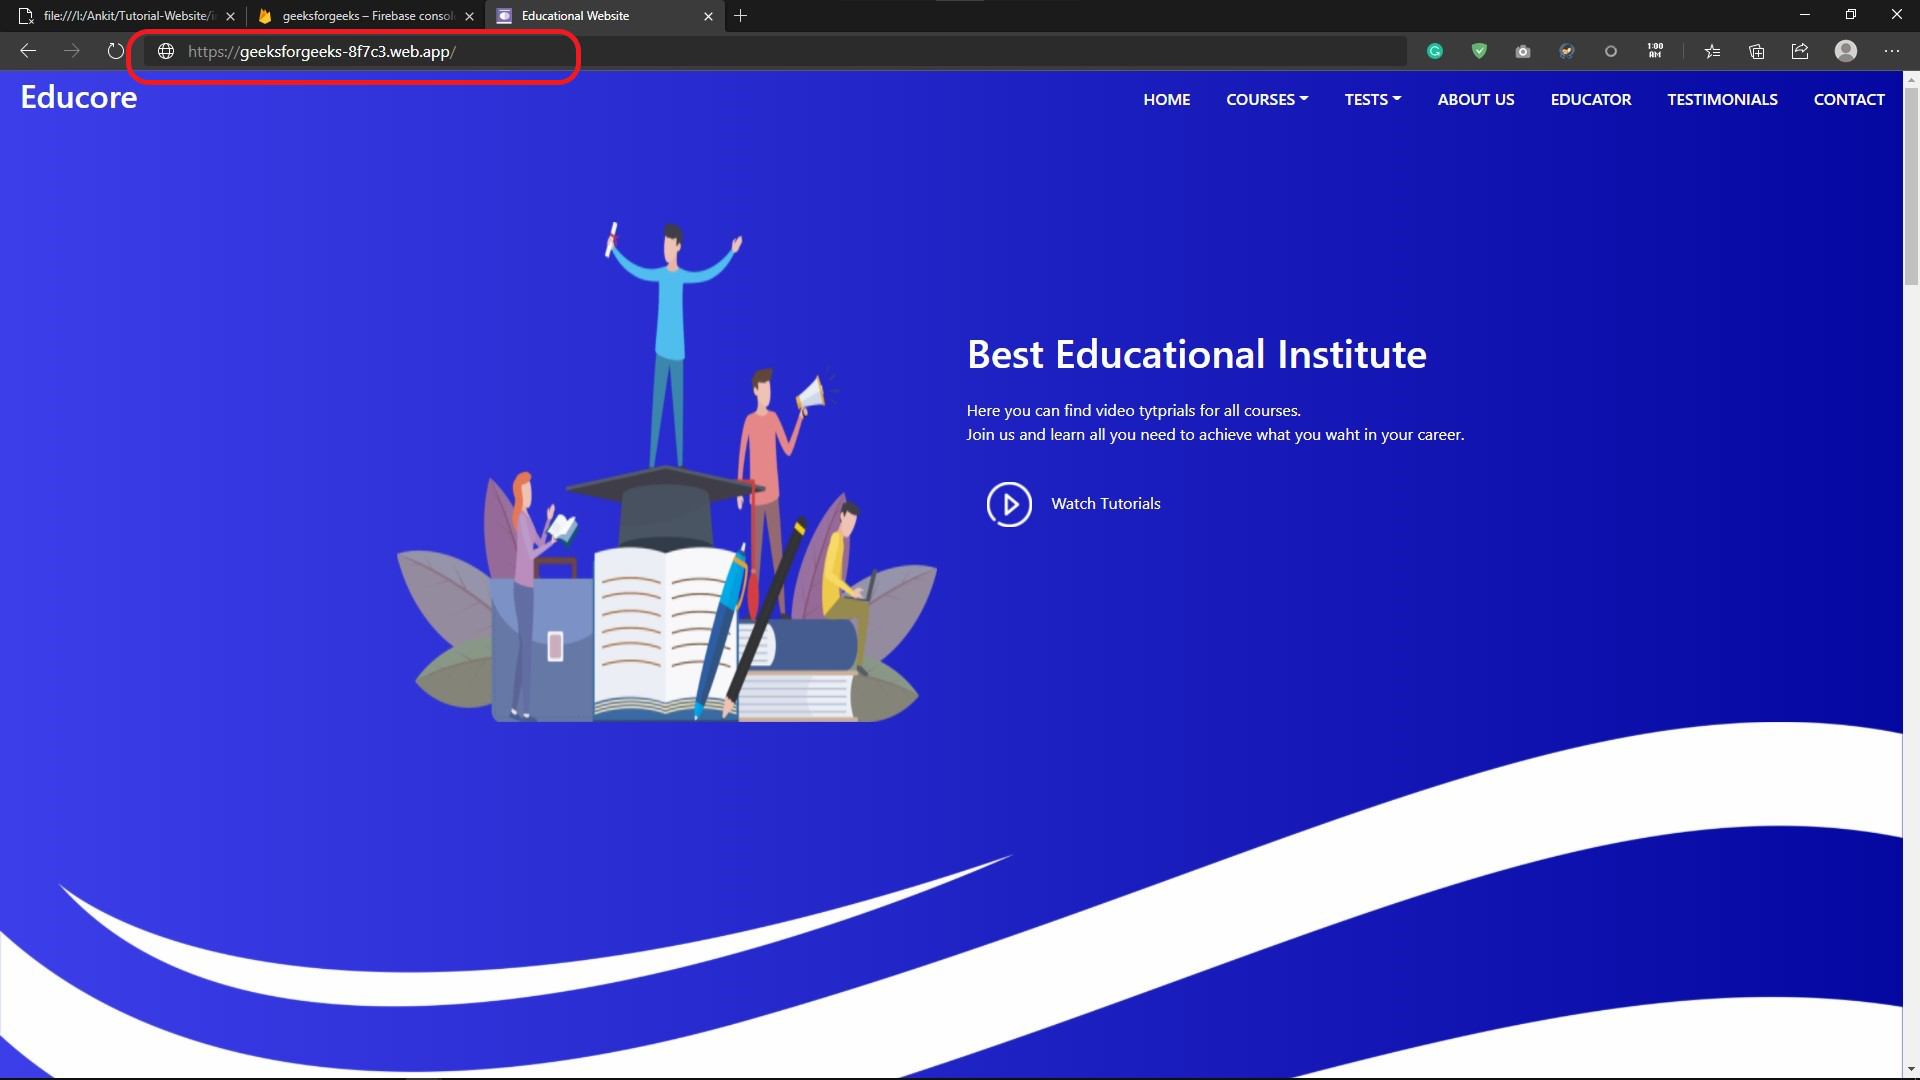
After the command executes and all our files get pushed to firebase hosting which will take a minute or two, we will be given a URL to the project console and website.
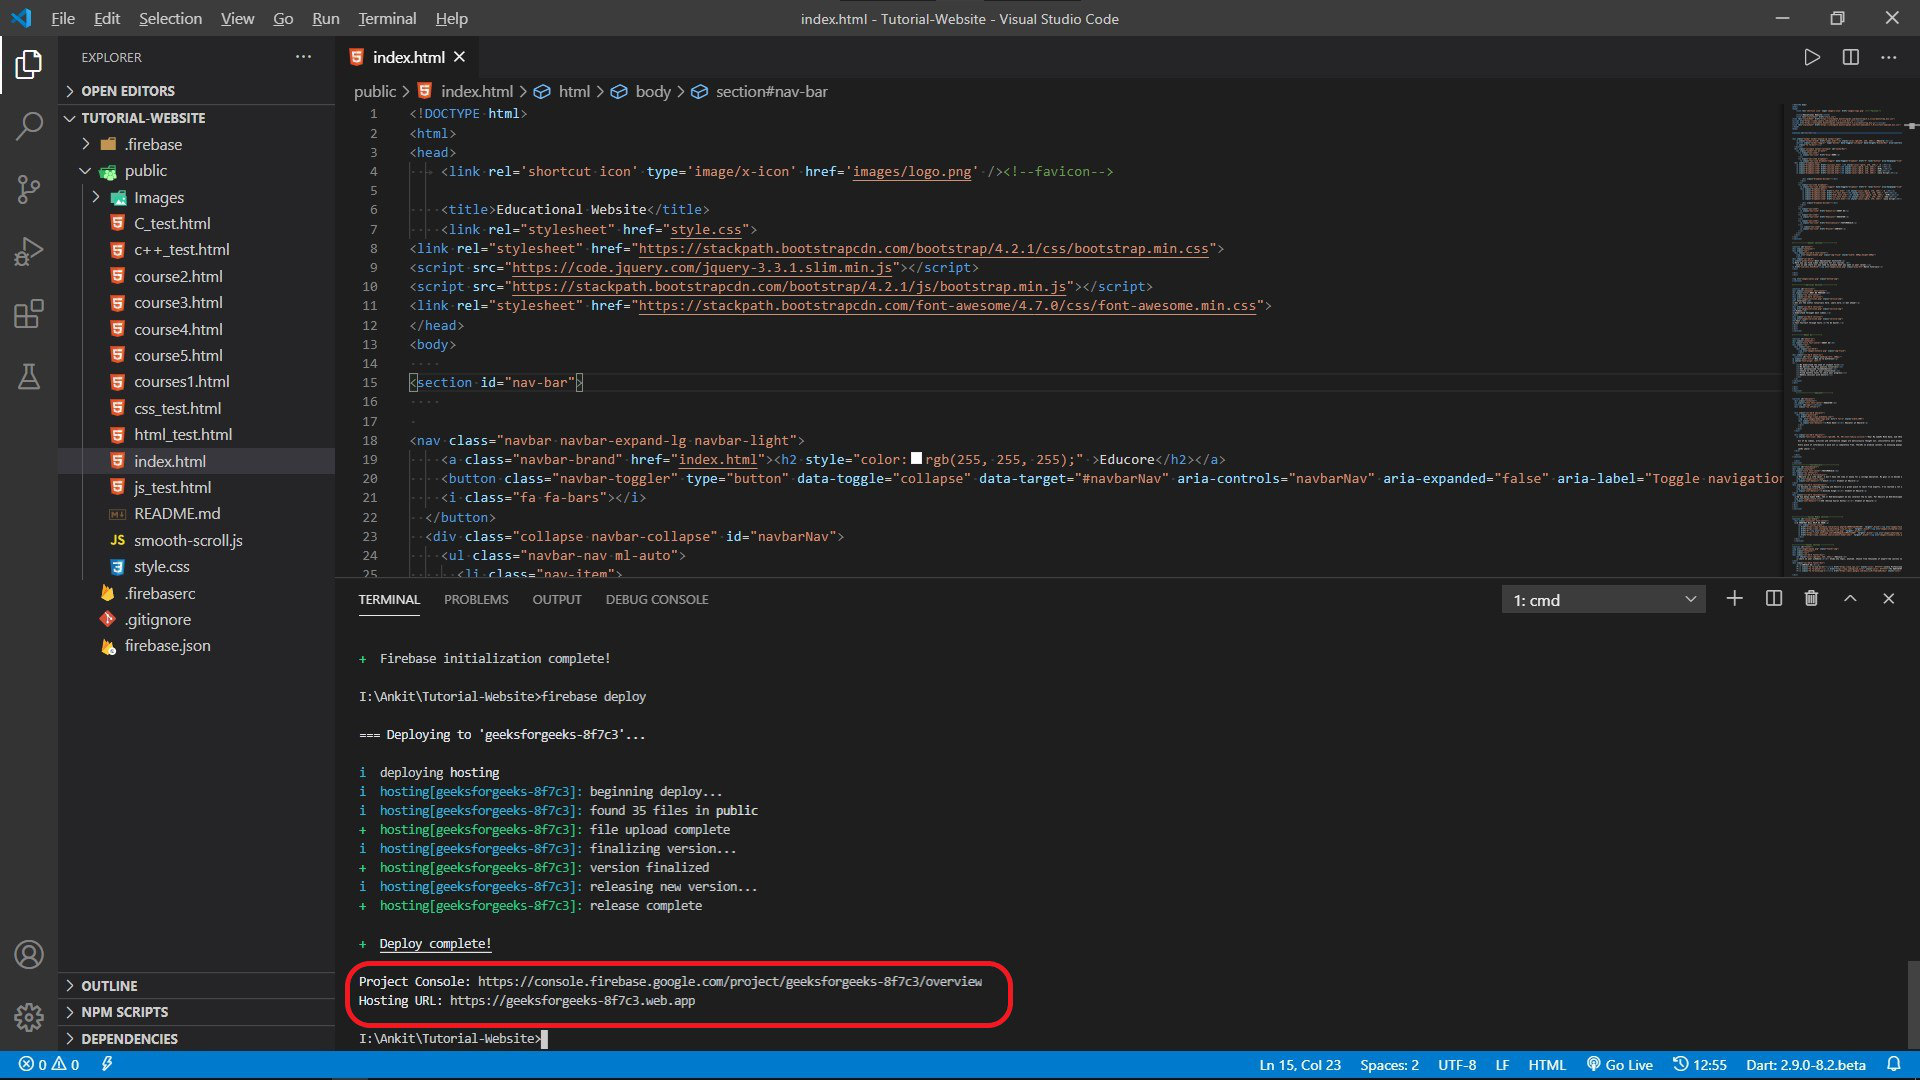
Now we can click the hosting URL, and we will see our website on the internet.
Like Article
Suggest improvement
Share your thoughts in the comments
Please Login to comment...