HomeBrew – Installation on MacOS
Last Updated :
08 Jan, 2021
Homebrew is a package manager used for installing software to Mac systems and Linux systems. It comes in handy as using it can avoid the use of “sudo” command which is not always safe. This enhances the security of the systems. It was developed and open-sourced by Max Howell. It uses Github to serve packages to users through user contribution.
Installing Homebrew is straightforward as long as you understand the Mac Terminal.
Prerequisites:
- macOS operation system
- command-line tools
Install Homebrew:
- Step1: Open Terminal.
- Step 2: Use the below command to get an overview of the requirements for installation.
/bin/bash -c "$(curl -fsSL https://raw.githubusercontent.com/Homebrew/install/HEAD/install.sh)"
Now if you are facing an error like this image shown below:

Operation not permitted while installing brew
Try this Command before running Step 2:
sudo chown -R $(whoami) usr/local
Output:
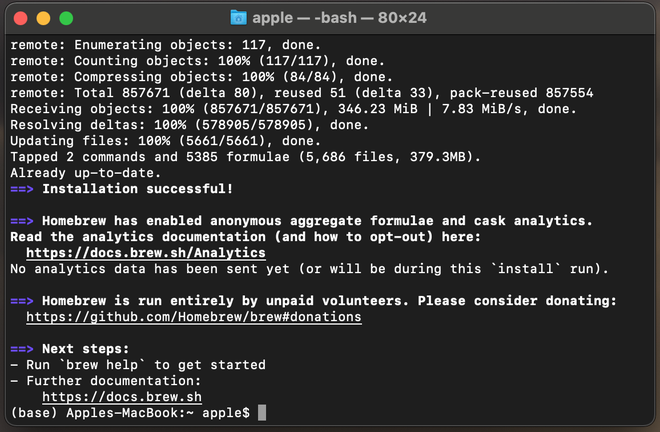
Successfully installed homebrew
At this stage, you are all set to enjoy the services provided by Homebrew.
Update Homebrew:
New versions of Homebrew come out frequently, so make sure you update it before updating any of the other software components that you’ve installed using Homebrew.
Use the below command in the terminal to update to the latest stable version of Homebrew:
brew update
This will result in the below output:

Uninstall Homebrew:
To uninstall Homebrew from your system follow the below steps:
- Step1: Open Terminal.
- Step 2: Use the below command to uninstall Homebrew.
/bin/bash -c "$(curl -fsSL https://raw.githubusercontent.com/Homebrew/install/master/uninstall.sh)"

This downloads and runs the uninstaller script. Follow the instructions and Homebrew will be removed from your computer.
Like Article
Suggest improvement
Share your thoughts in the comments
Please Login to comment...