Flutter – Magic 8 Ball App
Last Updated :
02 Dec, 2022
We will be building a Magic 8 Ball app that will give you the answers to all fun tricky questions (basically it is a fun game app that will change its state of image Flatbutton using Stateful widgets). For this, we will use Stateless and Stateful Flutter widgets, a Flatbutton.
We will be using VS Code IDE for this project, you can also use Android Studio or any other IDE. Now, First, create the Flutter project with the initial steps and follow the below steps:
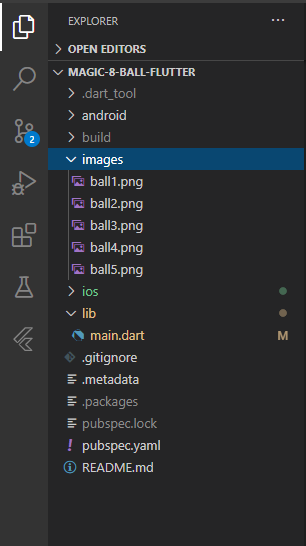
- Step 1: Create an images folder in the project directory and add the required images.
Note: The images used in the article can be download images from here if you want to follow along.
Step 2: Now, include the images in pubspec.yaml file to use them in the app.
Note: Use proper indentation, otherwise your images will not be included.

Step 3: Now, add the following code in main.dart file:
Dart
import 'package:flutter/material.dart';
import 'dart:math';
void main() => runApp(
MaterialApp(
home: BallPage(),
),
);
class BallPage extends StatelessWidget {
@override
Widget build(BuildContext context) {
return Scaffold(
backgroundColor: Colors.green[100],
appBar: AppBar(
backgroundColor: Colors.green[600],
title: Text('GeeksforGeeks'),
),
body: Ball(),
);
}
}
class Ball extends StatefulWidget {
Ball({Key key}) : super(key: key);
@override
_BallState createState() => _BallState();
}
class _BallState extends State<Ball> {
int ballNumber = 1;
@override
Widget build(BuildContext context) {
return Center(
child: FlatButton(
onPressed: () {
setState(() {
ballNumber = Random().nextInt(5) + 1;
});
},
child: Image.asset('images/ball$ballNumber.png'),
),
);
}
}
|
Output:
Explanation of main.dart
- The code starts by importing the necessary packages.
- The Material design library is used to create a user interface, and the dart:math package is used for basic mathematical operations.
- The main() function creates an instance of the Material app and calls runApp() to start it running.
- This app has two pages: BallPage and FlatButtonPage.
- BallPage contains a body widget that contains a ball object.
- The build() method returns a Scaffold widget with the following properties: backgroundColor set to green, title set to “GeeksforGeeks”, and child widgets for displaying the ball number and an image asset for showing the ball onscreen.
- FlatButtonPage contains only one child widget, which is a FlatButton widget with two properties: onPressed property that sets state when it’s pressed, and child property that references BallPage .
- When FlatButton Page is pressed, its onPressed() method will be called, which will call BallPage ‘s setState() method to update ballNumber .
- Finally, when FlatButton Page is released from touch or keyboard input, its child’s destroy() method will be called so that BallPage can release any resources it needs.
- The code first imports the necessary packages for Flutter and Dart.
- Next, it creates a Material App with two Scaffolds – one for the Home Page and another for the Ball Page.
- The Home Page has a FlatButton that will be triggered when it is pressed.
- The Ball Page contains an Image as well as a child FlatButton that will be triggered when the ballNumber variable is incremented by 1.
- Finally, the _BallState class extends StatelessWidget which creates and manages the state of the Ball widget.
- When the app is run, you should see a green background with a green AppBar on top and a centered ball image in the center of each screen.
Like Article
Suggest improvement
Share your thoughts in the comments
Please Login to comment...