Flutter – Dice Roller App
Last Updated :
11 Dec, 2022
Here we will be building a simple dice app that rolls on click. For this, we will add a button and when we click on it the dice should roll. We can achieve this by wrapping Image Widget in a FlatButton Widget and changing dice images randomly in a callback function which is set to onPressed property of the FlatButton.
We will create this app using Stateful Widgets. Stateful Widgets are the ones that change its properties during run-time. They are dynamic i.e., they are mutable and can be drawn multiple times within its lifetime. It can change its appearance in response to events triggered by user interactions or when it receives data like Checkbox, Radio Button, Slider, InkWell, Form and TextField.
Do the initial setup for Flutter Development and create a project. Now, follow the below steps to build the app.
Step 1: Create an image folder and add the required images in the folder.
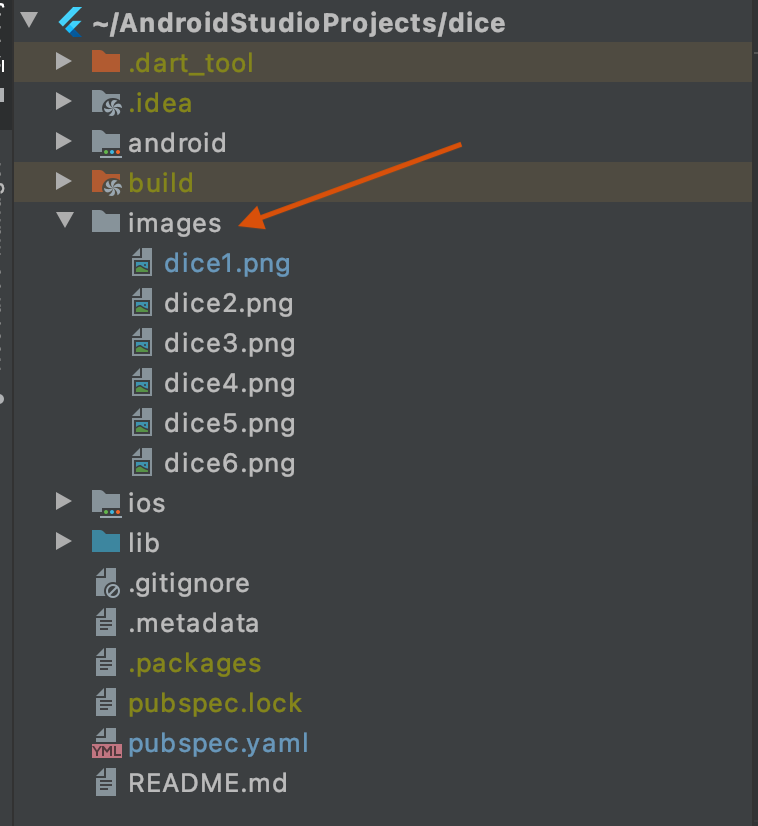
Add dice images in images folder
Step 2: Include the images in the pubspec.yaml file.
flutter:
  uses-material-design: true
  assets:
  - images/
Note: Use proper indentation in pubspec.yaml.
Step 4: Working with the main.dart file.
Whenever we change the internal state of a State object, we should make the changes in a function that we have passed to setState:
setState(() { myState = newValue; });
Go to the main.dart file and refer to the following code. Below is the code for the main.dart file.
Dart
import 'package:flutter/material.dart';
import 'dart:math';
void main() {
return runApp(
MaterialApp(
home: Scaffold(
backgroundColor: Colors.black,
appBar: AppBar(
title: Text('GFG | Dice'),
backgroundColor: Color.fromRGBO(15, 157, 88, 1),
),
body: Dice(),
),
),
);
}
class Dice extends StatefulWidget {
@override
_DiceState createState() => _DiceState();
}
class _DiceState extends State<Dice> {
int dice_no = 1;
void update() {
setState(() {
dice_no = Random().nextInt(6) + 1;
});
}
@override
Widget build(BuildContext context) {
return Center(
child: Expanded(
child: Padding(
padding: const EdgeInsets.all(50.0),
child: FlatButton(
child: Image.asset('images/dice$dice_no.png'),
onPressed: () {
update();
},
),
),
),
);
}
}
|
Output:
Note : You can download the required images from here.
Full Code Explanation:
- The code starts by creating a new Flutter application called MaterialApp.
- This application will contain a single widget, which is a dice widget.
- The dice widget has two children: an expanded child and a padding child.
- The expanded child contains the die image and the onPressed() function, while the padding child just contains some margin around it.
- The build() function returns the center of the app screen.
- The die widget is placed in this center, with its top left corner at (0, 0), its bottom right corner at (width/2, height/2), and its width and height set to 50% of the total screen size.
- The update() function first randomly selects an integer from 0 to 6 and sets dice_no to that number plus 1.
- It then calls update(), which updates all of the game state variables based on that random number.
- The code creates a MaterialApp which contains a Dice widget as well as an AppBar.
- The AppBar has the title “GFG | Dice” and the background color is set to black.
- The build method for the Dice widget will center it within the MaterialApp.
- Additionally, it will add padding around the sides and bottom of the widget, as well as a FlatButton on top which will be used to trigger the update method.
- Lastly, an image asset called “images/dice$dice_no.png” will be added to the child of the FlatButton so that when it is pressed, it will load and use update() to perform its duties.
Like Article
Suggest improvement
Share your thoughts in the comments
Please Login to comment...