Fix “Module not specified” Error in Android Studio
Last Updated :
06 Jun, 2021
Whenever we try to debug the application on Android Studio we may encounter the error “Module not specified” in the Android Studio. So, In this article, we will discuss 4 different methods for fixing the “Module not specified” error in Android Studio.
Method 1
All you need to do is Resync your project Gradle files to add the app module through Gradle. Following are the steps:
- In the root folder of your project, open the settings.gradle file for editing.
- Delete the line include ‘:app’ from your file.

- On Android Studio, click on the File Menu, and select Sync Project with Gradle files.
- After step 3, Add again, include ‘:app’ to the settings.gradle file.
- Re-run Sync Project with Gradle files again.
After this, your error “Module not specified” will be resolved.
Method 2
Another best method to resolve this error is to try to delete the app.iml in your project directory and restart android studio. This will definitely work out and your error of “Module not specified” will be resolved.
Method 3
If the above two methods did not work for you, you can follow the below steps to resolve your issue.
- Firstly, close all the android studio projects.
- then, remove the project from the recent projects in android studio wizard.
- Restart Android Studio.
- Instead of open an existing project Android Studio project, use the import option (Import project- Gradle, Eclipse ADT, etc).
- File -> Sync project with gradle files.

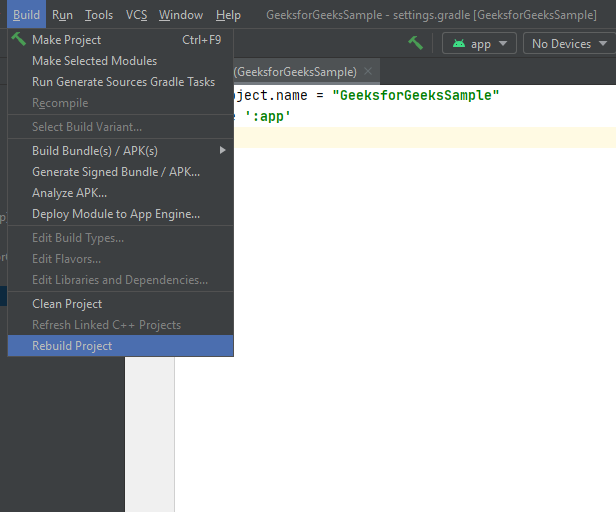
Method 4
And at last, if all of the above methods did not work for you, you can also clean your project and do invalidate caches/restart from the menu bar. After that, your project might be fixed and the error will be resolved.

Like Article
Suggest improvement
Share your thoughts in the comments
Please Login to comment...