ESLint – Pluggable JavaScript linter
Last Updated :
08 Sep, 2021
Before getting into ESlint first you should be aware of linting. It is the process of checking the code for any errors. A Linter is an automated tool that runs on a static piece of code to find any kind of discrepancy arising due to formatting or due to bad coding practices. Running a Linting tool over the source code helps to improve the quality and readability of the code.
ESLint: It is a JavaScript linting tool which is used for automatically detecting incorrect patterns found in ECMAScript/JavaScript code. It is used with the purpose of improving code quality, making code more consistent, and avoiding bugs. ESLint is written using Node.js to provide a fast runtime environment and easy installation via npm.
The “ES” in ESLint stands for “EcmaScript”, which was created to standardize Javascript.
Prerequisites: Before installing or start working on ESLint, we have to make sure few things are available in our system.
Installation:
- We can install ESLint using npm(node package manager).
npm install -g eslint
- We can set up a configuration file by below command.
eslint --init
- We can run ESLint on any file or directory by below command.
eslint yourfile.js
Advantages of Using ESLint:
- Static Analyser: ESLint can be easily integrated into most of the text editors like (VS Code, Sublime).ESLint allows developers to discover problems with their JavaScript code without even executing it. It analyses the static code quickly and can be integrated as part of the integration pipeline also.
- Customizable: ESLint is easily customizable to suit the needs of the developers. The primary reason ESLint was created was to allow developers to create their own linting rules. One can write their own rules that work alongside the ESLint’s built-in rules.
- Automatic Fix: ESLint not only identifies the issues but also fixes them automatically. The fixed feature of ESLint is pretty great and can auto-format/fix much of the code according to the ESLint configurations. We can find bugs and errors timely.

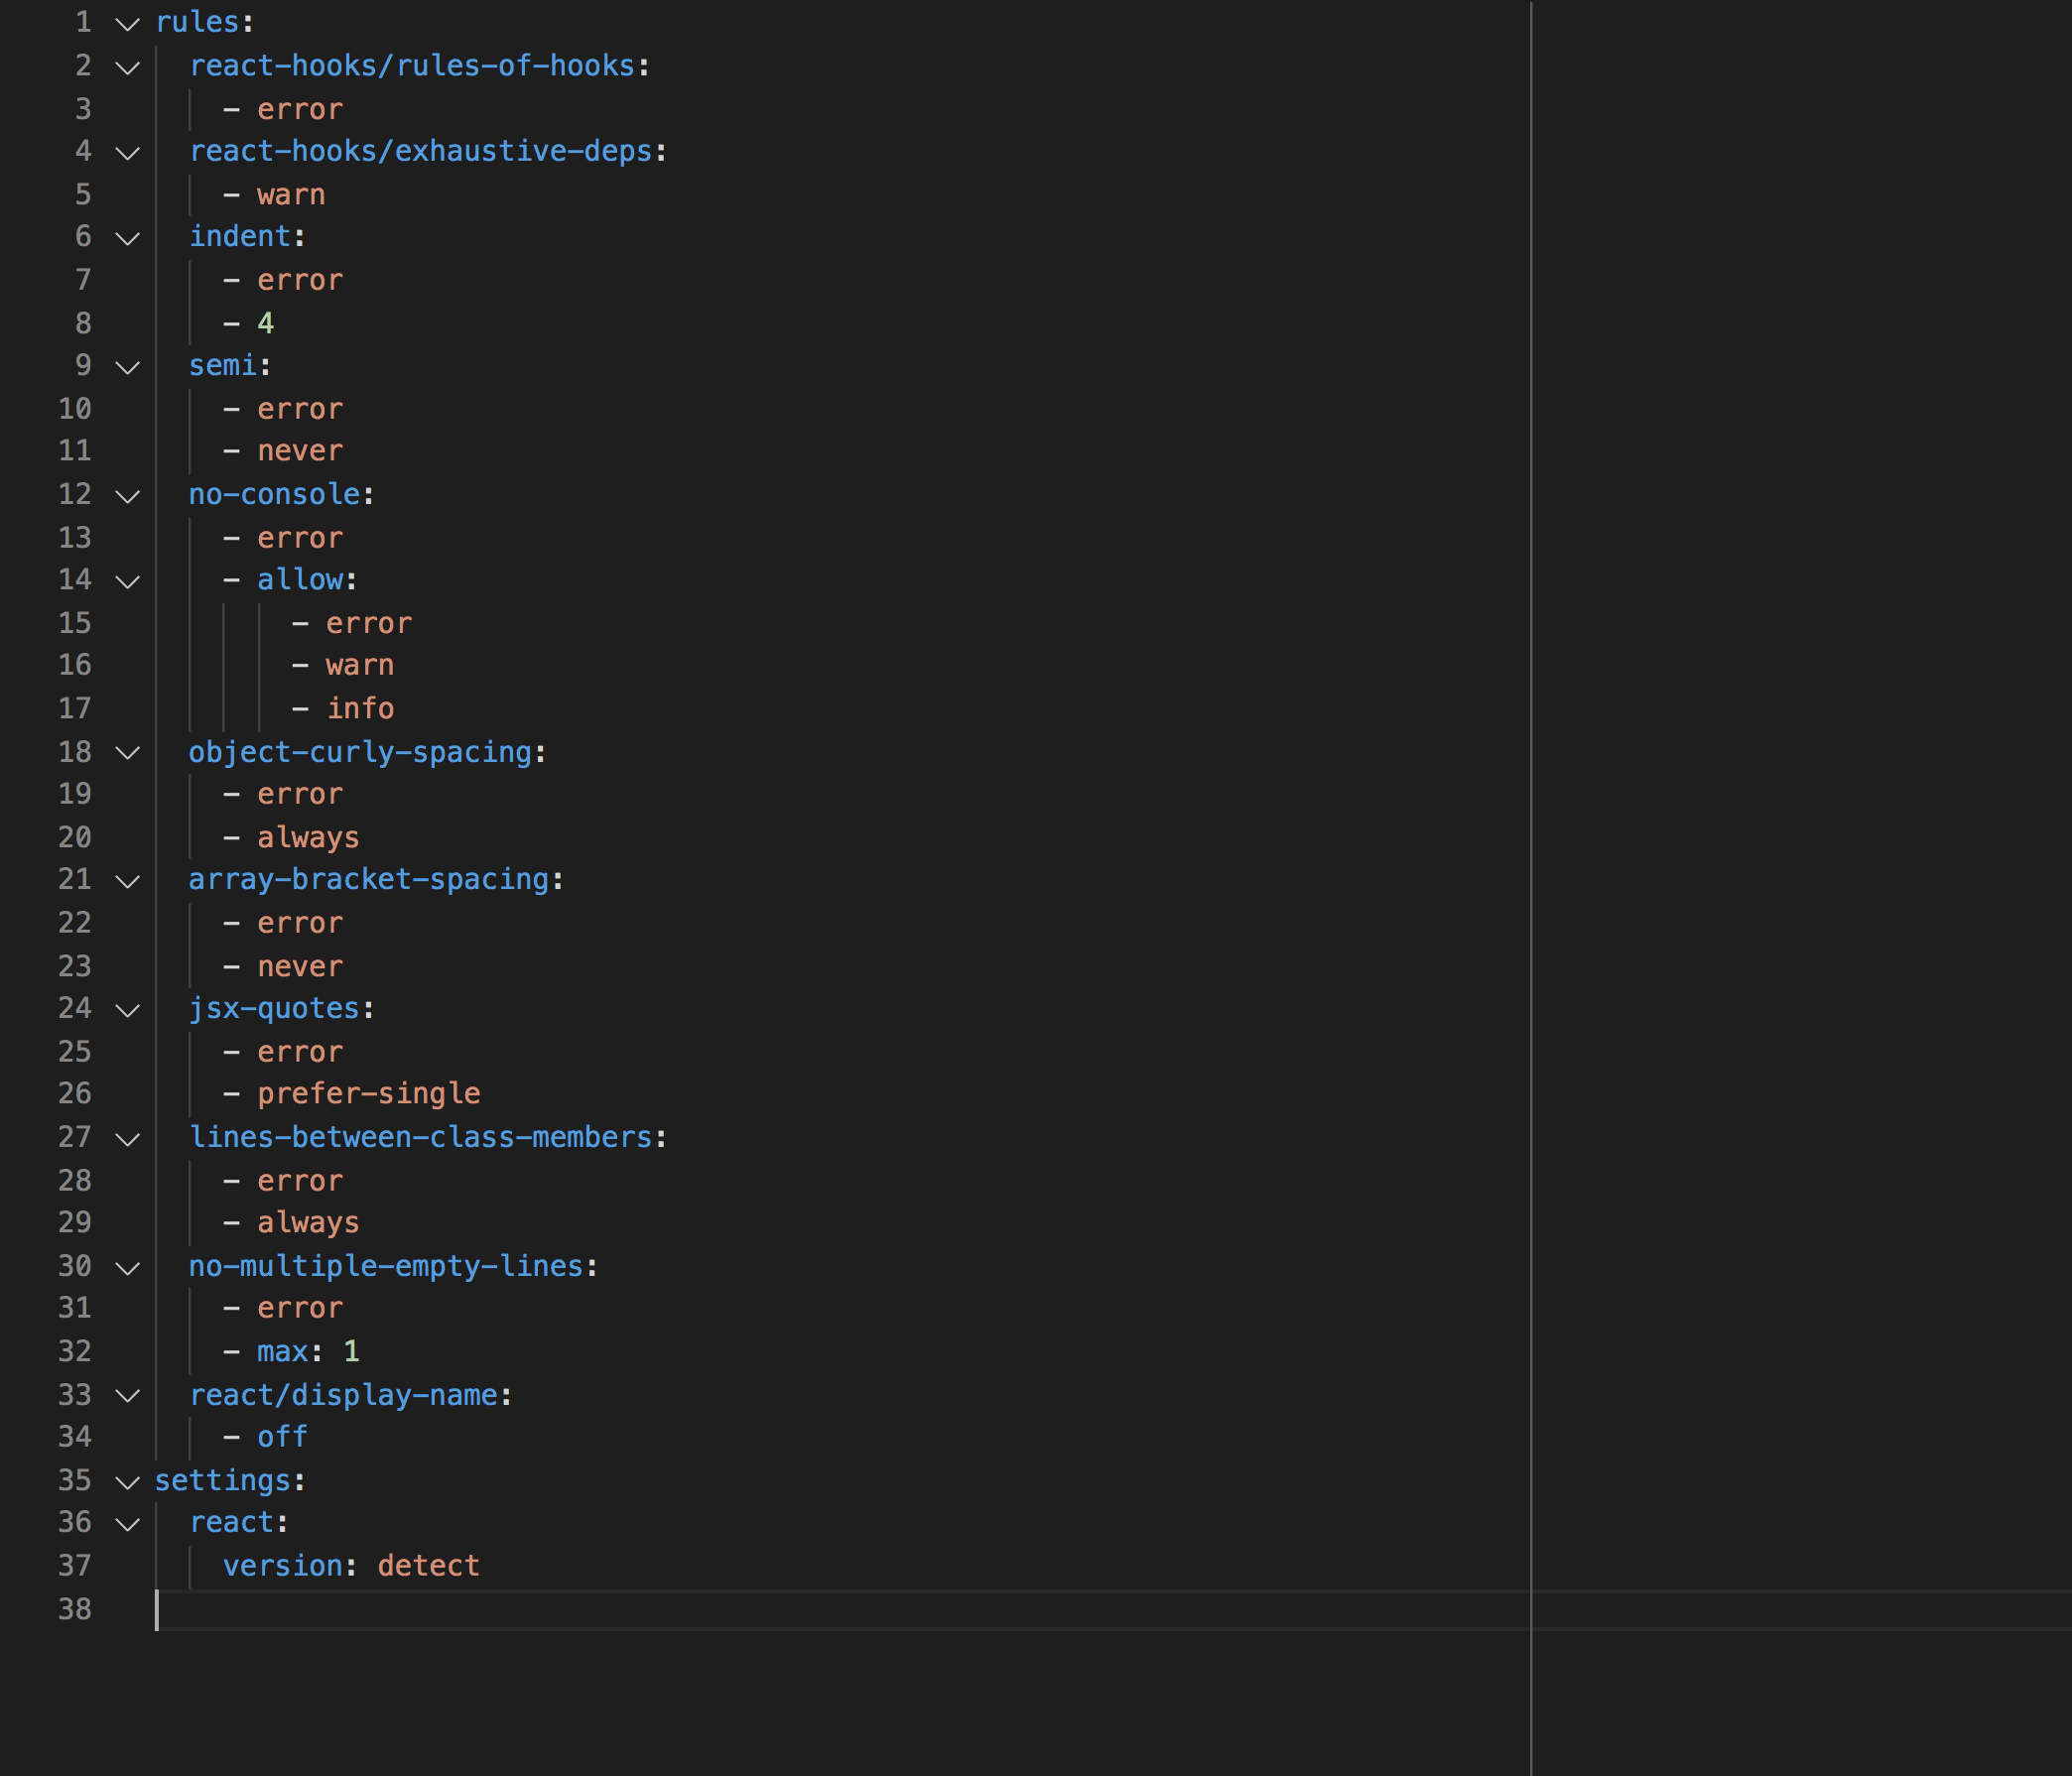
Configuration Rules: The ESLint comes with a large number of rules. We can modify those rules in our project by using configuration command or configuration files. To change the settings of any rule, we must set the rule ID equal to one of these values:
- “off” or 0: To turn off the rule.
- “warn” or 1: To turn on the rule as a warning (doesn’t affect exit code).
- “error” or 2: To turn on the rule as an error (exit code is 1 when triggered).
Steps to set up ESLint in VSCode:
- Step 1: Create a Javascript/React project
- Step 2: Install eslint as an extension in the VS Code Editor.

- Step 3: Install ESLint globally by running below command.
npm install -g eslint
- Step 4: To initialize eslint in the project run below command
eslint --init
- Step 5: Modify the eslint configuration file in your project by setting up rules.
ESLint rules:
Like Article
Suggest improvement
Share your thoughts in the comments
Please Login to comment...