Drawing a cross on an image with OpenCV
Last Updated :
03 Jan, 2023
In this article, we are going to discuss how to draw a cross on an image using OpenCV-Python. We can draw an overlay of two lines one above another to make a cross on an image.
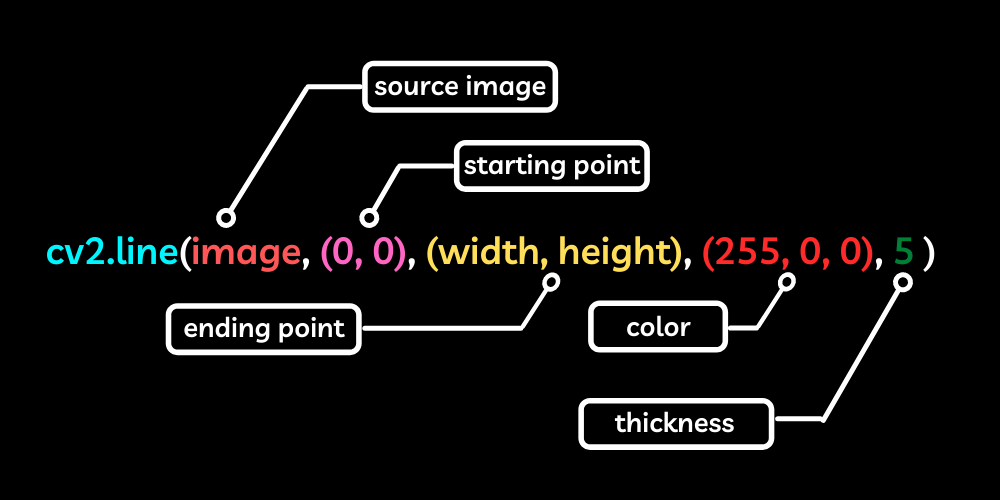
To draw a line on OpenCV, the below function is used.
Syntax: cv2.line(image, starting Point, ending Point, color, thickness)
Parameters:
- Image – The source image on which you need to draw the shape.
- startingPoint – The coordinates of the image where the line should start. Which is represented by a tuple of co-ordinates (x-axis, y-axis), basically the pixel’s location from where to start.
- endingPoint – The coordinates of the image where the line should end. Which is represented by a tuple of co-ordinates (x-axis, y-axis).
- Color – Color of the line drawn on the image. Represented by BGR color values on a tuple in which each value is between 0 – 255
- (255,0,0) for BLUE
- (0,255,0) for GREEN
- (0,0,255) for RED]
- Thickness – Thickness of the drawn line in pixels.
To draw a cross on an image we first need to import the necessary libraries,
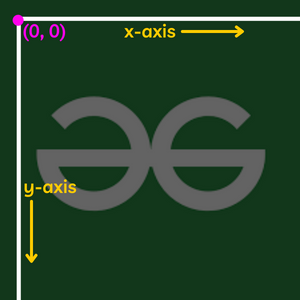
Then read the image on which you are going to draw the shape, and then call the line function on OpenCV to draw a line across the given coordinates of the x-axis and y-axis which are basically the starting and ending pixel’s location on the image. In OpenCV, for some reason, the x and y planes are straight opposite to the normal cartesian planes we use. Where the x-axis is at the top edge and the y-axis is at the left edge of an image but upside down which implies the increase in the x-axis means moving towards the right of the image and increase in the y-axis means moving down the image.
And to get the image’s width and height we need to call a simple function in OpenCV which will return the shape of the image and from that, we can get the width and height of the image and we can use it on the program. Simply call the .shape method on the image to get the dimensions.
The program to draw a cross on an image,
Python3
import cv2
import numpy
image = cv2.imread('image.png')
height = image.shape[0]
width = image.shape[1]
cv2.line(image, (0, 0), (width, height), (0, 0, 255), 5)
cv2.line(image, (width, 0), (0, height), (0, 0, 255), 5)
cv2.imshow('image', image)
cv2.waitKey(0)
cv2.destroyAllWindows()
|
Output:
Note: You can mention the starting and ending pixel of your choice to make the cross small and large according to your needs
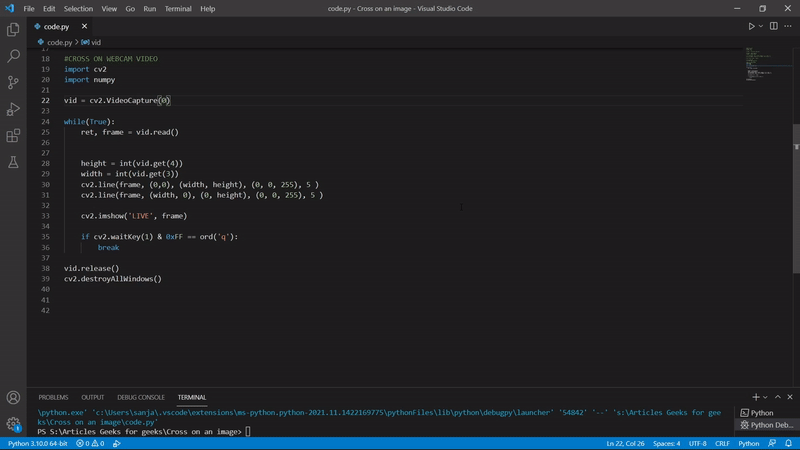
Cross on live webcam feed
Now let’s see how to draw an image on a video from a live camera feed of our machine. For this, we first need to initiate our live webcam, and then we need to capture an image every millisecond and show it one another one to get a video from our webcam and then add the overlay lines on every single frame that we capture from the webcam every single millisecond to achieve the result.
Note: To know more about using a webcam with OpenCV refer – Accessing webcam using Python-OpenCV
Python3
import cv2
import numpy
vid = cv2.VideoCapture(0)
while(True):
ret, frame = vid.read()
height = int(vid.get(4))
width = int(vid.get(3))
cv2.line(frame, (0, 0), (width, height), (0, 0, 255), 5)
cv2.line(frame, (width, 0), (0, height), (0, 0, 255), 5)
cv2.imshow('LIVE', frame)
if cv2.waitKey(1) & 0xFF == ord('q'):
break
vid.release()
cv2.destroyAllWindows()
|
Output:
Drawing cross by manually selecting the area:
We can do many things with the base we just learned. We can make wonders in OpenCV. Now for example we can create across by just manually selecting the area in an image. All we have to do is manually select the image’s area where we need to draw the cross. For this, we are going to use selectROI() function from OpenCV which will return the coordinates of the selected range of interest in the image Using those coordinates we can draw the cross and show the output.
Syntax: cv2.selectROI(Window_name, source image)
Parameter:
- window_name: name of the window where selection process will be shown.
- source image: image to select a ROI.
- showCrosshair: if true crosshair of the selection rectangle will be displayed.
- fromCenter: if true origin of selection will match initial mouse position
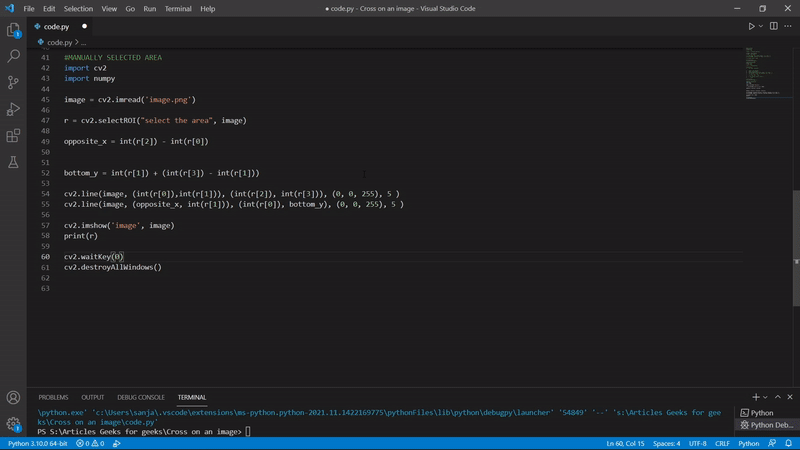
Example:
Python3
import cv2
import numpy
image = cv2.imread('image.png')
r = cv2.selectROI("select the area", image)
opposite_x = int(r[2]) - int(r[0])
bottom_y = int(r[1]) + (int(r[3]) - int(r[1]))
cv2.line(image, (int(r[0]), int(r[1])), (int(r[2]), int(r[3])), (0, 0, 255), 5)
cv2.line(image, (opposite_x, int(r[1])), (int(r[0]), bottom_y), (0, 0, 255), 5)
cv2.imshow('image', image)
cv2.waitKey(0)
cv2.destroyAllWindows()
|
Output:
Like Article
Suggest improvement
Share your thoughts in the comments
Please Login to comment...