Draw Multiple Rectangles in Image using Python-Opencv
Last Updated :
14 Feb, 2023
In this article, we are going to see how to draw multiple rectangles in an image using Python and OpenCV.
Function used:
- imread(): In the OpenCV, the cv2.imread() function is used to read an image in Python.
Syntax: cv2.imread(path_of_image, flag)
- rectangle(): In the OpenCV, the cv2.rectangle function is used to draw a rectangle on the image in Python.
Syntax: cv2.rectangle(image, starting_coordinate, ending_coordinate, color, thickness)
- imshow(): In the OpenCV, the cv2.imshow() function is used to display an image in Python.
Syntax: cv2.imshow(window_name, image)
- waitKey(): In the OpenCV, the cv2.waitkey() function allows you to wait for a specific time in milliseconds.
- destroyAllWindows(): In the OpenCV, the destroyAllWindows() function is used to closes all the windows created using the OpenCV methods.
Below is the implementation:
Python3
import cv2
img = cv2.imread("D:\Naveen\gfg.PNG")
cv2.rectangle(img, (100, 560), (700, 480),
(0, 0, 255), 3)
cv2.rectangle(img, (650, 450), (420, 240),
(255, 0, 0), 5)
cv2.rectangle(img, (150, 450), (380, 240),
(0, 255, 0), 4)
cv2.imshow('image', img)
cv2.waitKey(0)
cv2.destroyAllWindows()
|
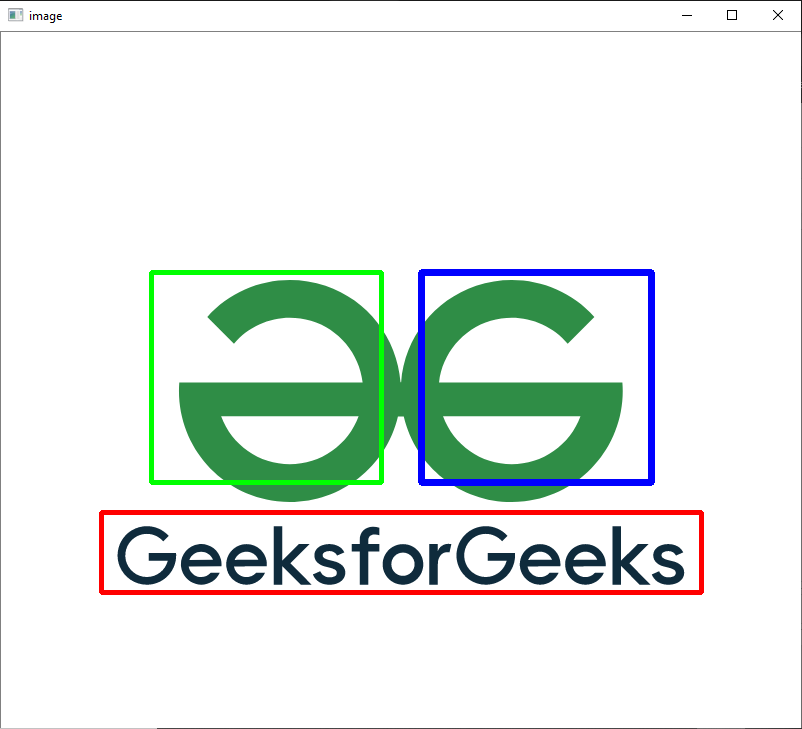
Output:
Like Article
Suggest improvement
Share your thoughts in the comments
Please Login to comment...