If you ever wanted to write a large program or software, the most common rookie mistake is to jump in directly and try to write all the necessary code into a single program and later try to debug or extend later.
This kind of approach is doomed to fail and would usually require re-writing from scratch.
So in order to tackle this scenario, we can try to divide the problem into multiple subproblems and then try to tackle it one by one.
Doing so, not only makes our task easier but also allows us to achieve Abstraction from the high-level programmer and also promotes Re-usability of code.
If you check any Open-Source project from either GitHub or GitLab or any other site of the likes, we can see how the large program is “decentralized” into many numbers of sub-modules where each individual module contributes to a specific critical function of the program and also various members of the Open Source Community come together for contributing or maintaining such file(s) or repository.
Now, the big question lies in how to “break-down” not theoretically but PROGRAMMATICALLY.
We will see some various types of such divisions in popular languages such as C/C++, Python & Java.
C/C++
For Illustrative Purposes,
Let us assume we have all the basic Linked List insertions inside one single program. Since there are many methods (functions), we cannot clutter the program by writing all the method definitions above the obligatory main function. But even if we did, there can arise the problem of ordering the methods, where one method needs to be before another and so on.
So to solve this problem, we can declare all the prototypes at the beginning of the program, followed by the main method and below it, we can define them in any particular order:
Program:
FullLinkedList.c
#include <stdio.h>
#include <stdlib.h>
struct Node;
struct Node* create_node(int data);
void b_insert(struct Node** head, int data);
void n_insert(struct Node** head, int data, int pos);
void e_insert(struct Node** head, int data);
void display(struct Node* temp);
int main()
{
struct Node* head = NULL;
int ch, data, pos;
printf("Linked List: \n");
while (1) {
printf("1.Insert at Beginning");
printf("\n2.Insert at Nth Position");
printf("\n3.Insert At Ending");
printf("\n4.Display");
printf("\n0.Exit");
printf("\nEnter your choice: ");
scanf("%d", &ch);
switch (ch) {
case 1:
printf("Enter the data: ");
scanf("%d", &data);
b_insert(&head, data);
break;
case 2:
printf("Enter the data: ");
scanf("%d", &data);
printf("Enter the Position: ");
scanf("%d", &pos);
n_insert(&head, data, pos);
break;
case 3:
printf("Enter the data: ");
scanf("%d", &data);
e_insert(&head, data);
break;
case 4:
display(head);
break;
case 0:
return 0;
default:
printf("Wrong Choice");
}
}
}
struct Node {
int data;
struct Node* next;
};
struct Node* create_node(int data)
{
struct Node* temp
= (struct Node*)
malloc(sizeof(struct Node));
temp->data = data;
temp->next = NULL;
return temp;
}
void b_insert(struct Node** head, int data)
{
struct Node* new_node = create_node(data);
new_node->next = *head;
*head = new_node;
}
void n_insert(struct Node** head, int data, int pos)
{
if (*head == NULL) {
b_insert(head, data);
return;
}
struct Node* new_node = create_node(data);
struct Node* temp = *head;
for (int i = 0; i < pos - 2; ++i)
temp = temp->next;
new_node->next = temp->next;
temp->next = new_node;
}
void e_insert(struct Node** head, int data)
{
if (*head == NULL) {
b_insert(head, data);
return;
}
struct Node* temp = *head;
while (temp->next != NULL)
temp = temp->next;
struct Node* new_node = create_node(data);
temp->next = new_node;
}
void display(struct Node* temp)
{
printf("The elements are:\n");
while (temp != NULL) {
printf("%d ", temp->data);
temp = temp->next;
}
printf("\n");
}
|
Compiling the code: We can compile the above program by:
gcc linkedlist.c -o linkedlist
And it works!
Underlying problems in the above code:
We can already see the underlying problem(s) with the program, the code is not at all easy to work with, neither individually nor in a group.
If someone would want to work with the above program, then some of the many problems faced by that person are:
- Need to go through the Full source file to improve or enhance some functionality.
- Cannot easily re-use the program as a framework for other project(s).
- Code is very cluttered and not at all appealing making it Very Difficult to navigate through the code.
In case of group project or large programs, the above approach is guaranteed to enhance the overall expenditure, energy and failure rate.
The Correct Approach:
We see these lines starting in every C/C++ program which starts with “#include ”.
This means to include all the functions declared under the “library” header (.h files) and defined possibly in library.c/cpp files.
These lines are processed by pre-processor during compilation.
We can manually try to create such a library for our own purpose.
Important things to remember:
- “.h” files contain only Prototype declarations (such as Functions, Structures) and global variables.
- “.c/.cpp” files contain the real implementation (Definitions of declaration in the header files)
- When compiling all the source files together, make sure there are no multiple definitions of a same functions, variable etc. for the same project. (VERY IMPORTANT)
- Use static functions to restrict to the file where they are declared.
- Use extern keyword to use variable(s) that reference external files.
- If using C++, be careful about namespaces always use namespace_name::function() to avoid collision.
Dividing the program into smaller codes:
Looking into the above program, we can see how this large program can be divided into suitable small parts and then easily worked on.
The above program has essentially 2 main functions:
1) Create, Insert and store data into Nodes.
2) Display the Nodes
So I can divide the program accordingly such that:
1) Main File -> Driver program, Nice Wrapper of the Insertion Modules and where we use the additional files.
2) Insert -> The Real Implementation Lies here.
Keeping the mentioned Important Points in mind, the program is divided as:
linkedlist.c -> Contains Driver Program
insert.c -> Contains Code for insertion
linkedlist.h -> Contains the necessary Node declarations
insert.h -> Contains the necessary Node Insertion Declarations
In each header file, we start with:
#ifndef FILENAME_H
#define FILENAME_H

Declarations...

#endif
The reason we write our declarations in between the #ifndef, #define and #endif is to prevent multiple declarations of identifiers such as data types, variables etc. when the same header file is invoked in new file belonging to the same project.
For this Sample Program:
insert.h -> Contains Node insertion’s declaration and also declaration of Node itself.
One very important thing to remember is that compiler can see declarations in header file but if you try to write code INVOLVING definition of the declaration declared elsewhere, it will lead to error since compiler compiles each .c file individually before the proceeding to the linking stage.
linkedlist.h -> A helper file that contains Node and it’s Display declarations that is to be included for files that uses them.
insert.c -> Include the Node declaration via #include “linkedlist.h” which contains the declaration and also all other definitions of methods declared under insert.h.
linkedlist.c -> Simple Wrapper containing an infinite loop prompting user to Insert Integer data at required position(s), and also contains the method that displays the list.
One final thing to keep in mind is that, mindless including files into each other may result in multiple re-definition(s) and result in error.
Keeping the above in mind should you carefully divide into suitable sub programs.
linkedlist.h
#ifndef LINKED_LIST_H
#define LINKED_LIST_H
struct Node {
int data;
struct Node* next;
};
void display(struct Node* temp);
#endif
|
insert.h
#ifndef INSERT_H
#define INSERT_H
struct Node;
struct Node* create_node(int data);
void b_insert(struct Node** head, int data);
void n_insert(struct Node** head, int data, int pos);
void e_insert(struct Node** head, int data);
#endif
|
insert.c
#include "linkedlist.h"
#include <stdlib.h>
struct Node* create_node(int data)
{
struct Node* temp = (struct Node*)malloc(sizeof(struct Node));
temp->data = data;
temp->next = NULL;
return temp;
}
void b_insert(struct Node** head, int data)
{
struct Node* new_node = create_node(data);
new_node->next = *head;
*head = new_node;
}
void n_insert(struct Node** head, int data, int pos)
{
if (*head == NULL) {
b_insert(head, data);
return;
}
struct Node* new_node = create_node(data);
struct Node* temp = *head;
for (int i = 0; i < pos - 2; ++i)
temp = temp->next;
new_node->next = temp->next;
temp->next = new_node;
}
void e_insert(struct Node** head, int data)
{
if (*head == NULL) {
b_insert(head, data);
return;
}
struct Node* temp = *head;
while (temp->next != NULL)
temp = temp->next;
struct Node* new_node = create_node(data);
temp->next = new_node;
}
|
linkedlist.c
#include "insert.h"
#include "linkedlist.h"
#include <stdio.h>
void display(struct Node* temp)
{
printf("The elements are:\n");
while (temp != NULL) {
printf("%d ", temp->data);
temp = temp->next;
}
printf("\n");
}
int main()
{
struct Node* head = NULL;
int ch, data, pos;
printf("Linked List: \n");
while (1) {
printf("1.Insert at Beginning");
printf("\n2.Insert at Nth Position");
printf("\n3.Insert At Ending");
printf("\n4.Display");
printf("\n0.Exit");
printf("\nEnter your choice: ");
scanf("%d", &ch);
switch (ch) {
case 1:
printf("Enter the data: ");
scanf("%d", &data);
b_insert(&head, data);
break;
case 2:
printf("Enter the data: ");
scanf("%d", &data);
printf("Enter the Position: ");
scanf("%d", &pos);
n_insert(&head, data, pos);
break;
case 3:
printf("Enter the data: ");
scanf("%d", &data);
e_insert(&head, data);
break;
case 4:
display(head);
break;
case 0:
return 0;
default:
printf("Wrong Choice");
}
}
}
|
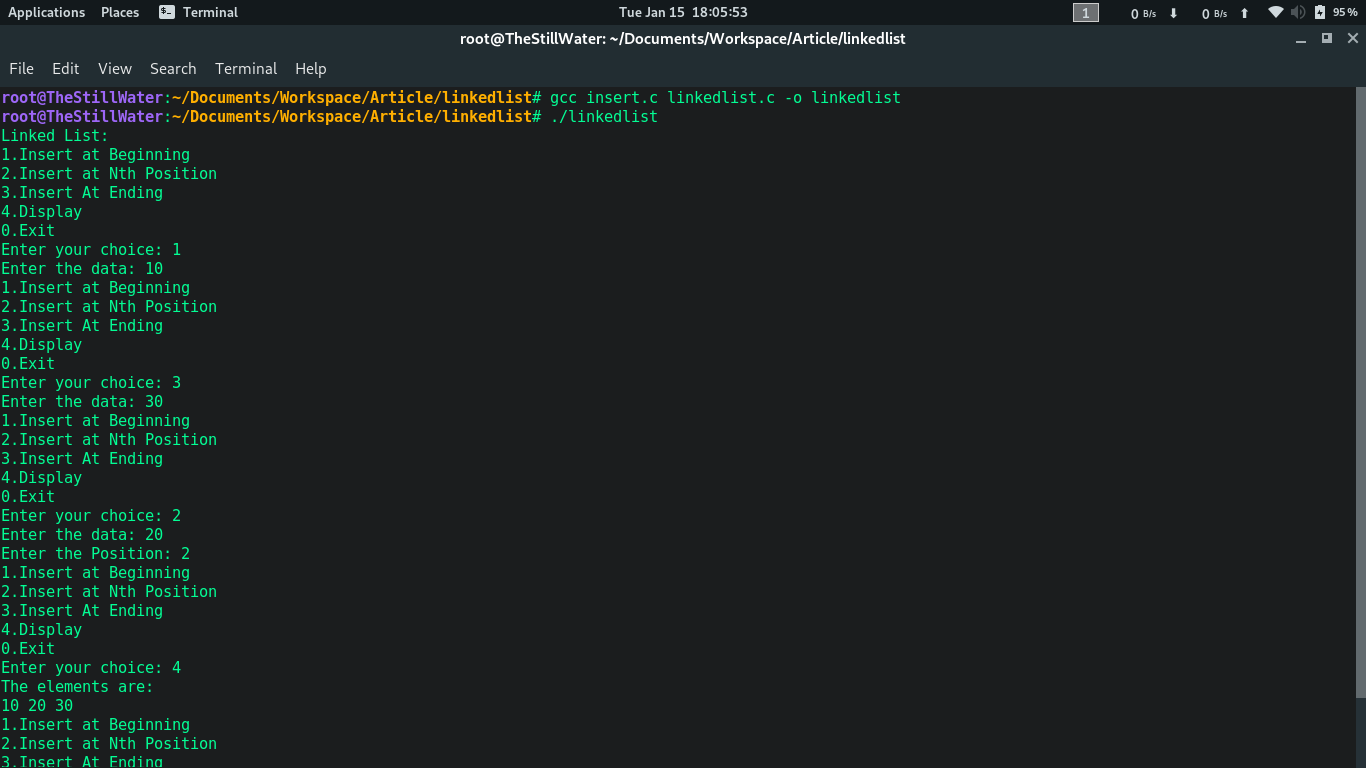
Finally, we save all of them and compile as follows.
gcc insert.c linkedlist.c -o linkedlist
Voila, it compiled successfully, let’s just do a quick sanity check, just in case:
Output:
It remains mostly same for C++ keeping aside usual language feature/implementation changes.
Python
Here it is not so difficult. Usually, the first thing to do is to create a virtual environment. It is a must in order to prevent breaking of a bunch of scripts due to various version dependencies and such. For eg, You might want to use Version 1.0 of some module for one project, but this latest version deprecated a feature that is available in 0.9 and you prefer to use the old version for this new project or simply you want to upgrade libraries without breaking old and existing projects. The solution is an isolated environment for each separate project/script(s).
How to instatll Virtual Env:
Use pip or pip3 to install virtualenv if not installed already:
pip install virtualenv
Setting up Isolated Environment for each project/script:
Next Navigate to some directory to store your projects and then:
virtualenv app_Name # (Or)
virtualenv -p /path/to/py3(or)2.7 app_name # For specific interpreter dependency
source app_name/bin/activate # Start Working
deactivate # To Quit
Now you can use pip to install all the desired modules and they act as standalone to this isolated project and you don’t need to worry of system wide script breaking. eg: With virtual env and source activated,
pip install pip install pandas==0.22.0
One important thing to do is to create an explicit empty file named:
__init__.py
This is done in order to treat the directory as containing package(s) and access sub modules inside the directory. If you don’t create such a file, Python will not explicitly look for sub-modules inside the project directory and any attempt to access them gives an error.
Importing the previously saved modules into new files:
Now you can start importing the previously saved modules into new files in either of the ways:
import module
from module import submodule # (or) from module.submodule import subsubmodule1, subsubmodule2
from module import * # (or) from module.submodule import *
The First line allows you to access references via module.feature() or module.variable.
The Second line allows you to access reference the mentioned specific module directly. eg: feature()
The Third line allows you to access all references directly. eg: feature1(), feature2() etc.
Example of a single cluttered File:
Point.py
class Point:
def __init__(self):
self.x = int(input ("Enter the x-coordinate: "))
self.y = int(input ("Enter the y-coordinate: "))
def distance (self, other):
return ((self.x - other.x)**2 + (self.y - other.y)**2) ** 0.5
if __name__ == "__main__":
print("Point 1")
p1 = Point ()
print("\nPoint 2")
p2 = Point ()
print( "Distance between the 2 points is {:.4f}".format (p1.distance(p2)))
|
The weird looking ‘if __name__ == “__main__”:‘ is used to prevent execution of the code under it when imported in other modules.
We can simply abstract the Point Implementation to a separate file and use a Main File to fulfill our exact requirement.
Dividing the code into smaller parts:
The Program can be divided such that:
1) Main File -> Driver program, Create, Manipulate and use Objects.
2) Point File -> All the methods we can define using a Point in the Cartesian plane.
This sample program contains:
Helper.py -> Which consists of a Point class that contains methods such as distance and also it consists of init method which helps auto-initialize the required x and y variables.
Main.py -> Main Program that creates 2 objects and finds the distance between them.
Helper.py
class Point:
def __init__(self):
self.x = int(input ("Enter the x-coordinate: "))
self.y = int(input ("Enter the y-coordinate: "))
def distance (self, other):
return ((self.x - other.x)**2 + (self.y - other.y)**2) ** 0.5
|
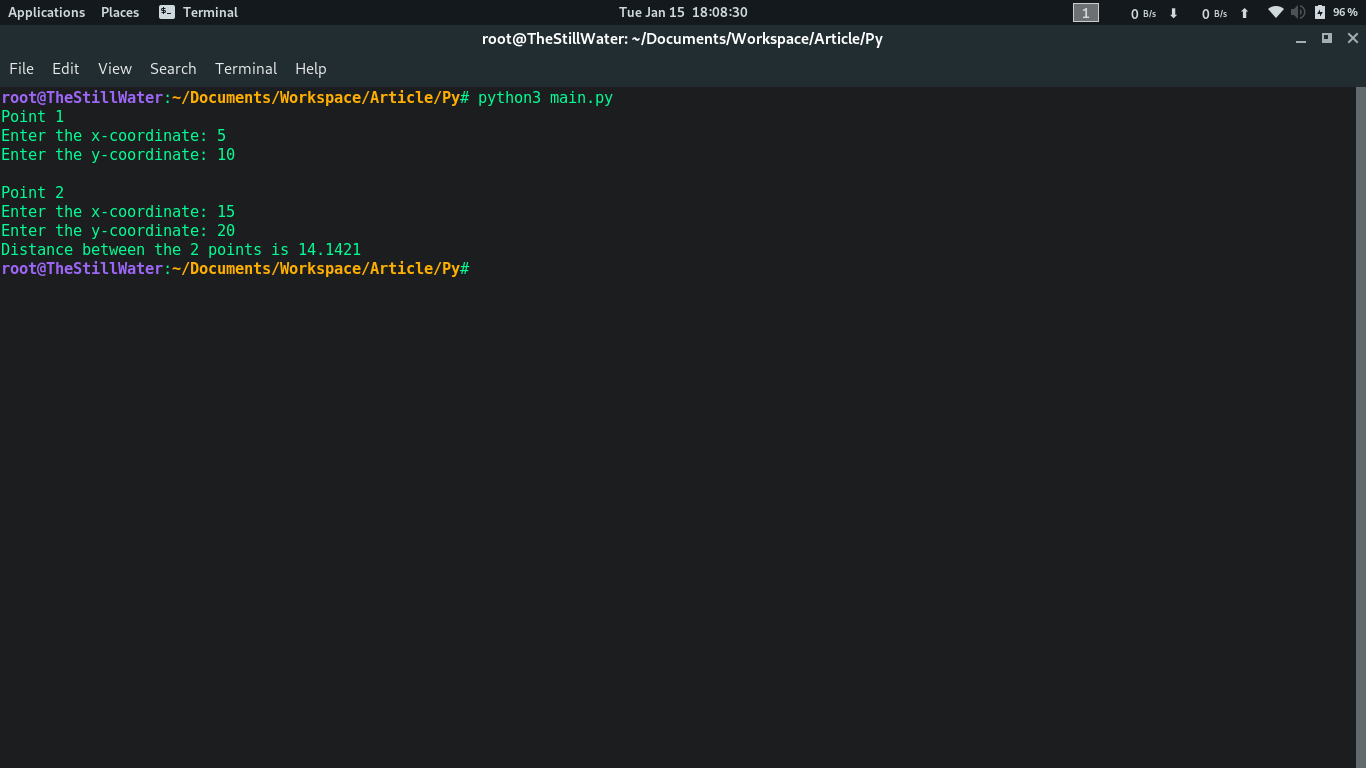
Main.py
from Helper import Point
def main ():
print("Point 1")
p1 = Point ()
print("\nPoint 2")
p2 = Point ()
print( "Distance between the 2 points is {:.4f}".format (p1.distance(p2)))
main ()
|
Output:
Java
It is similar to Python. Navigate to the new directory to save the project files and in all of the sub program write:
package app_name;
On the starting line, and create a class as usual.
Import the module into new java program by again writing: package app_name and simply reference that particular module.function() as they belong to same package (are stored in same directory) and java implicitly adds the following lines but if you need to import new module(s) from different package(s) then do so by:
import package.*;
import package.classname;
import static package.*;
Fully Qualified Name
//  eg: package.classname ob = new classname ();
The 1st and 2nd ways of look similar to python’s from…import syntax but you have to explicitly state the class. In order to achieve such a not recommended but pythonic way of from…import syntax style, you have to use the 3rd method i.e., import static to achieve similar results but you have to resort to using fully qualified name to prevent collisions and clear up human misunderstandings anyway.
Example of a single cluttered File:
Check.java
import java.util.*;
class Math {
static int check(int a, int b)
{
return a > b ? 'a' : 'b';
}
}
class Main {
public static void main(String args[])
{
Scanner s = new Scanner(System.in);
System.out.print("Enter value of a: ");
int a = s.nextInt();
System.out.print("Enter value of b: ");
int b = s.nextInt();
if (a == b)
System.out.println("Both Values are Equal");
else
System.out.printf("%c's value is Greater\n",
Math.check(a, b));
}
}
|
Once again there is scope of division and abstraction. We can create Multiple standalone files that deal with the numerics and here for the example, We can divide
Dividing the code into smaller parts:
The Program can be divided such that:
1) Main File -> Driver program, Write the Manipulative code here.
2) Math File -> All the methods regarding Mathematics (here Partially implemented Check Function).
The Sample Program contains:
Math.java -> Which belongs to foo package and a Math class that consists of method check which can only compare 2 nos. excluding inequality.
Main.java -> Main Program takes 2 numbers as input and prints the greater of 2.
Math.java
package foo;
public class Math {
public static int check(int a, int b)
{
return a > b ? 'A' : 'B';
}
}
|
Main.java
package foo;
import java.util.*;
class Main {
public static void main(String args[])
{
Scanner s = new Scanner(System.in);
System.out.print("Enter value of a: ");
int a = s.nextInt();
System.out.print("Enter value of b: ");
int b = s.nextInt();
if (a == b)
System.out.println("Both Values are Equal");
else
System.out.printf("%c's value is Greater\n",
Math.check(a, b));
}
}
|
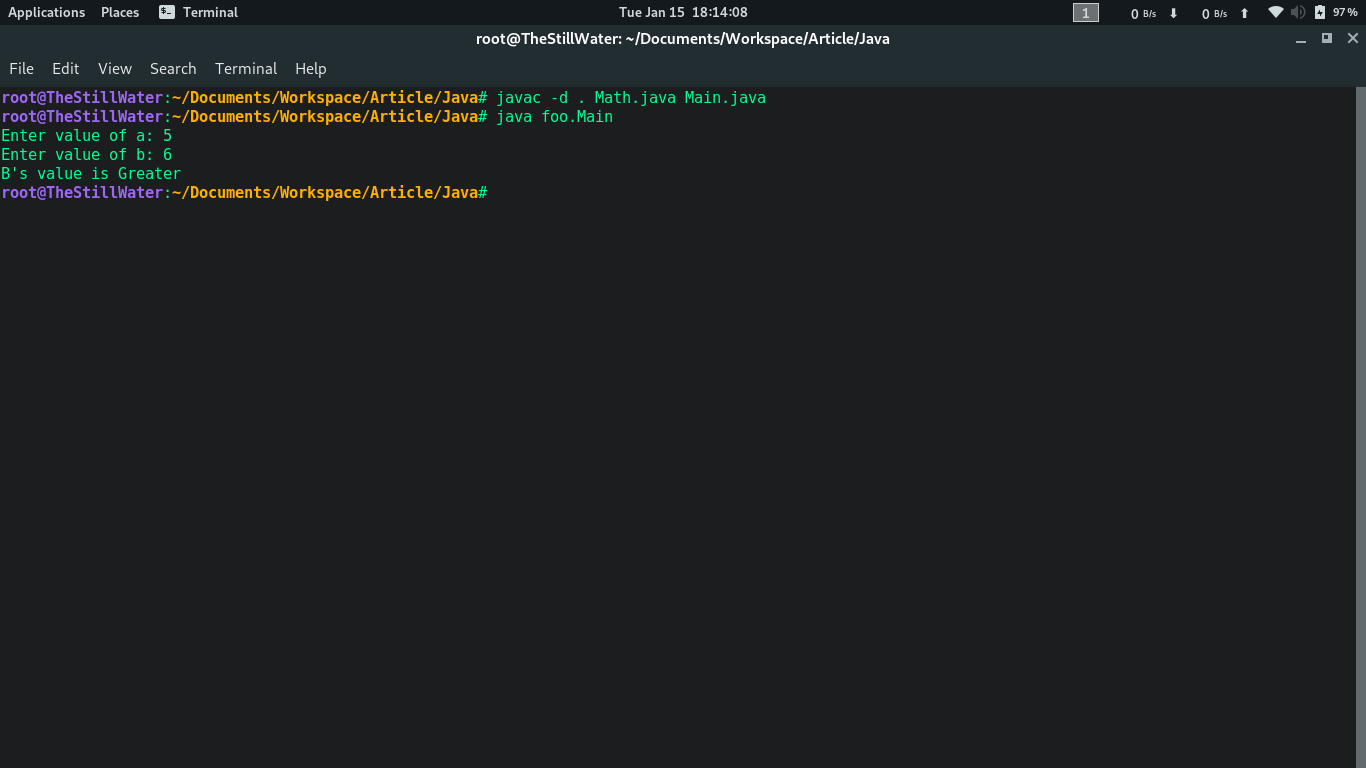
Compilation:
javac -d /path file1.java file2.java
Sometimes you might want to set your classpath to point to somewhere, use the:
set classpath= path/to/location
// (or) pass the switch for both java and javac as
javac -cp /path/to/location file.java
// (or)
java -classpath /path/to/location file
By default it points to current directory i.e., “.”
Executing the code:
java packagename.Main // Here in the example it is: “java foo.Main”
Output:
Like Article
Suggest improvement
Share your thoughts in the comments
Please Login to comment...