Distance transformation in image – Python OpenCV
Last Updated :
02 Jan, 2023
In this article, we will see how we can perform the distance transformation on a given image in OpenCV Python.
Distance Transformation
Distance transformation is a technique used to calculate the distance of each pixel in an image from the nearest non-zero pixel. It is often used in image segmentation and object recognition tasks, as it can help identify the boundaries of objects in an image.
The distance transform function in OpenCV, cv2.distanceTransform(), takes in a binary image and returns two arrays: the distance image and the label image. The distance image contains the distance values of each pixel from the nearest non-zero pixel, and the label image contains the labels of the nearest non-zero pixels.
The distance transform function also takes in two optional arguments: the distance type and the mask size. The distance type can be specified using constants such as cv2.DIST_L1 (for the Manhattan distance) or cv2.DIST_L2 (for the Euclidean distance). The mask size determines the size of the mask used to calculate the distances, with larger values resulting in more accurate but slower calculations.
In addition to the distance transform function, OpenCV also provides the cv2.normalize() function, which can be used to normalize the distance image so that the distance values are in the range of 0 to 255. This can be useful for visualizing the distance image.
Distance transformation is an image processing technique that allows us to obtain the distance of each pixel in an image from the nearest non-zero pixel. It is often used in image segmentation and object recognition tasks.
In OpenCV, we can perform distance transformation using the cv2.distanceTransform() function.
Steps to be followed:
Step 1: Load the image using the cv2.imread() function.
Step 2: Convert the image to grayscale using the cv2.cvtColor() function. This is because the distance transform function works only on single-channel images.
Step 3: Threshold the image to create a binary image, where the pixels with an intensity value greater than a certain threshold are set to 255 and the rest are set to 0. This can be done using the cv2.threshold() function.
Step 4: Use the cv2.distanceTransform() function to calculate the distance of each pixel from the nearest non-zero pixel. This function takes in three arguments: the binary image, the distance type (such as cv2.DIST_L2 for Euclidean distance), and the mask size (such as 3 for a 3×3 mask).
Step 5: The distance transform function returns two arrays: the distance image and the label image. The distance image contains the distance values of each pixel from the nearest non-zero pixel, and the label image contains the labels of the nearest non-zero pixels.
Here’s an example code for distance transformation in OpenCV:
Example 1:
Input Image:
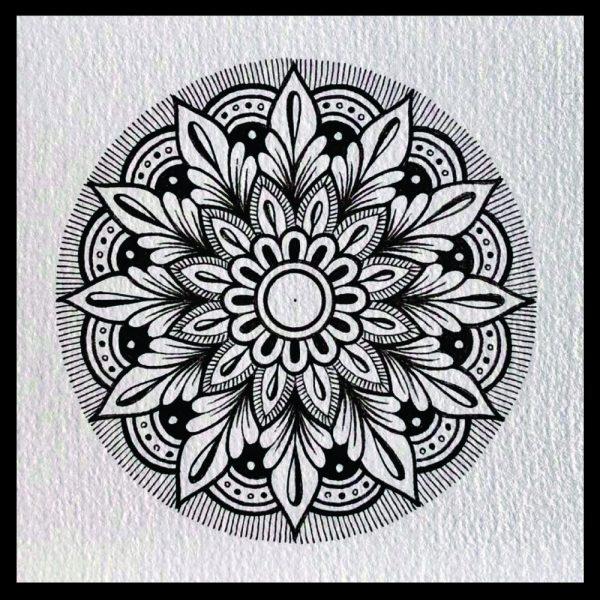
Input Image Preview
Python3
import cv2
image = cv2.imread(r"Mandala.jpg")
grayScaleImage = cv2.cvtColor(image, cv2.COLOR_BGR2GRAY)
_, threshold = cv2.threshold(grayScaleImage, 123, 255, cv2.THRESH_BINARY)
distTransform= cv2.distanceTransform(threshold, cv2.DIST_L2, 3)
cv2.imshow('Transformed Distance Image1', distTransform)
cv2.waitKey(0)
cv2.destroyAllWindows()
cv2.imwrite('distTransformed.jpg', distTransform)
|
Output image:
True

Distance transformed image with OpenCV

Saved Distance transformed image with OpenCV
The output of this code will be a window with the distance image, where each pixel contains the distance value from the nearest non-zero pixel. The distance values will be in the range of 0 to 255, with higher values indicating greater distance.
Example 2:
Here is the second example code for distance transformation in OpenCV, which demonstrates how to use the labels image to obtain the coordinates of the nearest non-zero pixels for each pixel in the image:
Input Image:

Input Image
Python3
import cv2
import numpy as np
image = cv2.imread(r"Visual_arts.jpg")
grayScaleImage = cv2.cvtColor(image, cv2.COLOR_BGR2GRAY)
_, threshold = cv2.threshold(grayScaleImage, 127, 255, cv2.THRESH_BINARY)
dist, labels, *other_vars = cv2.distanceTransform(threshold, cv2.DIST_L2, 3)
coords = np.column_stack(np.where(labels > 0))
print(coords.squeeze())
|
Output:
[  0   1   2   3   4   5   6   7   8   9  10  11  12  13  14  15  16  17
  18  19  20  21  22  23  24  25  26  27  28  29  30  31  32  33  34  35
  36  37  38  39  40  41  42  43  44  45  46  47  48  49  50  51  52  53
  54  55  56  57  58  59  60  61  62  63  64  65  66  67  68  69  70  71
  72  73  74  75  76  77  78  79  80  81  82  83  84  85  86  87  88  89
  90  91  92  93  94  95  96  97  98  99 100 101 102 103 104 105 106 107
 108 109 110 111 112 113 114 115 116 117 118 119 120 121 122 123 124 125
 126 127 128 129 130 131 132 133 134 135 136 137 138 139 140 141 142 143
 144 151 152 156 157 158 159 160 161 162 163 167 168 169 170 171 172 179
 180 200 201 202 203 204 240 241 242 243 244 254 255 256 257 287 290 297]
Like Article
Suggest improvement
Share your thoughts in the comments
Please Login to comment...