Different Ways to Add Stacktrace or debug Option when Building Android Studio Project
Last Updated :
19 Jun, 2021
While developing your favorite app, you might at some point of time arrived upon this strange error,
:GfGapp:processDebugResources FAILED

FAILURE: Build failed with an exception.
* What went wrong:
Execution failed for task ':app:processDebugResources'.
* Try:
Run with --stacktrace option to get the stack trace. Run with --info or --debug option to get more log output.
Yes, and now you want to run with the –stacktrace option as the error log now shows!
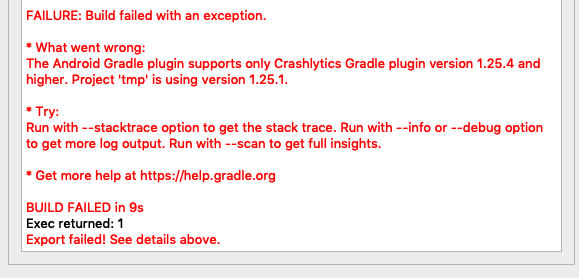
Image 1. That error!
Go forward with this article and you’ll be up and running in no time.
Method #1: Using the GUI ways to achieve the result (Windows)
This might be the easiest way to add the Stacktrace option in Android Studio, simply navigate to the files option and then you can add Stacktrace in place of command-line options and you are good to go.
File > Settings > Build, Execution, Deployment > Compiler
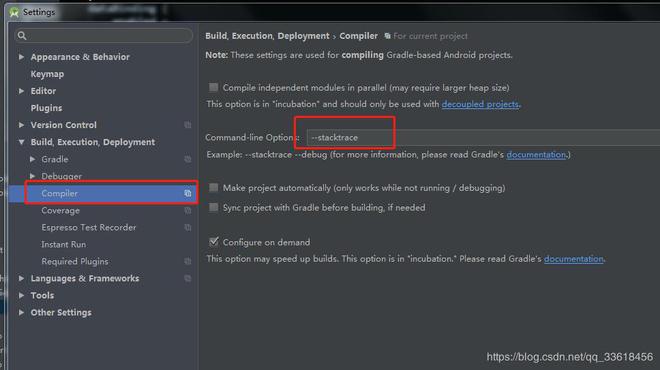
Image 2. The Compiler Settings Panel
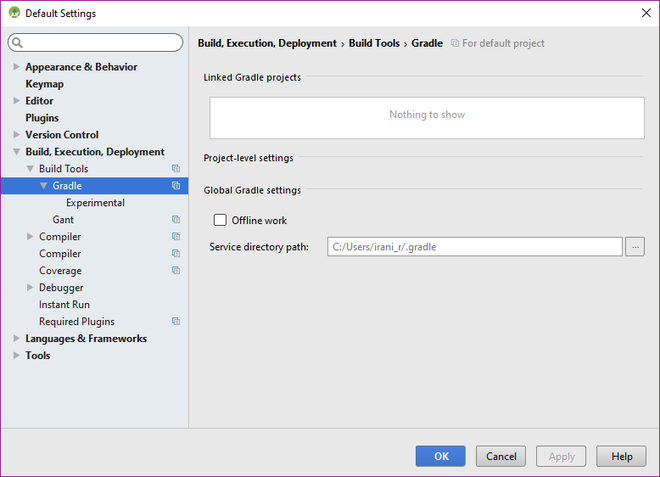
Method #2: Using the GUI ways to achieve the result (Mac)
You will get the same result as stated in method #1 above on a Mac. Only the names of certain settings are different.
Navigate to Android Studio -> Preferences-> Build, Execution, Deployment-> Compiler
The GUI Method
Note: To view the Compiler option in the newest versions of AS (2.2 and 2.3), exit the open project, go to AS begin (where the current projects are shown), and select Configure -> Preferences->Build, Execution,Deployment. Otherwise, the Compiler is hidden.
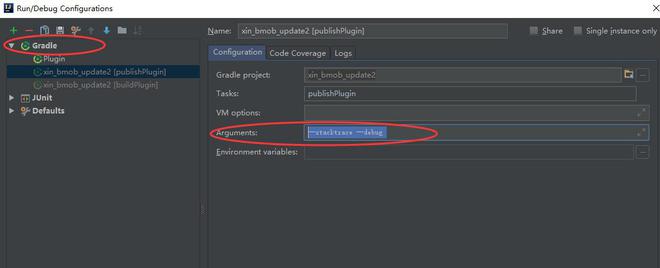
Method #3: Adding through the configurations
configurations.all {
    resolutionStrategy {
        force 'com.android.support:support-v4:27.0.0'
    }
}
Adding the Configurations in the Gradle
Method #4: Using the Android Studio Terminal
./gradlew assembleMyBuild --stacktrace
If you’re a fan of the Android Studio terminal then this might turn to be the best one for you as this involves using the terminal to add the Stacktrace option and achieve the required result. Input the above statement in the Android Studio’s terminal and results will start popping.
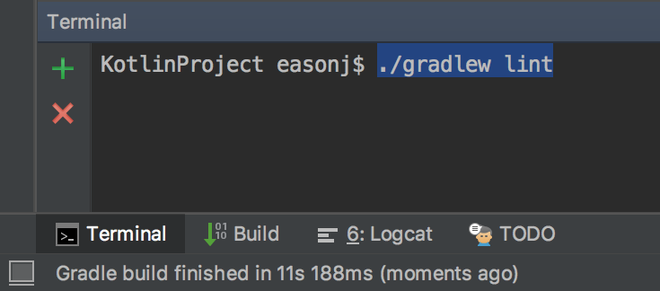
The Android Studio’s Terminal
Method #5: You using fastlane? Well There’s an advantage
Just add this additional flag and you’re good to go!
gradle(
   flags: "{--stacktrace}"
)
And that’s how you just managed to run stacktrace option!
Like Article
Suggest improvement
Share your thoughts in the comments
Please Login to comment...