Design a Drum-kit web app using JavaScript
Last Updated :
08 Feb, 2021
We all must have seen a drum kit in some concert or elsewhere, it is a collection of drums, cymbals and other percussion instruments. But have you ever imagined making that drum kit on your own virtually with the help of some scripting language? Well, so here we are with the goal for this article to build a drum kit app that runs in the browser. The main concepts presented in the article are DOM, key events and CSS animations. So by the end of this article, you would have not only understood how to add event listeners to buttons and keystrokes so that you’ll know when the user is tapping on the keyboard or clicking on a particular button on your Website and you can respond to it, but you also end up with an awesome Website that you can impress all of your friends with.
Preview of the Website:
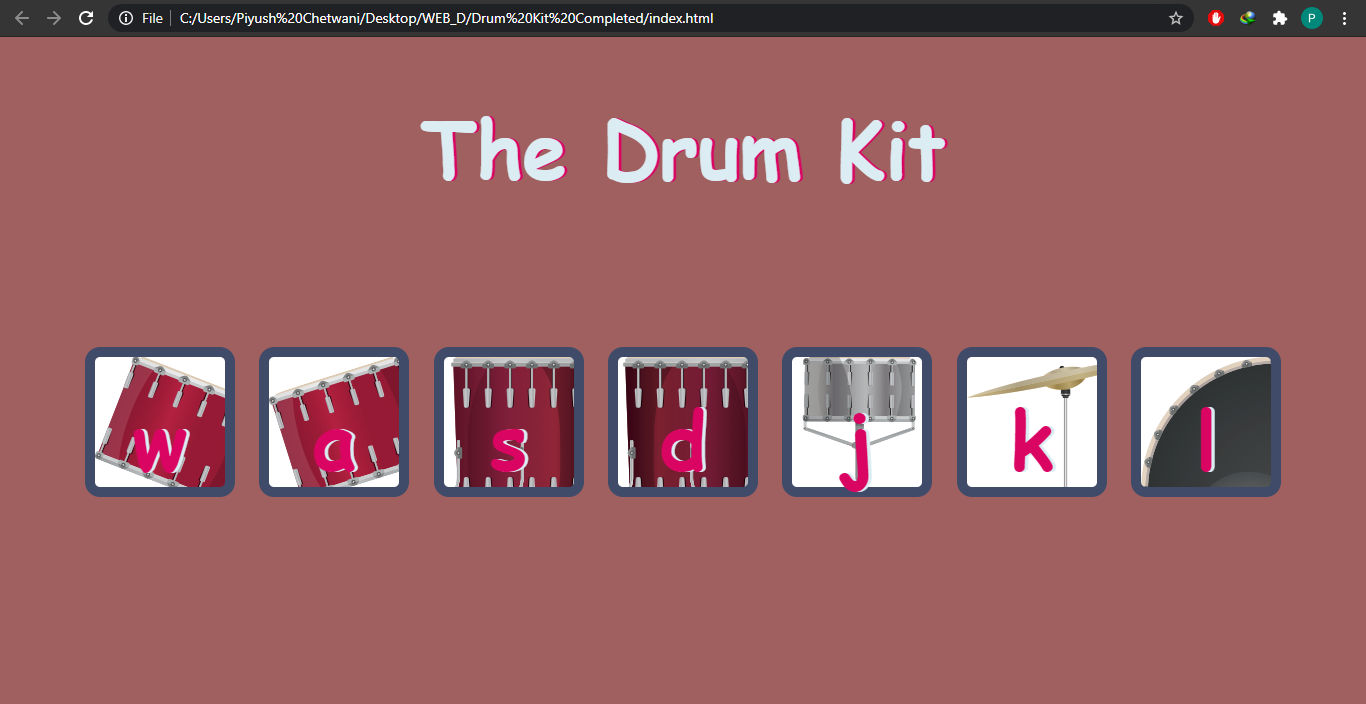
So the way this website would work that we’ve got a number of keys on the webpage that represents different drums in a typical drum set and when you click on any of those buttons then you’ll get the corresponding sound of the drum. And in addition you can also use the keys on the keyboard to have a sound effect.
Designing the HTML Layout: For the website, we only have seven buttons to display on the page, clicking upon which sound would be played. First we would add the DOCTYPE HTML format, then give a suitable title to the web page, in our case it is The Drum Kit . Inside the body tag, we would give a heading, say, The Drum Kit using h1 tag and display those seven buttons. The code for the same would be:
HTML
<!DOCTYPE html>
<html>
<head>
<title>The Drum Kit</title>
</head>
<body>
<h1>The Drum Kit</h1>
<div class="all">
<button>w</button>
<button>a</button>
<button>s</button>
<button>d</button>
<button>j</button>
<button>k</button>
<button>l</button>
</div>
</body>
</html>
|
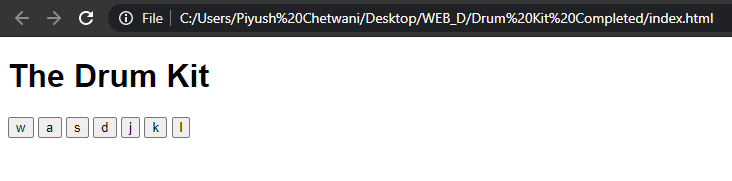
Output would be something like that:
Adding CSS Styling: CSS is used to style the different portions and make it more visually appealing. But, this is a personal opinion as to which style does the developer like the most. Feel free to use any styling but keep these main points in your mind:
- Give whatever color, background color, font-family, margin and font size you want to give to the body and the heading.
- We have given background images of drums, cymbals, etc. to every button to make the page more attractive. All the images are in “images” directory. Additionally, we have given some common styling to all the buttons.
- We have also given styling as to how each button will look when pressed in the class animation. We would append this class using JavaScript whenever a button is pressed.
To append these classes we have to add the classes in HTML tags also and link the stylesheet. So the modified HTML and new CSS code would be:
HTML
<!DOCTYPE html>
<html>
<head>
<title>The Drum Kit</title>
<link rel="stylesheet" href="index.css">
</head>
<body>
<h1>The Drum Kit</h1>
<div class="all">
<button class="w button">w</button>
<button class="a button">a</button>
<button class="s button">s</button>
<button class="d button">d</button>
<button class="j button">j</button>
<button class="k button">k</button>
<button class="l button">l</button>
</div>
</body>
</html>
|
CSS
body {
text-align: center;
background-color: #a06060;
}
h1 {
font-size: 5rem;
color: #DBEDF3;
font-family: cursive;
text-shadow: 3px 0 #DA0463;
}
.w {
background-image: url("images/w.png");
}
.a {
background-image: url("images/a.png");
}
.s {
background-image: url("images/s.png");
}
.d {
background-image: url("images/d.png");
}
.j {
background-image: url("images/j.png");
}
.k {
background-image: url("images/k.png");
}
.l {
background-image: url("images/l.png");
}
.all {
margin: 10% auto;
}
.animation {
box-shadow: 0 3px 4px 0 #DBEDF3;
opacity: 0.5;
}
.button {
outline: none;
border: 10px solid #404B69;
font-size: 5rem;
font-family: 'Arvo', cursive;
line-height: 2;
font-weight: 900;
color: #DA0463;
text-shadow: 3px 0 #DBEDF3;
border-radius: 15px;
display: inline-block;
width: 150px;
height: 150px;
text-align: center;
margin: 10px;
background-color: white;
}
|
Adding Functionality with JavaScript:
- Important: Add script tag to the HTML document linking it with the JavaScript file (before closing the body tag).
HTML
<script src="drumKit.js"></script>
|
- Add event listeners to all the buttons as follows:
JavaScript
var numberOfButtons = document.querySelectorAll(".button").length;
for (var j = 0; j < numberOfButtons; j++) {
document.querySelectorAll(".button")[j]
.addEventListener("click", function() {
var buttonStyle = this.innerHTML;
sound(buttonStyle);
animation(buttonStyle);
});
}
|
- Add keypress function which will describe what will happen when a particular key is produced. Here we will produce the sound effect and animation effect. Code for the same is:
JavaScript
document.addEventListener("keypress", function(event) {
sound(event.key);
animation(event.key);
});
|
- Now we will code sound() function. It will tell which sound should be played when we press or/and click a specific key. Here we have already stored some basic sound effects of drums, cymbals and other percussion instruments, and we will play those sounds (using new Audio) when their respective key is clicked or pressed. All the sounds are in “music” directory. Code for the same should be:
JavaScript
function sound(key) {
switch (key) {
case "w":
var sound1 = new Audio("music/w.mp3");
sound1.play();
break;
case "a":
var sound2 = new Audio("music/a.mp3");
sound2.play();
break;
case "s":
var sound3 = new Audio('music/s.mp3');
sound3.play();
break;
case "d":
var sound4 = new Audio('music/d.mp3');
sound4.play();
break;
case "j":
var sound5 = new Audio('music/j.mp3');
sound5.play();
break;
case "k":
var sound6 = new Audio('music/k.mp3');
sound6.play();
break;
case "l":
var sound7 = new Audio('music/l.mp3');
sound7.play();
break;
default: console.log(key);
}
}
|