Deploy your Machine Learning web app (Streamlit) on Heroku
Last Updated :
07 Mar, 2024
In this article, We will go through some simple and easy steps to deploy Machine Learning web app, built using Streamlit on Heroku cloud. This article is easy to follow as this approach does not require you to have a knowledge of Heroku CLI.
What is Heroku?
Heroku is a Platform as a Service (PaaS). It is a cloud platform where one can build, operate and run his/her applications in the cloud itself. Heroku, other than being a very extensive and helpful platform, offers many free plans when you create a new account on the platform. It is great for beginners who are just starting out and trying to learn model deployment to take advantage of the free plans to deploy their model on cloud.
Have a look at these simple steps to make your web app ready for deployment!
Step#1: Create and Login to your account on Heroku
If you do not have an account on Heroku previously, go to the Heroku website and create an account for free. Login into the account and you have already completed the first step in our journey! This is how the page looks.
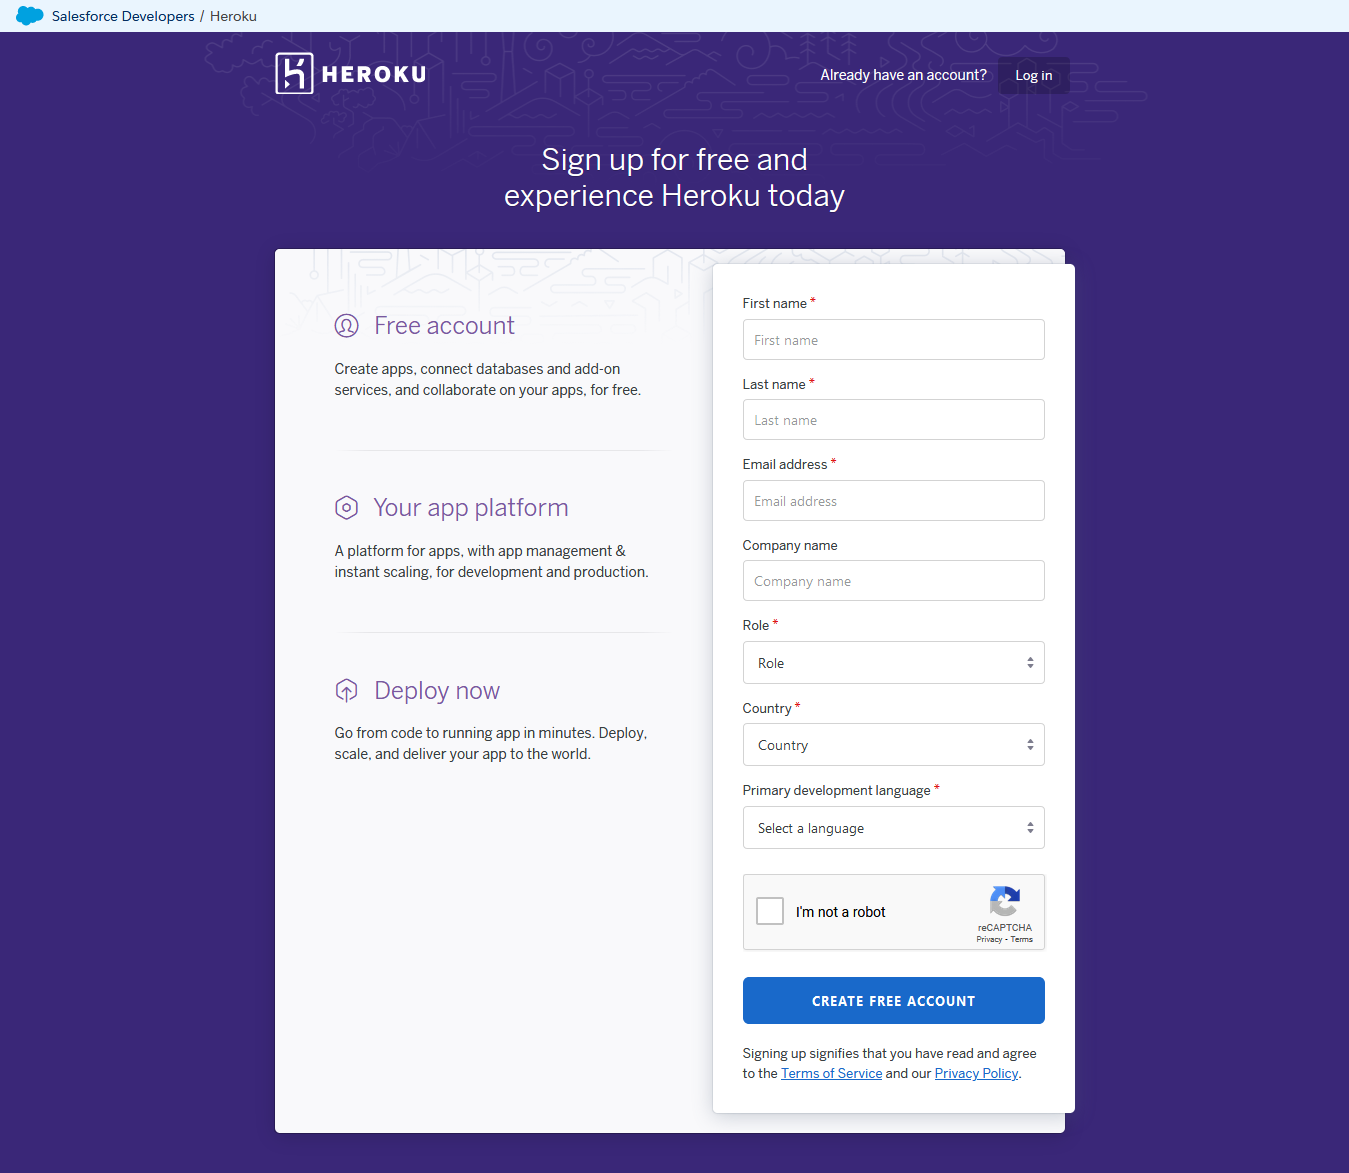
Click here to visit the page and create your account!
Step#2: Create a new GitHub repository and add some necessary files
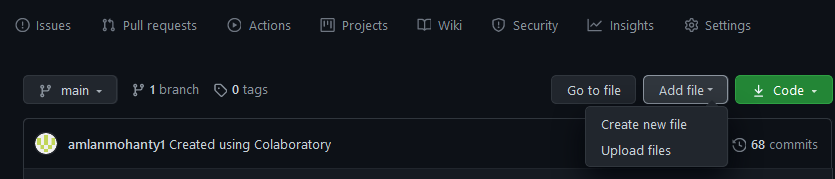
1). Go to your GitHub account and create a new repository. After creating it, click on the “Add File” button on the main branch of your repository and select “Create New File” from the drop down options.
You have to create 3 such files namely:
- Procfile (Procurement file)
- requirements.txt (Requirements file)
- setup.sh (Setup file)
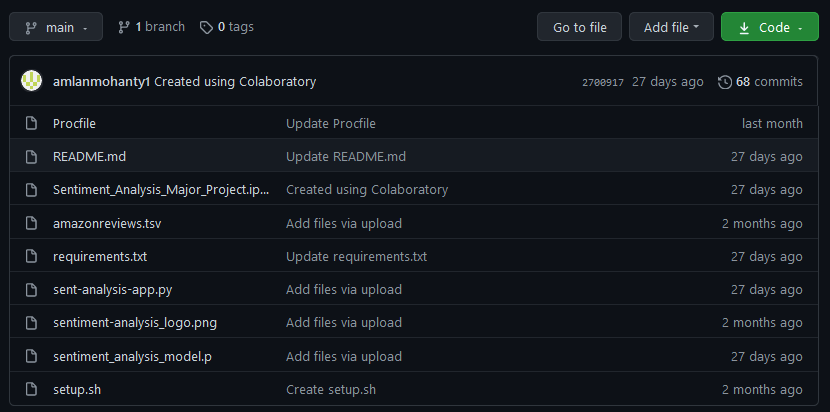
I hope you can spot the required files in my repository. If you are worried to see files other than these in my repo, let me tell you that you need to upload the app.py file(sentiment-analysis-app.py) and the pickled ML model file (sentiment_analysis_model.p) to run your web app on cloud. It is expected that you already know how to train your Machine Learning model and build a web app for the model using Streamlit before running your eyes through this tutorial. You do not need any other file other than these to deploy your web app on Heroku. However, it is a good practice to upload all the related files of your project in a single repository and that is what I have done here.
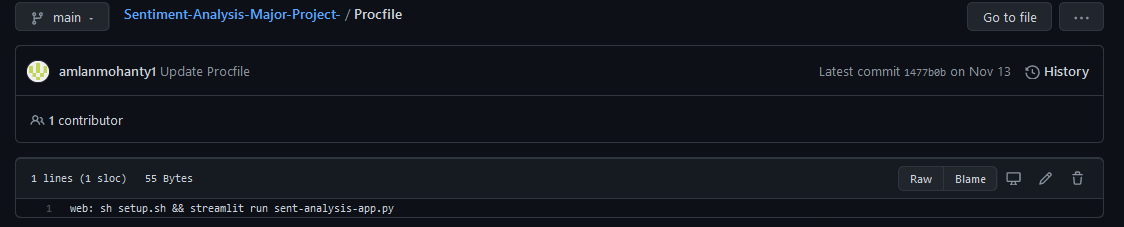
2). Procfile: The Procfile contains the code which gives the commands to tell which files should be executed by the application when it is opened. Open the file you created and type this line of code.
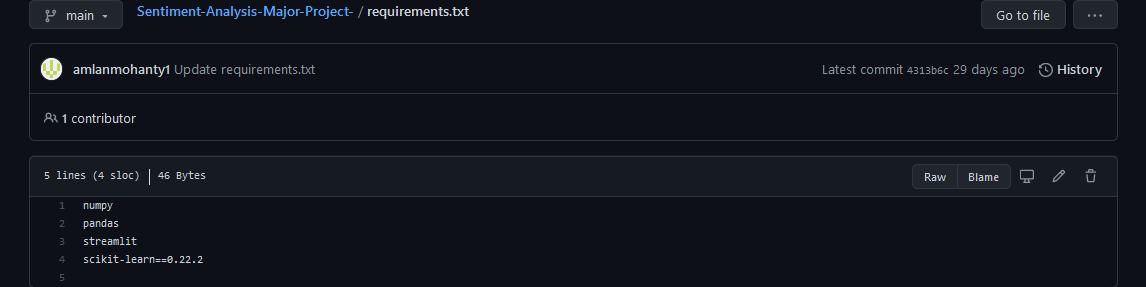
3). requirements.txt file contains the list of packages and dependencies needed for running the web app. Below is an example of how you should fill this file.
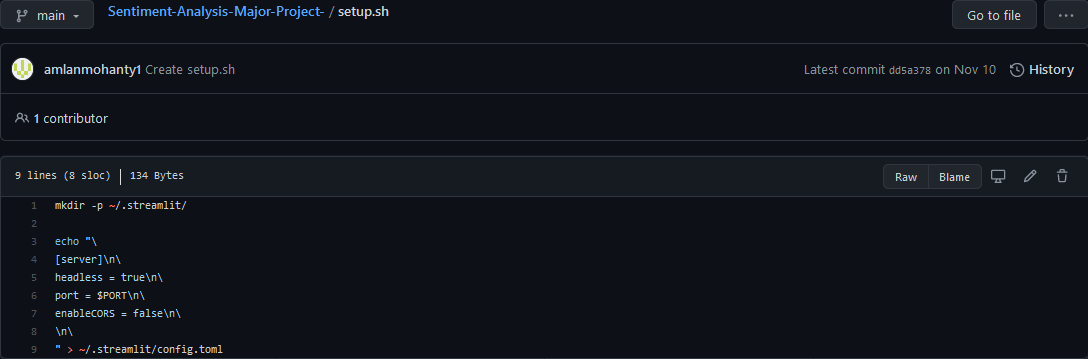
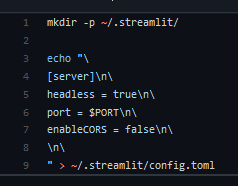
4). setup.sh file contains shell script required to set up the shell environment for our purpose. Look at the image below and copy the exact code to your setup.sh file.
Step#3: Visit your Heroku Dashboard and click on “Create new app”
The Create new app option can be seen in the middle of the page when you visit your Heroku dashboard.
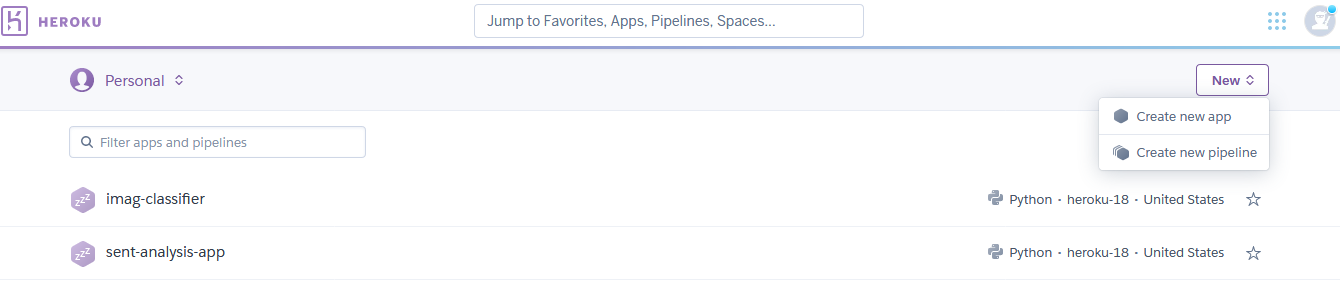
Do not worry if you can’t find the Create new app option in the figure provided. My dashboard looks like this since I have already created web apps using Heroku. In such a case, click on New button in the top right corner and then choose Create new app from the drop down menu.
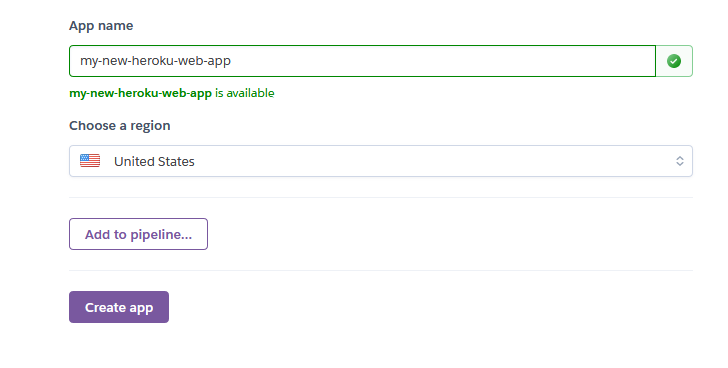
Step#4: Type the name of the app and click on “Create app” button
After you select the Create new app option, a page like the one below, will open up on your screen. Type the name you want to give to your app. A green tick will get displayed beside your app name if the name is available. Then click on Create app button.
Your app is now created and you can view it by clicking on Open app button in the top right corner of your page!

Your app will open in a new tab. It might look a little bland as of now! A screen like this will appear when you click on Open app.
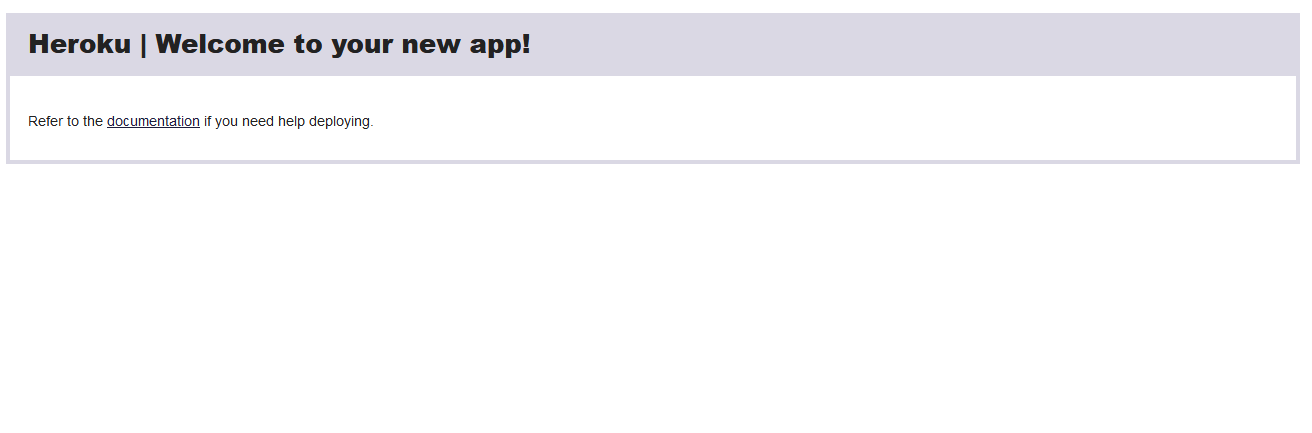
Yay! Your app has been created!
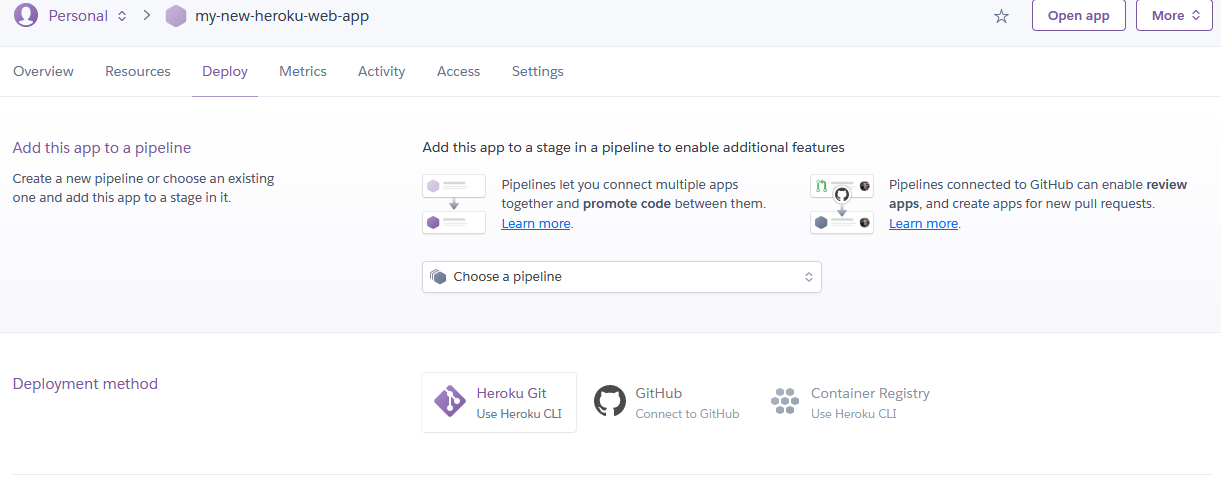
Step#5: Connect your app to your related GitHub repository
1). Go back to your Heroku page and connect your app to your GitHub repository where you have created the required files.
From the Deployment method, click on Connect to GitHub or simply on the GitHub icon.
2). After you click on the GitHub icon, Connect to GitHub will appear.
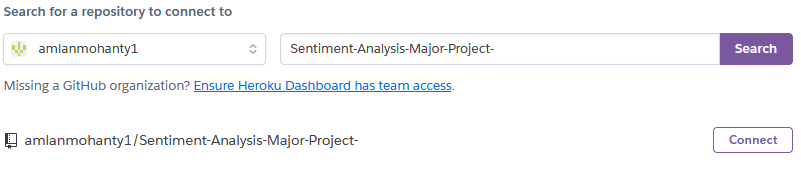
Simply select your GitHub account and search for your repository name.
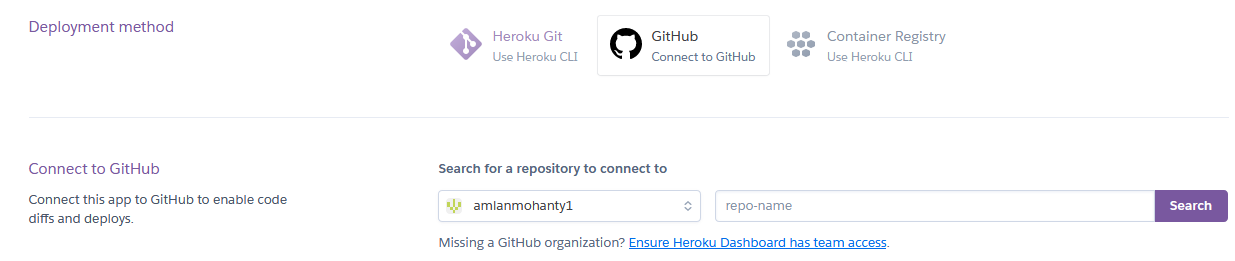
3). Your repository name will appear automatically after you click on the Search button.
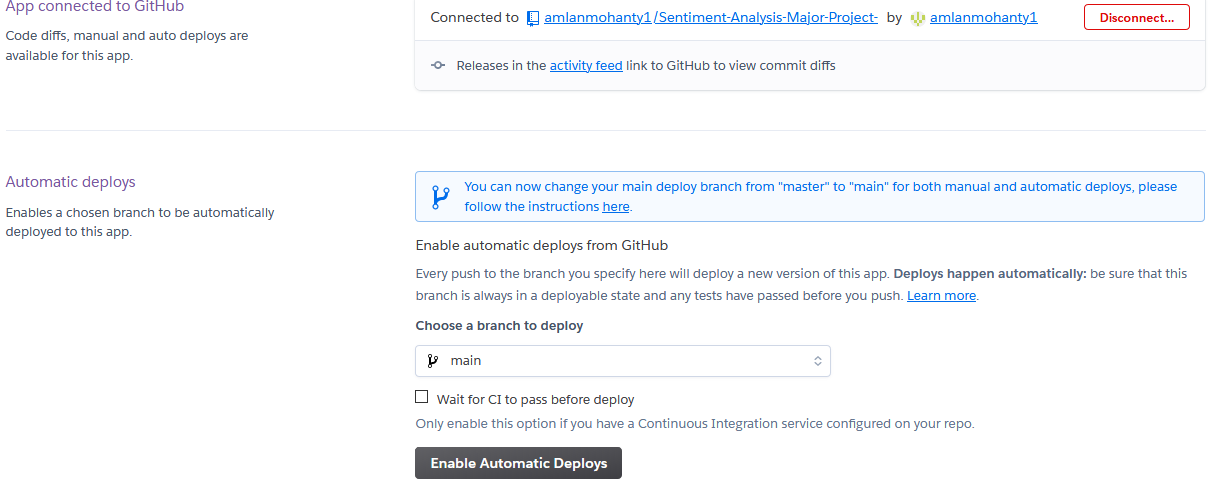
Click on Connect. Your app will get connected to your GitHub repository.
4). Click on Enable Automatic Deploys.
Step#6: Starting “Build Progress”
1). Once you have completed all the previous steps, you can notice that your app’s initial release has already started and Logplex is enabled from the Activity section or the Overview section. But to start the Build Progress so that your app is finally deployed, you have to follow a little trick.
2). Go back to your GitHub repository and make any little change so that the build can finally start.
I would suggest editing the README.md file and making any unnoticeable and irrelevant change.
After you edit your repo and commit changes, the process of build progress begins.
Step#7: Wait for your app to get deployed
Everything is done on your part by now. Just sit back, relax and wait for your app to get deployed. It will take 2-5 mins to complete the process.
Rather than waiting around, go to the Activity or Overview section and click on View build progress to understand what is happening when the build is in progress.
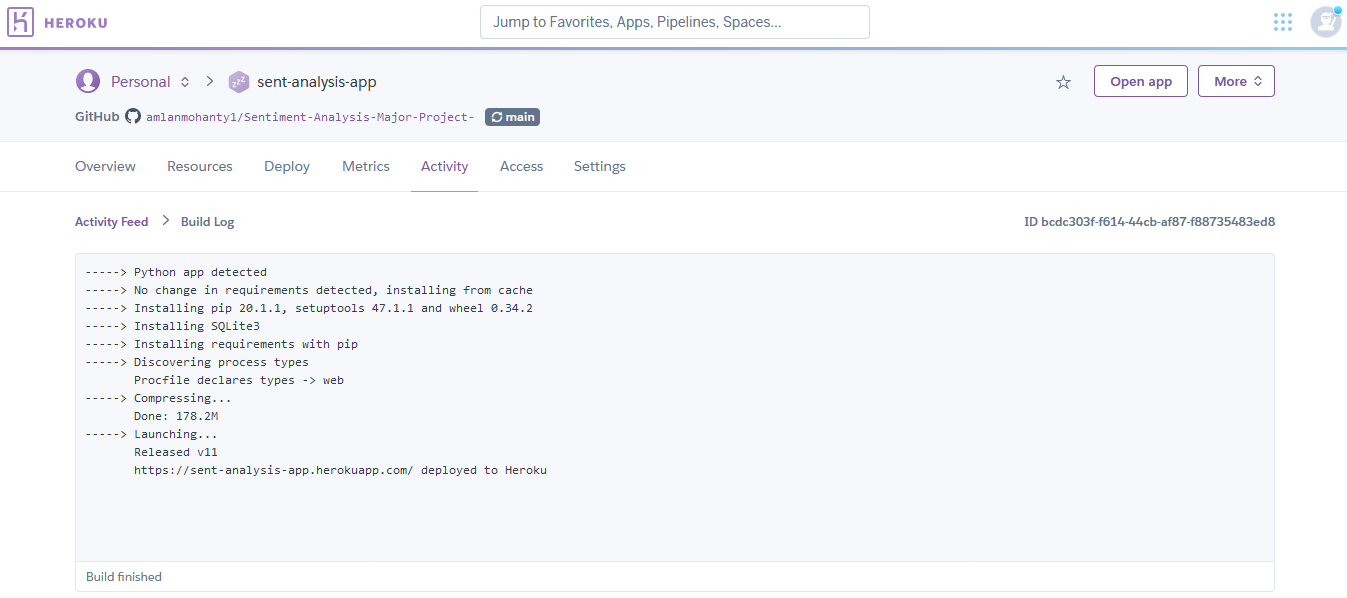
You will get a message such as this, saying that your app has been deployed to Heroku. Simply click on Open app in the top right corner or copy the app link from the Build Log to view your app.
Like Article
Suggest improvement
Share your thoughts in the comments
Please Login to comment...