Creating JSP in Eclipse IDE with Tomcat Server
Last Updated :
20 Jul, 2021
Eclipse IDE is an open-source Integrated Development Environment that is popular for Java application development (Java SE and Java EE) and Android apps. It also supports C/C++, PHP, Python, Perl, and other web project developments via extensible plug-ins.
JSP stands for java server pages. It is a server side technology been used for creating web application and also to create dynamic web content. In this JSP tags are used to insert JAVA code into HTML pages. It is an advanced version of servlet Technology. It is a Web based technology helps us to create dynamic and platform independent web pages. JSP is first converted into servlet by JSP container before processing the client’s request.
Tomcat Server is one of the best web servers and an open-source Java Servlet container developed by Apache Software Foundation (ASF), which is used by many developers for their project works. It has sublimed to such a greater extent just because of its classicality and its speed and implements J2EE specifications which majorly includes servlets, JSP, and expression languages. With the availability of these vital features, the Tomcat server is still one of the best web servers available in the market.
Methods:
It includes primarily three steps which further do includes sub steps. These all are sequentially depicted below in order to create JSP in Eclipse IDE with Tomcat Server are as follows:
- Make a Dynamic web project
- Make a JSP
- Begin tomcat server and deploy the project
Step 1: Make a Dynamic Web Project
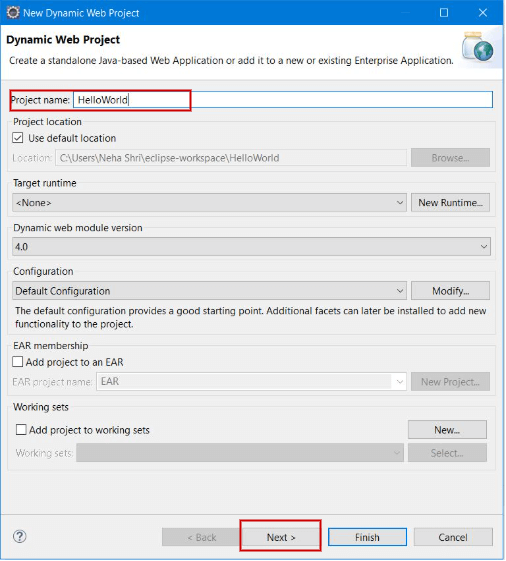
1.1 In this step, for making a Dynamic Web Project click on File Menu -> New -> Dynamic Web Project.

1.2 After clicking on Dynamic Web Project, write your Project Name e.g. HelloWorld. Then click Next.
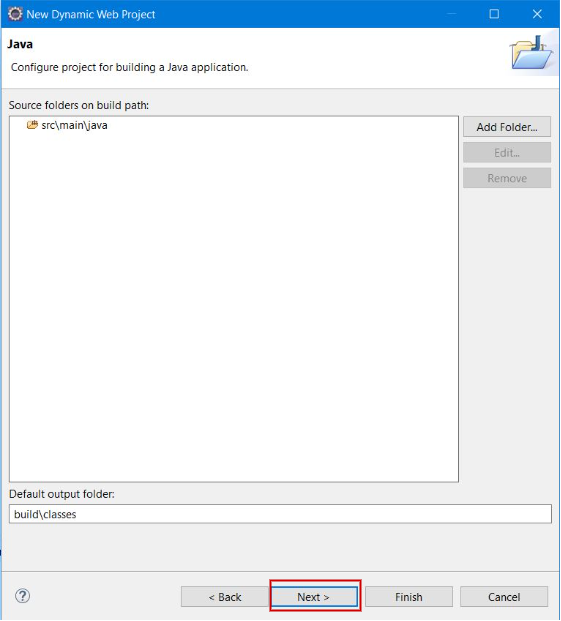
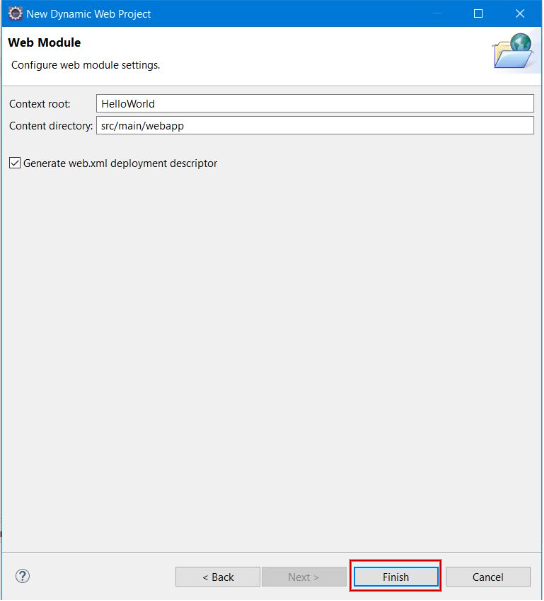
1.3 Again click Next -> Finish as pictorially depicted below.
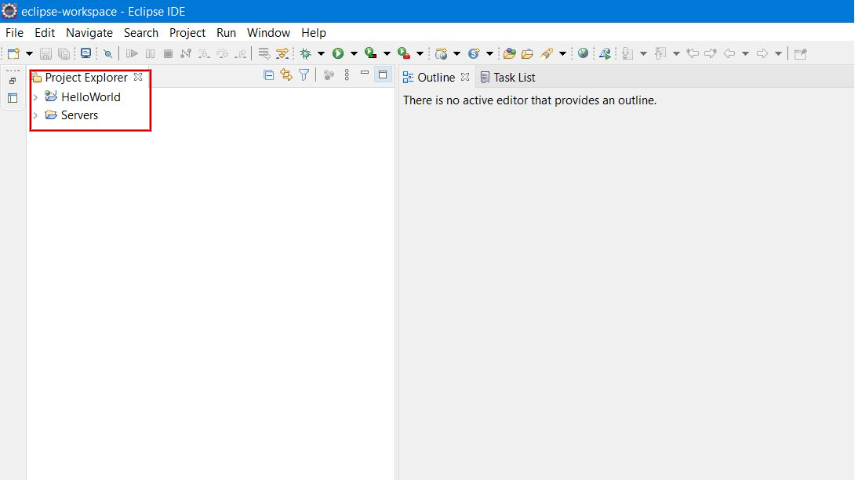
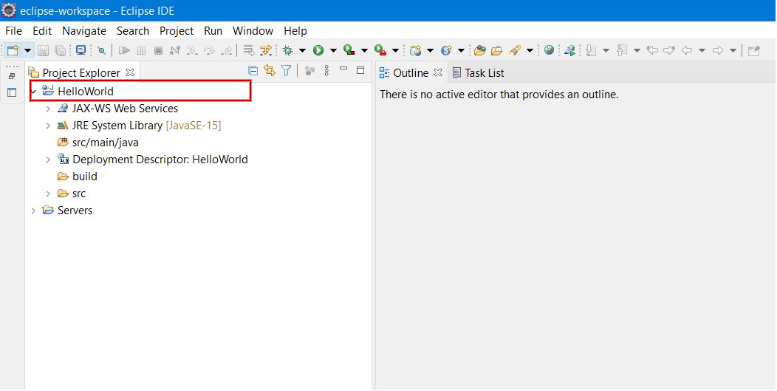
1.4 Now you can see your project in the Project Explorer Workspace.
Step 2: Make a Java Servlet Page
2.1: For making a JSP file, Click on “>” (arrow).
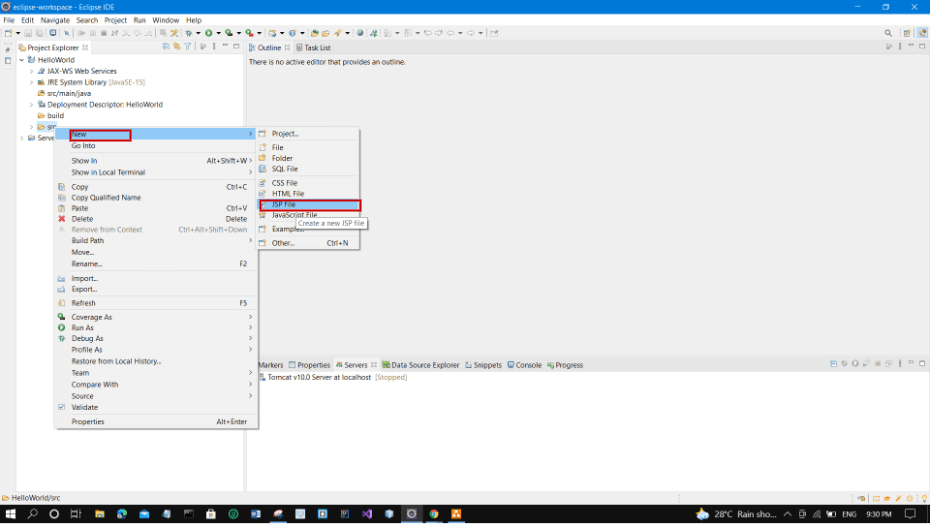
2.2: Now, Right click on src -> New -> JSP File
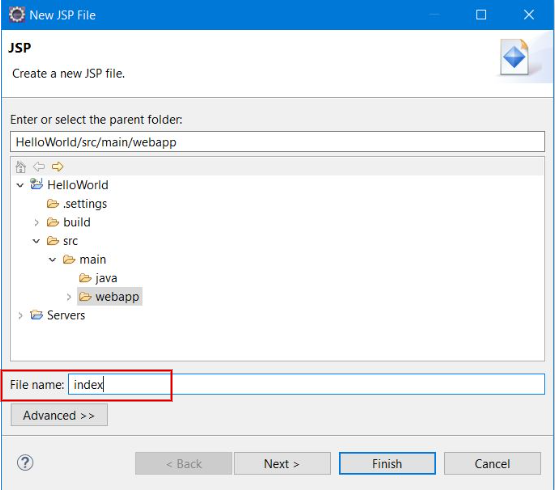
2.3: Now, Write File Name, e.g. index. Then Click Next.
2.4: Then, click Finish button.
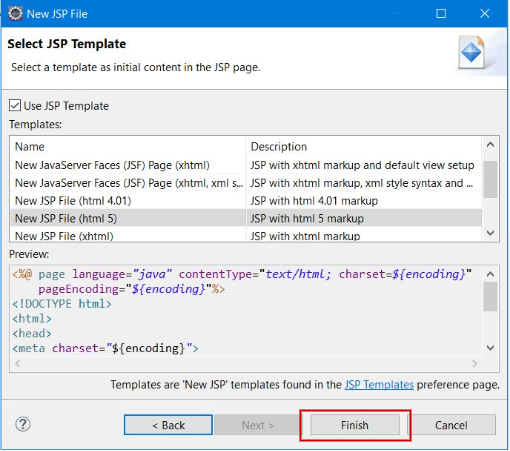
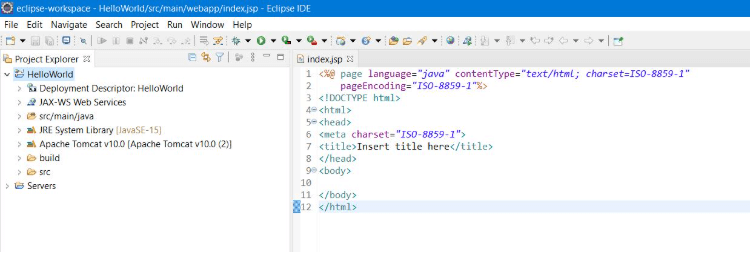
2.5: Now, the JSP File is created. Now we can write code here.
Step 3: Begin tomcat server and deploy the project
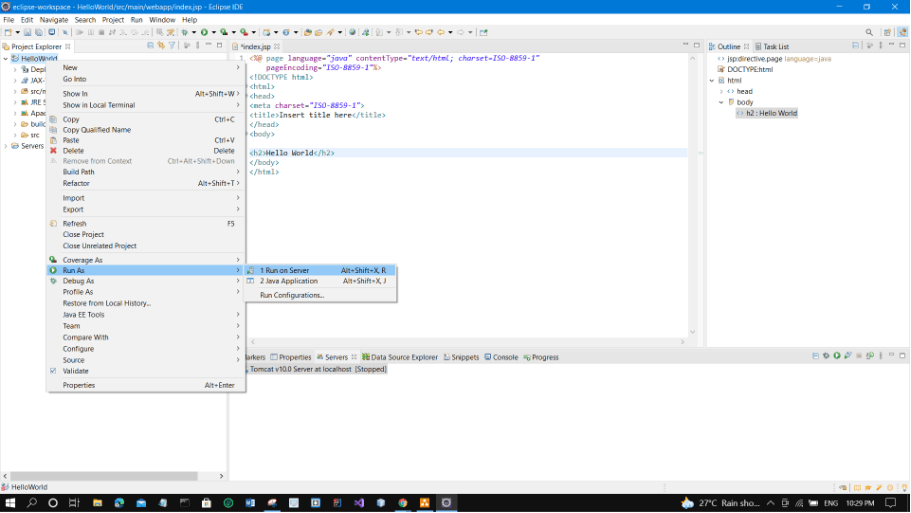
3.1: To begin the server and deploy the project, Right Click on project -> Run As -> Run on Server.
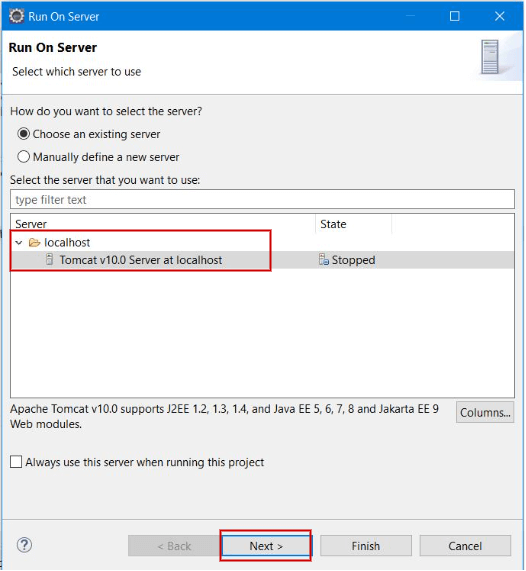
3.2: Choose tomcat server. Then Click Next.
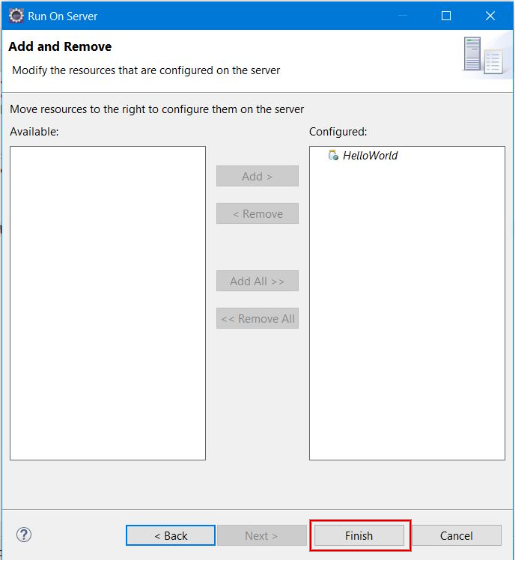
3.3: Click Add All -> Finish.
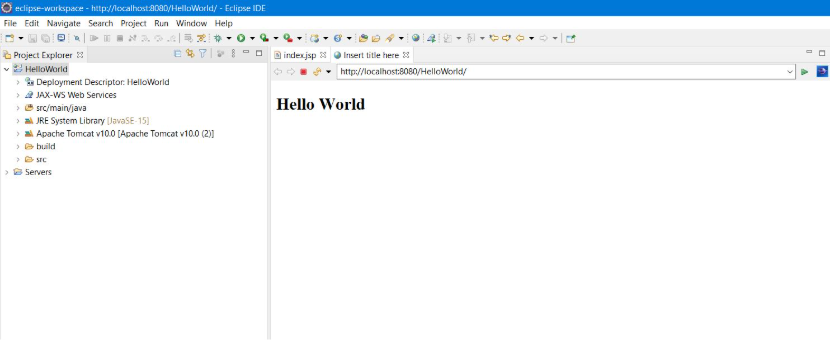
3.4: Now, you can see that Java Server Pages (JSP) is running successfully as shown below. Hence we are able to achieve our goal in creating JSP in Eclipse IDE with Tomcat server.
Like Article
Suggest improvement
Share your thoughts in the comments
Please Login to comment...