Create an Animated GIF Using Python Matplotlib
Last Updated :
14 Sep, 2021
In this article, we will discuss how to create an animated GIF using Matplotlib in Python.
Matplotlib can be used to create mathematics-based animations only. These can include a point moving on the circumference of the circle or a sine or cosine wave which are just like sound waves. In Matplotlib we have a library named animation from which we can import a function named as FuncAnimation(). This function is used to create animations. This function is used to call an animationFunction at a particular interval with a Frame number each time and displays the output of AnimationFunction in the Figure. Hence, this function mainly takes these four as its input.
Syntax:
FuncAnimation( Figure, AnimationFunction, Frames, Interval)
Also, there are other functions and objects too, which together make animation possible. They are given below:
- We will require NumPy for various mathematical functions and arrays.
- At last, we will require the plotting ability of matplotlib which is to be imported from its pyplot module.
Importing the required modules
import numpy as np
from matplotlib.animation import FuncAnimation
from IPython import display
import matplotlib.pyplot as plt
Getting Started:
- The idea is to first create a simple plot of any function (here we had taken e.g. of Cosine ) and then FuncAnimation function will go on calling AnimationFunction passed to it as a parameter after a given interval continuously.
- We only have to give such an implementation that will result in a change in the position of the plot in our AnimationFunction which we had passed. And since the interval will be too small (in milliseconds) so we feel like it’s animating.
This is the basic idea for creating animations.
Creating Animations:
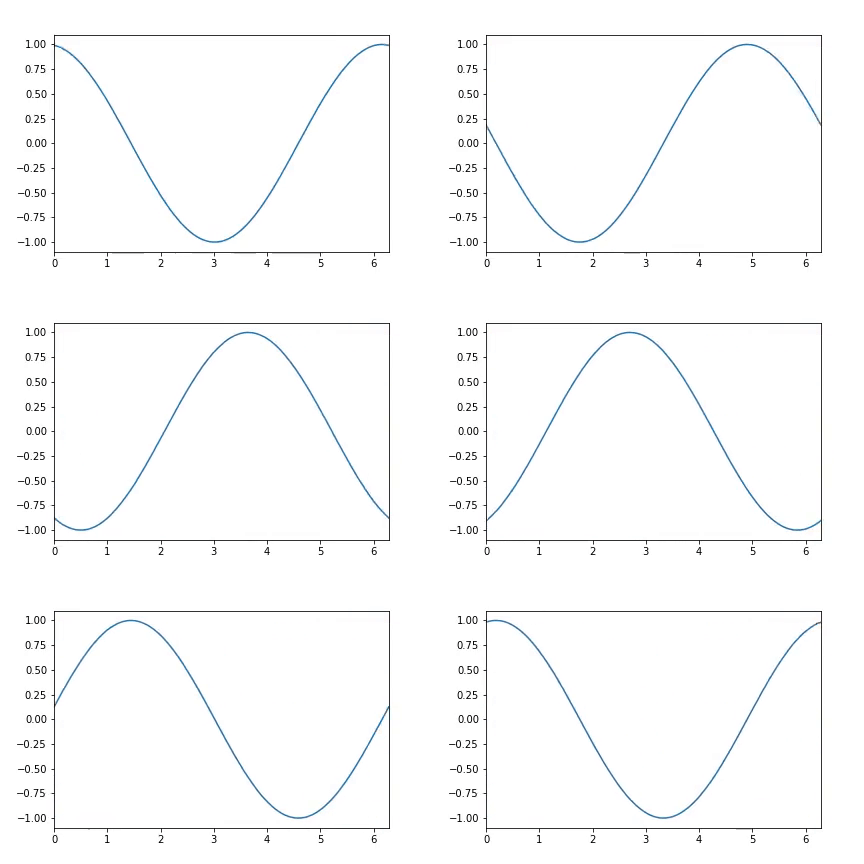
We are going to create a cosine wave that is displayed in a video animation format.
The various steps and ideas used are listed below.
- Create a figure where the animation is to be displayed along with the x-axis and y-axis. This is done by creating a plot where we can put limits to x and y axes.
Python3
Figure = plt.figure()
lines_plotted = plt.plot([])
line_plotted = lines_plotted[0]
plt.xlim(0,2*np.pi)
plt.ylim(-1.1,1.1)
x = np.linspace(0,2*np.pi,100)
y = 0
|
- Now let’s create our AnimationFunction which will change the x and y coordinates of the plot continuously based on parameter frames. The reason is that FuncAnimation will call this function continuously according to frames. Since animation simply means that frames are put one after another to create a video.
Python3
def AnimationFunction(frame):
y = np.cos(x+2*np.pi*frame/100)
line_plotted.set_data((x, y))
|
- Now it’s time to call our FuncAnimation function which will call the above-defined function continuously as the number of frames. We are giving an interval of 25 milliseconds.
anim_created = FuncAnimation(Figure, AnimationFunction, frames=100, interval=25)
- Now it’s time to display our animation. So we have to make an HTML file out of it, through the below-given code:
Python3
video = anim_created.to_html5_video()
html = display.HTML(video)
display.display(html)
plt.close()
|
Hence, the complete code can be run locally (if libraries are installed) or online on Jupyter Notebooks or Colaboratory Notebooks.
Output:

Hence, we are able to create animation using Matplotlib which makes learning mathematics easy.
Like Article
Suggest improvement
Share your thoughts in the comments
Please Login to comment...