Continuous Integration For NPM Project in Ubuntu
Last Updated :
30 Mar, 2023
In this post, we’ll see how to make a continuous integration pipeline for an npm project in Jenkins. We will be building, testing, and then finally packaging our npm project in Jenkins. You can refer to the this article to know the basics of docker and Jenkins. All these commands and steps are valid for Ubuntu operating system.
Step 1: Firstly, we need to have Jenkins for that we’ll pull the image of Jenkins using the command below.
docker pull jenkins/jenkinsUbuntu
You can get the container id of your image from the docker desktop.
Step 2: Use the below command to start the Jenkins container using the container id.
docker start determined_newton
Step-3: Use the below command to run the Jenkins image.
docker exec -it -u root determined_newton /bin/bash
Step-4: Now you need to run the following commands inside your container.
apt-get update
apt-get install npm
apt-get install zip
These commands are required to update the container and install node js and zip.
For the steps to set up the basic Jenkins environment by using the admin password and creating the admin user id refer to the this article. After creating a user id you need to log in with your credentials.
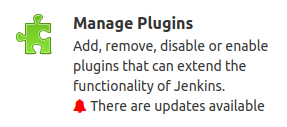
Step 5: Installing the required plugins required for the npm project in the “Manage Jenkins”, under the “Manage plugins” section that is Build Pipeline Plugin and NodeJS.
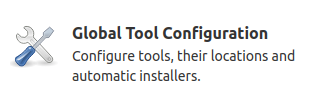
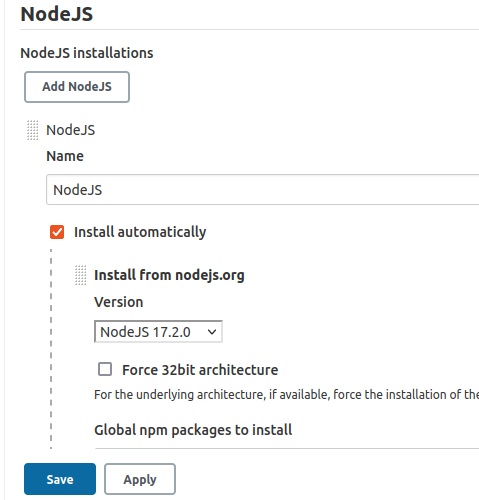
Step 6: Configure the global configuration for the NodeJS.
First making independent files for build, test, and package then we will integrate all three together thus creating a pipeline.
Pre-Build steps:
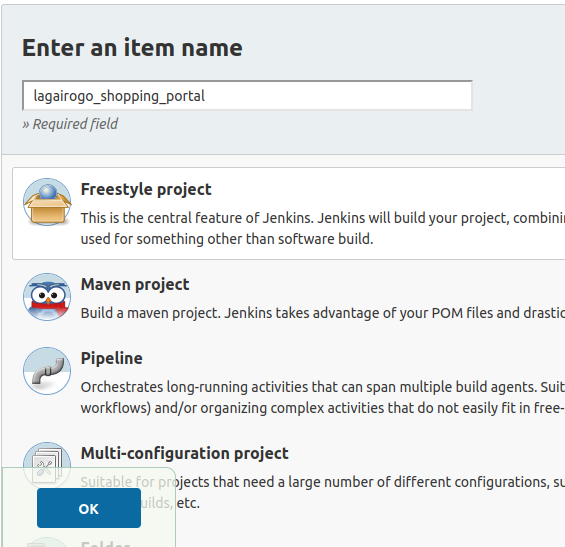
Make first build job by clicking on the “New Item” option in the sidebar and giving the name of the item and selecting “Freestyle project” as an npm project.
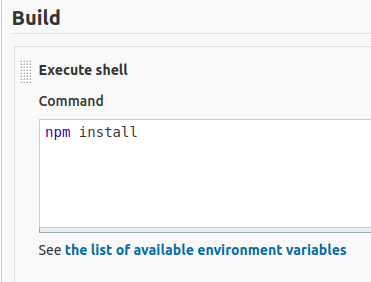
Build:
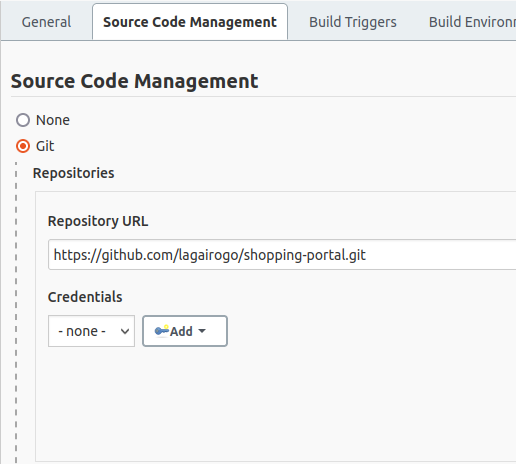
Under source code management enter the git repository link with “.git” as an extension as shown below:
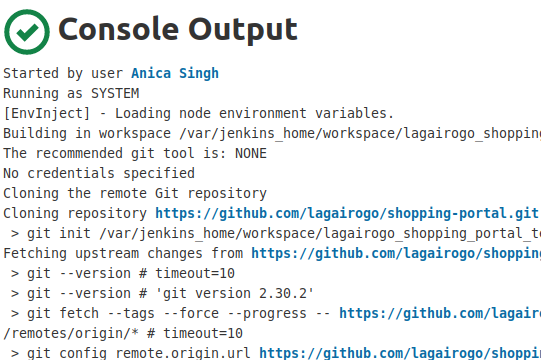
Execute shell: npm install
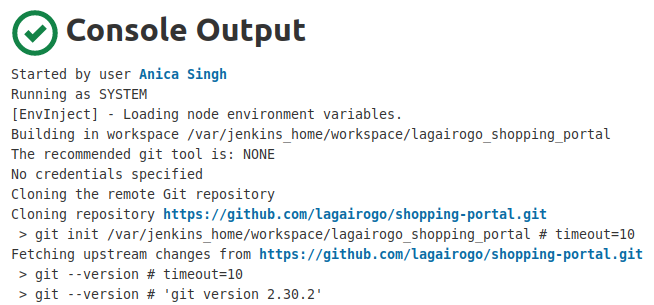
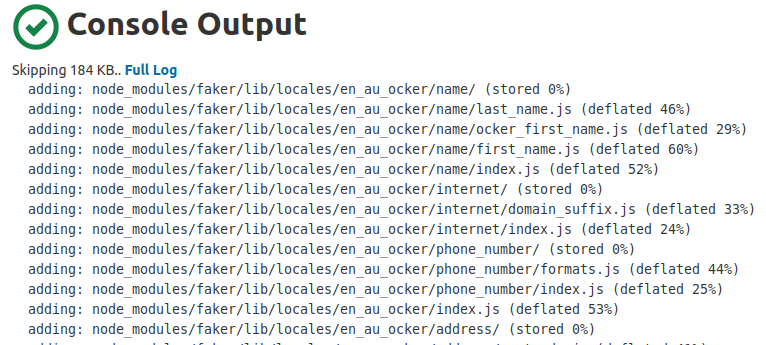
After building we get the output in the console.
Test:
Execute shell: npm install, npm test
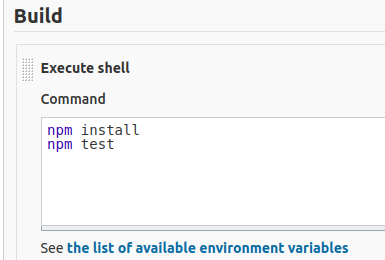
After configuration build the test phase.
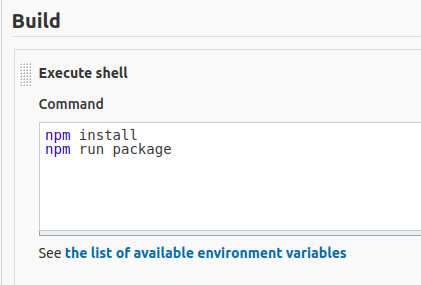
Package:
Execute shell: npm install, npm run package
Post-build steps: Integration of Build-Test-Package
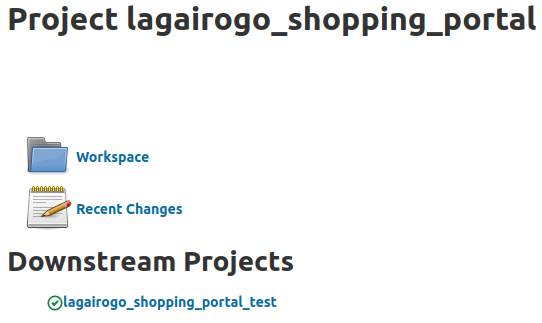
Build:
Building connection to the test file
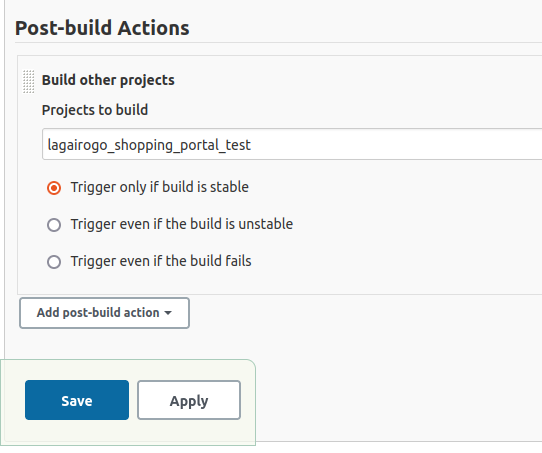
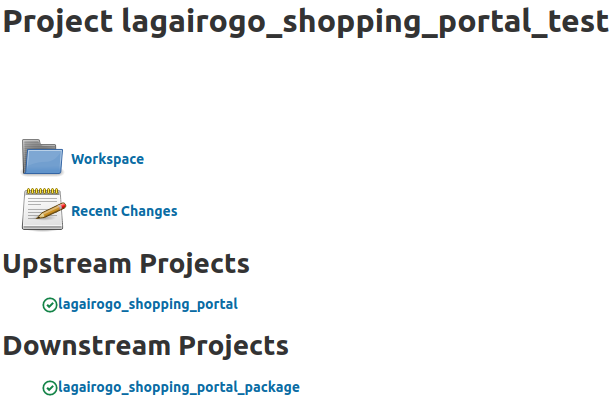
Test:
Building connection to the Package file
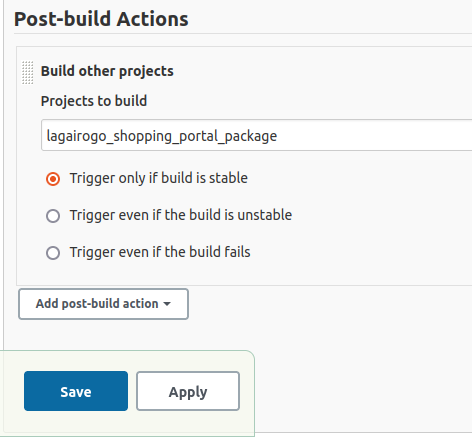
Package:
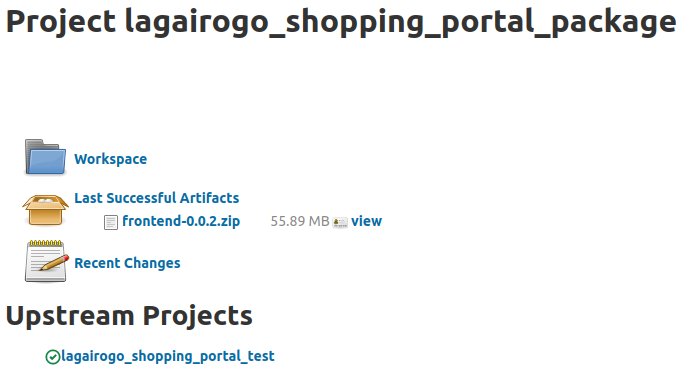
Archive the artifact – **/distribution/*.zip
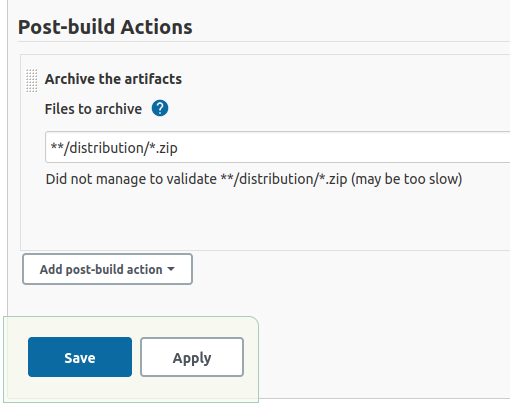
Specifying zip
Now run all the files build, test and package.
Pipeline creation:
Click on the ‘+’ sign on the home screen to build and configure the pipeline.

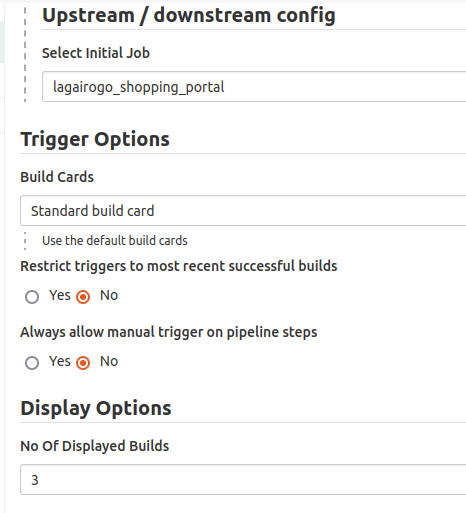
Pipeline:

Hence Continuous Integration Pipeline for the npm project is made.
Like Article
Suggest improvement
Share your thoughts in the comments
Please Login to comment...