AsgardCMS – Overview of the Page Module
Last Updated :
28 Feb, 2021
AsgardCMS is a modular multilingual CMS built on top of the Laravel 5 framework. It is fully responsive as the default themes are based on Bootstrap and the site can be comfortably browsed on any device. As it is built with modern coding standards using PHP 7, the integration with the PHP programming language is seamless.
Check out AsgardCMS Introduction and Installation to get started with the AsgaedCMS.
In this article, we will primarily talk about the Page Module which is built-in to the AsgardCMS. The Page Module can be used for the following purposes:
- Viewing already created pages
- Adding new pages
- Adding additional custom fields apart from the default one in the new pages/ existing pages.
Now, let’s discuss all these functions in detail:
1. Viewing already created pages:
There is one default page present in AsgardCMS before we create any new page and that page is known as the homepage. The default look of the website looks like this:
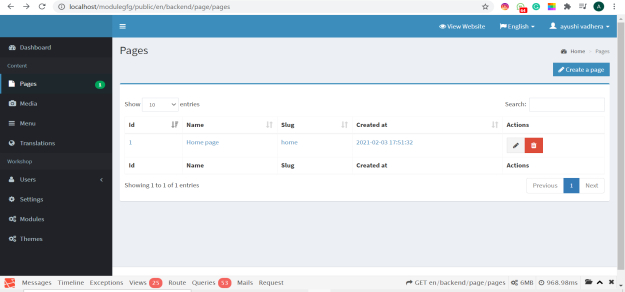
Page module displaying all the page on the
If you want to view this page click on the hyperlink under the name section, and you can view the page contents. It will look like this:
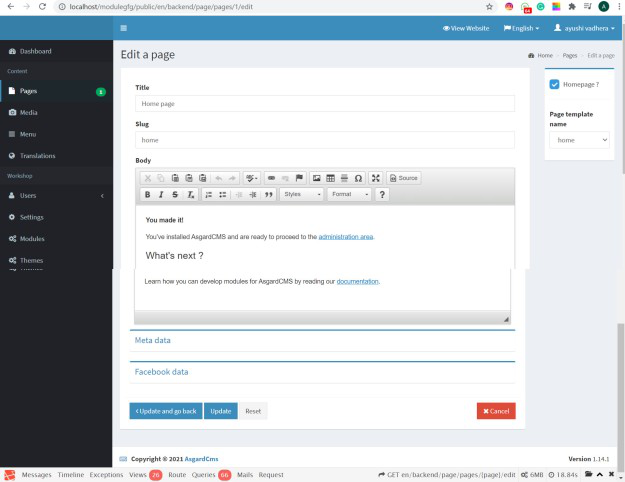
Display how the page will look like
If you want to view this particular page browse the below link:
localhost/project_name/public/en
The contents shown in the above image will be displayed on the actual page in the following way:
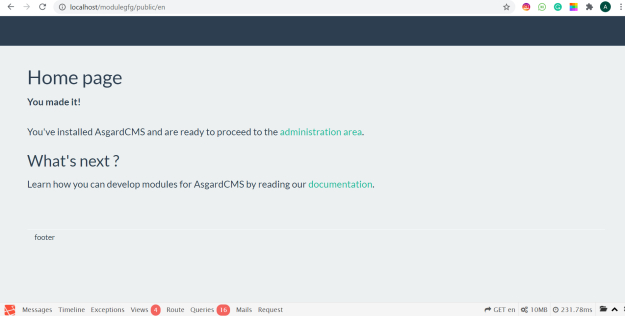
Contents display of the home page
2. Creating a new page from the page module:
In order to create a new page, one needs to click on the “create a new page” symbol in the upper right corner. Once you click the new page hyperlink the following page is displayed as below:
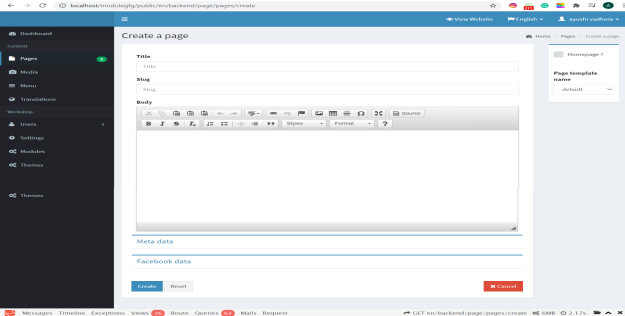
Creating a new page
Add title, slug, and body to the page. Let’s say we are creating a new page named GFG so will enter the title as GFG, slug as “GFG”, and similarly enter body text. Consider the below image for reference.
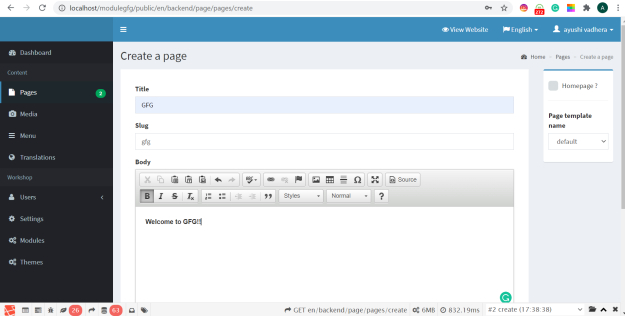
New page to be created
Now click the create button at the bottom and the new page created will be displayed with the other pages as :

The final list of all the pages
3.Add custom fields on a new or existing page :
In order to add additional fields or edit the already created page, click the pen symbol under the action heading. Once the action heading is clicked the content of the page will be displayed, and we can edit the page and click the update button as shown below:
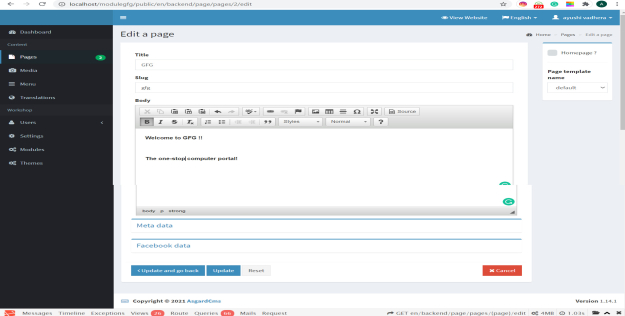
Edit in the page GFG
Now the final page will look like:
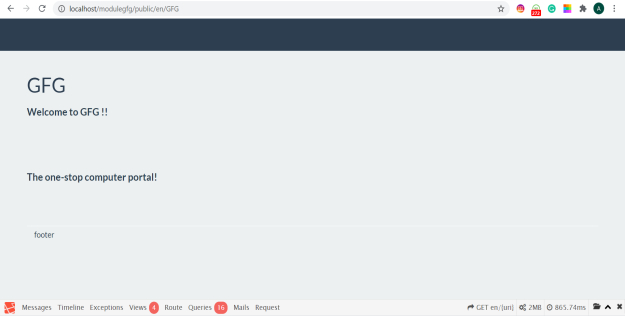
Final Page
In this way, the page module works and provides the user an easy development interface.
Like Article
Suggest improvement
Share your thoughts in the comments
Please Login to comment...