Animated sliding image gallery using framer and ReactJS
Last Updated :
09 Nov, 2023
Animated sliding image gallery using Framer and React JS will have some image and show one by one by one with a sliding animation from right to left.
Prerequisites:
Approach:
To design an animated sliding image gallery using Framer in React we will be using the Page and Frame components for showing transitions. The images will be enclosed in the frame component and switched to another image with sliding animation.
Steps to create React Application And Installing Module :
Step 1: Create a React application using the following command:
npx create-react-application demo
Step 2: After creating your project folder i.e. demo, move to it using the following command:
cd demo
Step 3: Install framer-motion from npm.
npm i framer
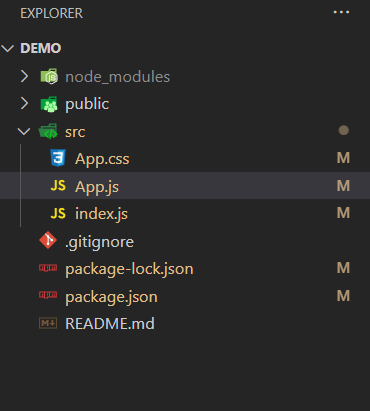
Project Structure:
The updated list of dependencies after installing required modules:
"dependencies": {
        "@testing-library/jest-dom": "^5.17.0",
        "@testing-library/react": "^13.4.0",
        "@testing-library/user-event": "^13.5.0",
        "framer": "^1.3.6",
        "react": "^18.2.0",
        "react-dom": "^18.2.0",
        "react-scripts": "5.0.1",
        "web-vitals": "^2.1.4"
}
Example: This example implemets sliding image gallery using Page and Frame components of framer.
Javascript
import React from "react";
import { Frame, Page } from "framer";
import "./index.css";
export function App() {
const pages = [
{
index: 1,
src:
"cdn-uploads/gfg_200x200-min.png",
background: "#1e1e1e",
},
{
index: 2,
src:
"cdn-uploads/20190710102234/download3.png",
background: "#fcfcfc",
},
{
index: 3,
src:
"V27UlohMeBLxyUdhs9hUbc-Agw=s900-c-k-c0x00ffffff-no-rj",
background: "#bcbcbc",
},
];
return (
<Page
defaultEffect="none"
width={350}
height={350}
contentWidth="auto"
alignment="end"
radius={30}
>
{
}
{pages.map((page) => (
<Frame
width={350}
height={350}
radius={30}
background={page.background}
>
<img
src={page.src}
alt="geeksforgeeks"
/>
</Frame>
))}
</Page>
);
}
export default App;
|
CSS
#root {
width: 100vw;
height: 100vh;
display: flex;
justify-content: center;
align-items: center;
background: rgba(0, 85, 255, 1);
perspective: 1000px;
cursor: ew-resize;
}
body {
font-family: sans-serif;
text-align: center;
margin: 0;
}
img {
border-radius: 100%;
height: 300px;
width: 300px;
margin-top: 25px;
justify-content: center;
align-items: center;
}
|
Step to Run Application: Run the application using the following command from the root directory of the project:
npm start
Output: Now open your browser and go to http://localhost:3000/, you will see the following output.

Like Article
Suggest improvement
Share your thoughts in the comments
Please Login to comment...