Analog Clock in Flutter
Last Updated :
14 Jun, 2022
In Flutter, everything is a widget. Plugins, commonly called dependencies are tools that are quite commonly used in Flutter, which helps in making the code work easier and faster. There are plenty of plugins used in Flutter, out of which for creating an analog clock, the “analog_clock” plugin can be used.
Adding dependencies in Flutter
The steps for adding the plugin to the Flutter app is as follows:
Step 1: Open “pubspec.yaml” file from the project folder.
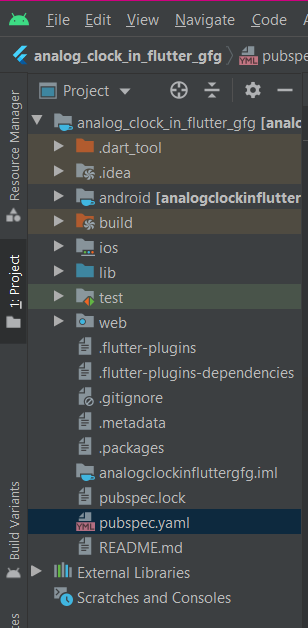
pubspec.yaml file
Step 2: In the pubspec.yaml file, type “analog_clock:” under dependencies. After adding, the code looks like this:
Dart
dependencies:
flutter:
sdk: flutter
analog_clock:
|
Step 3: Now click “Pub Get” button at the top of the application (i,e., in Android Studio).
Step 4: The “Process finished with exit code 0“ in the console shows that the dependency is been added successfully.
Step 5: Now import the plugin or package by adding the “import ‘package:analog_clock/analog_clock.dart’;” code to the top of the “main.dart” file.
The analog_clock plugin
The analog_clock plugin has many parameters in it, which plays a major role in designing the clock. These parameters are completely customizable making it more user-friendly.
The major parameters of the analog_clock plugin are as follows:
- datetime: It helps to set the time from which the clock needs to run.
- showTicks: The measurements available in the borders of the clock are called “ticks”. These ticks can be hidden using the “false” condition and vice versa.
- showNumbers: It helps to hide the numbers near the ticks by using the “false” condition.
- showSecondHand: It helps to hide the second hand by using the “false” condition.
- showDigitalClock: It helps us to make the digital clock that has hours, minutes, and seconds readings in it, visible inside the analog clock.
- tickColor, minuteHandColor, hourHandColor, secondHandColor, digitalClockColor, numberColor: These parameters help in assigning a color to the ticks, minute hand, hour hand, second hand, digital clock, and number respectively.
- isLive: It is used to let the clock running live after the time is set.
- decoration: This parameter helps to design the clock using the available decoration widgets in a flutter.
- height, width: These parameters help to set the height and width of the clock.
- textScaleFactor: It helps to set the size of the digital clock and the numbers near the ticks.
Constraints
In flutter, there are two types of widgets – Stateless and Stateful widget.
The stateless widget is used to create static widgets and the stateful widget is used to create dynamic widgets. Since time is a dynamic factor, we need to use the stateful widget to create the analog clock. So, it is required to create a “state” in which the clock runs and the AnalogClock function is called to make use of the parameters to design the clock that’s needed.
Source Code:
Dart
import 'package:analog_clock/analog_clock.dart';
import 'package:flutter/material.dart';
void main() => runApp(const MyApp());
class MyApp extends StatefulWidget {
const MyApp({Key? key}) : super(key: key);
@override
_MyAppState createState() => _MyAppState();
}
class _MyAppState extends State<MyApp> {
@override
Widget build(BuildContext context) => MaterialApp(
home: Scaffold(
appBar: AppBar(
backgroundColor: Colors.green[900],
title: const Text('Geeks for Geeks'),
),
backgroundColor: Colors.green,
body: Center(
child: AnalogClock(
decoration: BoxDecoration(
border: Border.all(width: 3.0, color: Colors.black),
color: Colors.black,
shape: BoxShape.circle),
width: 200.0,
isLive: true,
hourHandColor: Colors.white,
minuteHandColor: Colors.white,
showSecondHand: true,
numberColor: Colors.white,
showNumbers: true,
textScaleFactor: 1.5,
showTicks: true,
showDigitalClock: true,
digitalClockColor: Colors.white,
datetime: DateTime(2020, 8, 4, 9, 11, 0),
),
),
),
);
}
|
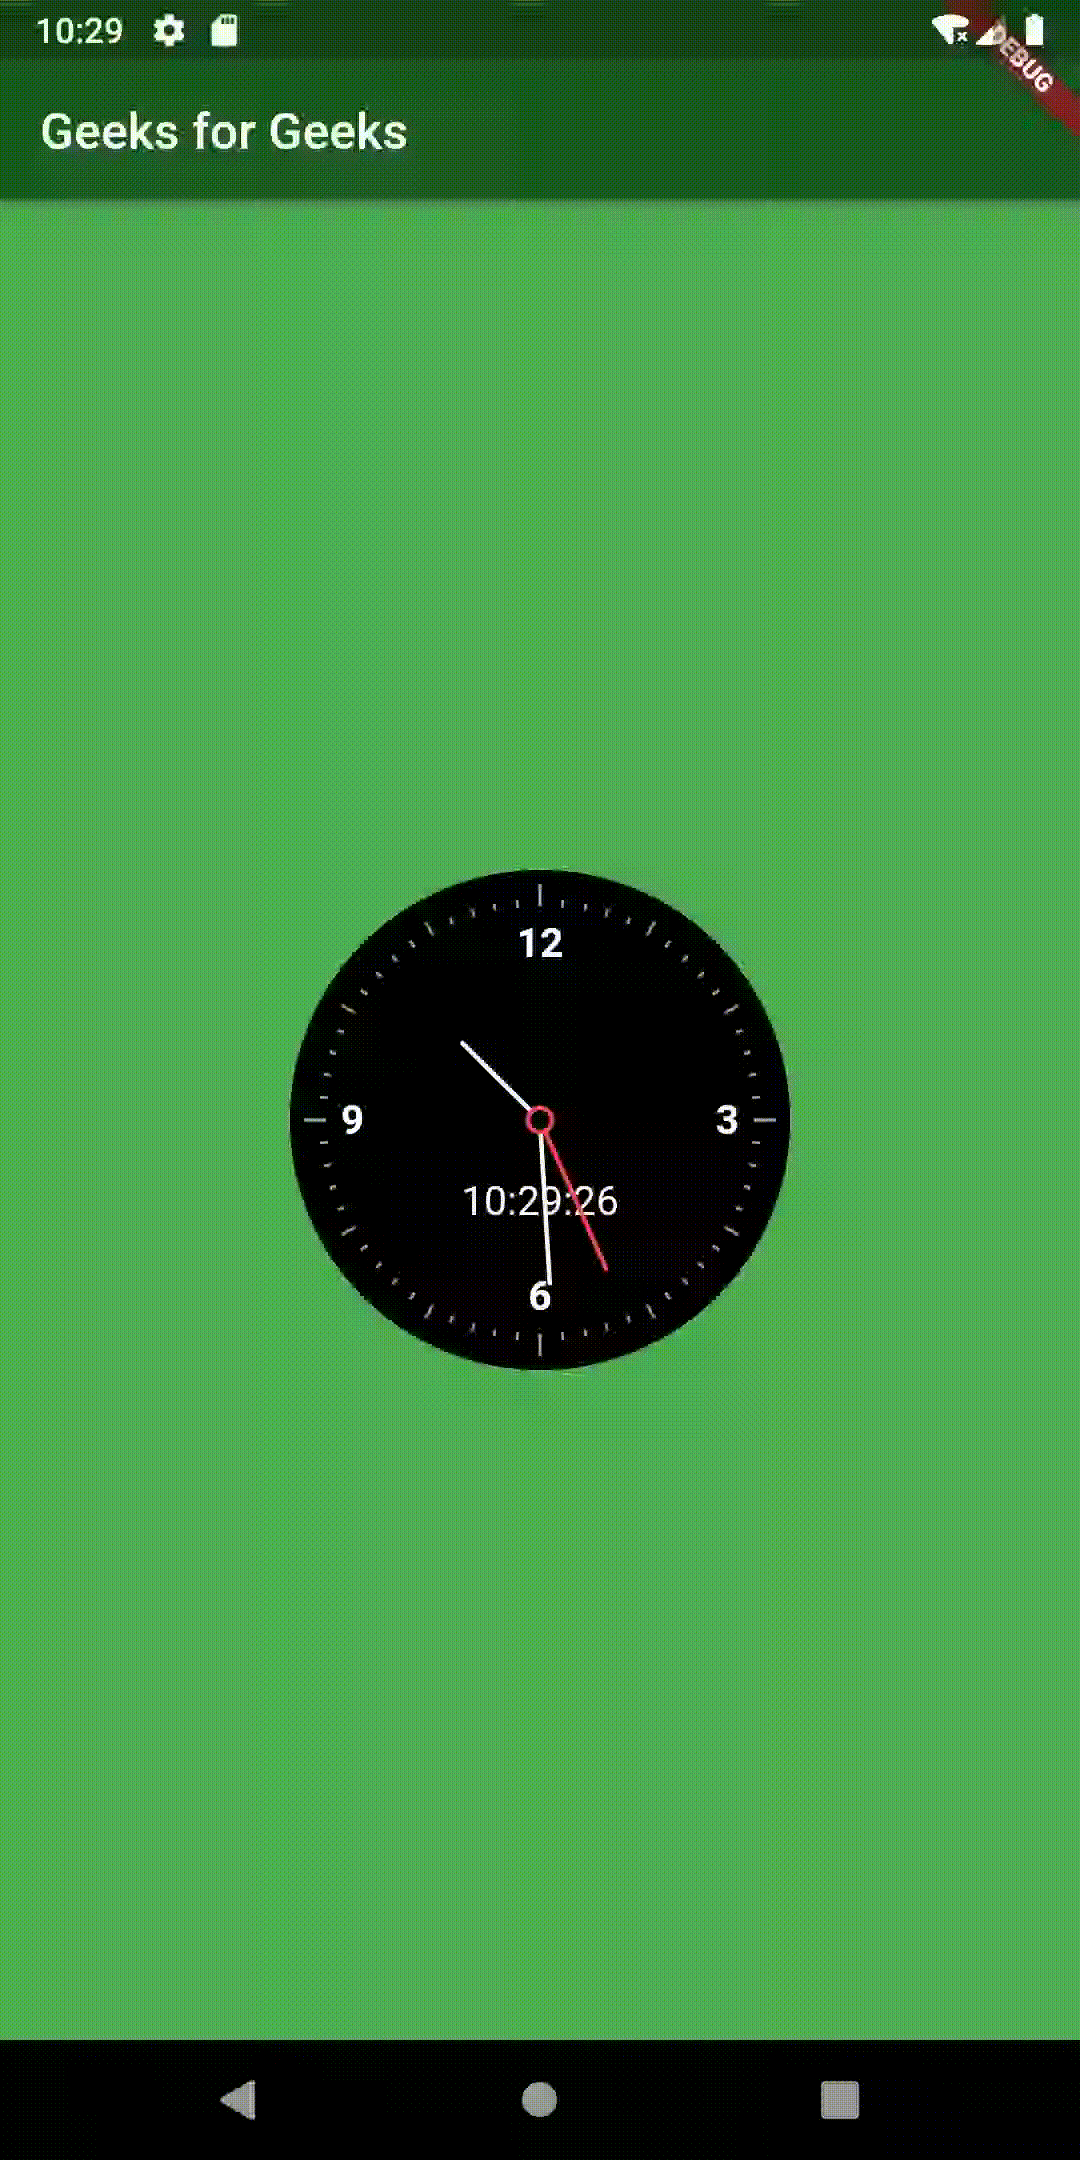
Output:
Like Article
Suggest improvement
Share your thoughts in the comments
Please Login to comment...