Amazon Web Services – Upload Data to Amazon FinSpace
Last Updated :
28 Mar, 2023
In this article, we will look into how you can upload data to Amazon FinSpace. Adding data to FinSpace is easy so long as you are a member of the group with the Create datasets permission.
To do so follow the below steps:
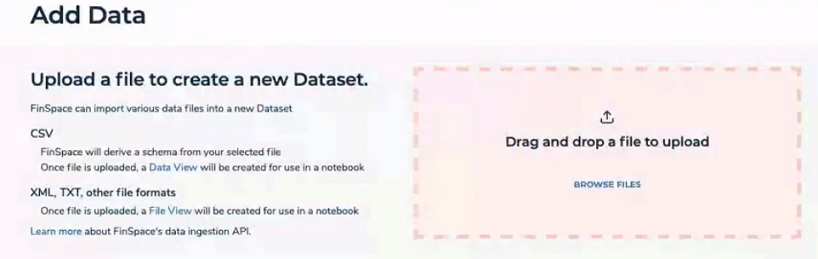
Step 1: From the home page choose ADD DATA.

Step 2: Files can be simply dropped into the red box.
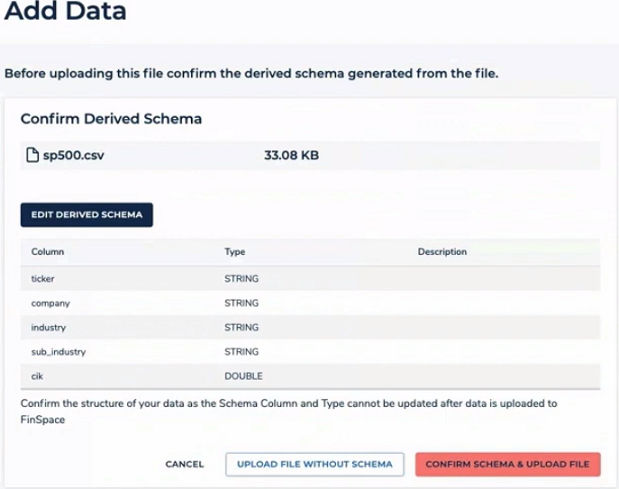
Step 3: After dropping the file, FinSpace discovers the file schema which you can now review. If you want to make changes to the schema simply choose EDIT DERIVED SCHEMA.
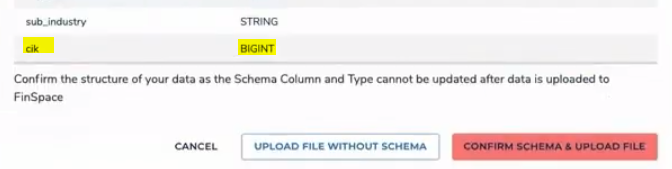
For example, let’s change cik to be a BIGINT.
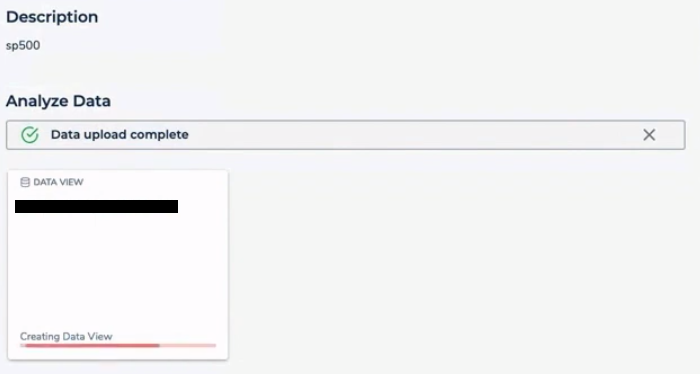
Step 4: Now confirm and upload the file. Once confirmed the file will be uploaded to FinSpace and a job will start to create. A view progress can be monitored here as well.
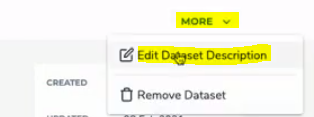
Step 5: By default, the file’s root name is sp500, without the CSV and a dataset’s name and description. Let’s change that by going to the MORE menu and choosing Edit Dataset Description.
Step 6: We’ll fix the name, and we’ll change the description. You can also change the owner information which defaults to the person who uploaded the dataset. And then click SAVE.

At this point, you have successfully uploaded your data to FinSpace.
Like Article
Suggest improvement
Share your thoughts in the comments
Please Login to comment...