Adding WYSIWYG editor to Django Project
Last Updated :
01 Nov, 2020
Often, to manage content efficiently we use WYSIWYG (What You See Is What You Get) editor which stores our content in html and is also helpful to upload images, creating links, lists and works almost like WordPress editor. This article is in continuation of Blog CMS Project in Django. Check this out here – Building Blog CMS (Content Management System) with Django
How to add WYSIWYG (What You See Is What You Get) editor to Django Project?
1. Install summernote –
# installing wysiwyg editor
pip3 install django-summernote
2. Add the editor to installed apps in the settings file
Python3
INSTALLED_APPS = [
'django.contrib.admin',
'django.contrib.auth',
'django.contrib.contenttypes',
'django.contrib.sessions',
'django.contrib.messages',
'django.contrib.staticfiles',
'django_summernote',
]
|
3. Migrate the project
# migrate django summernote
python3 manage.py migrate
4.Customize admin interface –
Now we will customize the admin interface for the app. For that open the admin.py file and add the below code
Python3
from django.contrib import admin
from .models import posts
from django_summernote.admin import SummernoteModelAdmin
class blogadmin(SummernoteModelAdmin):
list_display = ('title', 'slug', 'status', 'created_on')
list_filter = ("status", )
search_fields = ['title', 'content']
prepopulated_fields = {'slug': ('title', )}
summernote_fields = ('content', )
admin.site.register(posts, blogadmin)
|
5. Adding media setting for our editor
Open your python settings file and add these lines
Python3
MEDIA_URL = '/media/'
MEDIA_ROOT = os.path.join(BASE_DIR, 'media/')
X_FRAME_OPTIONS = 'SAMEORIGIN'
|
The editor works well in production but for the development server it won’t work because of the way the static files load so to make that work we need to add a condition in django projects urls.py
Python3
if settings.DEBUG:
urlpatterns += static(settings.MEDIA_URL, document_root = settings.MEDIA_ROOT)
|
6. Customizing Admin Page –
Django also gives the option to customize Admin page, we will do an minimal customization of changing the name from django default to GeeksForGeeks. go to urls.py file in django project and add these lines
Python3
admin.site.site_header = 'GeeksForGeeks'
admin.site.site_title = 'GeeksForGeeks'
admin.site.index_title = 'GeeksForGeeks Administration'
urlpatterns = [
......
path('editor/', include('django_summernote.urls')),
......
]
|
Now run the server and login into admin panel using the superuser credentials. You will see something like in the below picture. So we have created and customized admin class for creating, managing and listing posts for our CMS with custom admin login.
7. Output Screenshots –
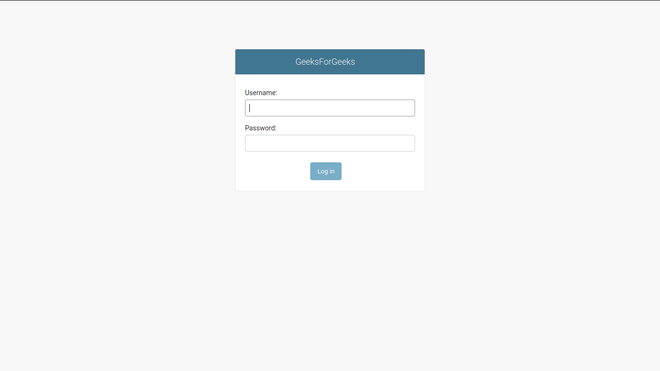
Custom Admin Login
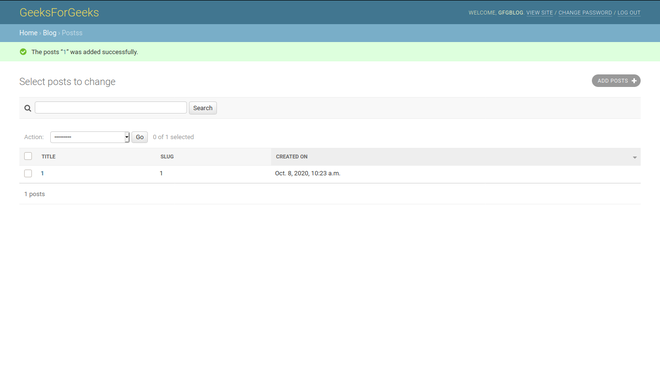
listing posts
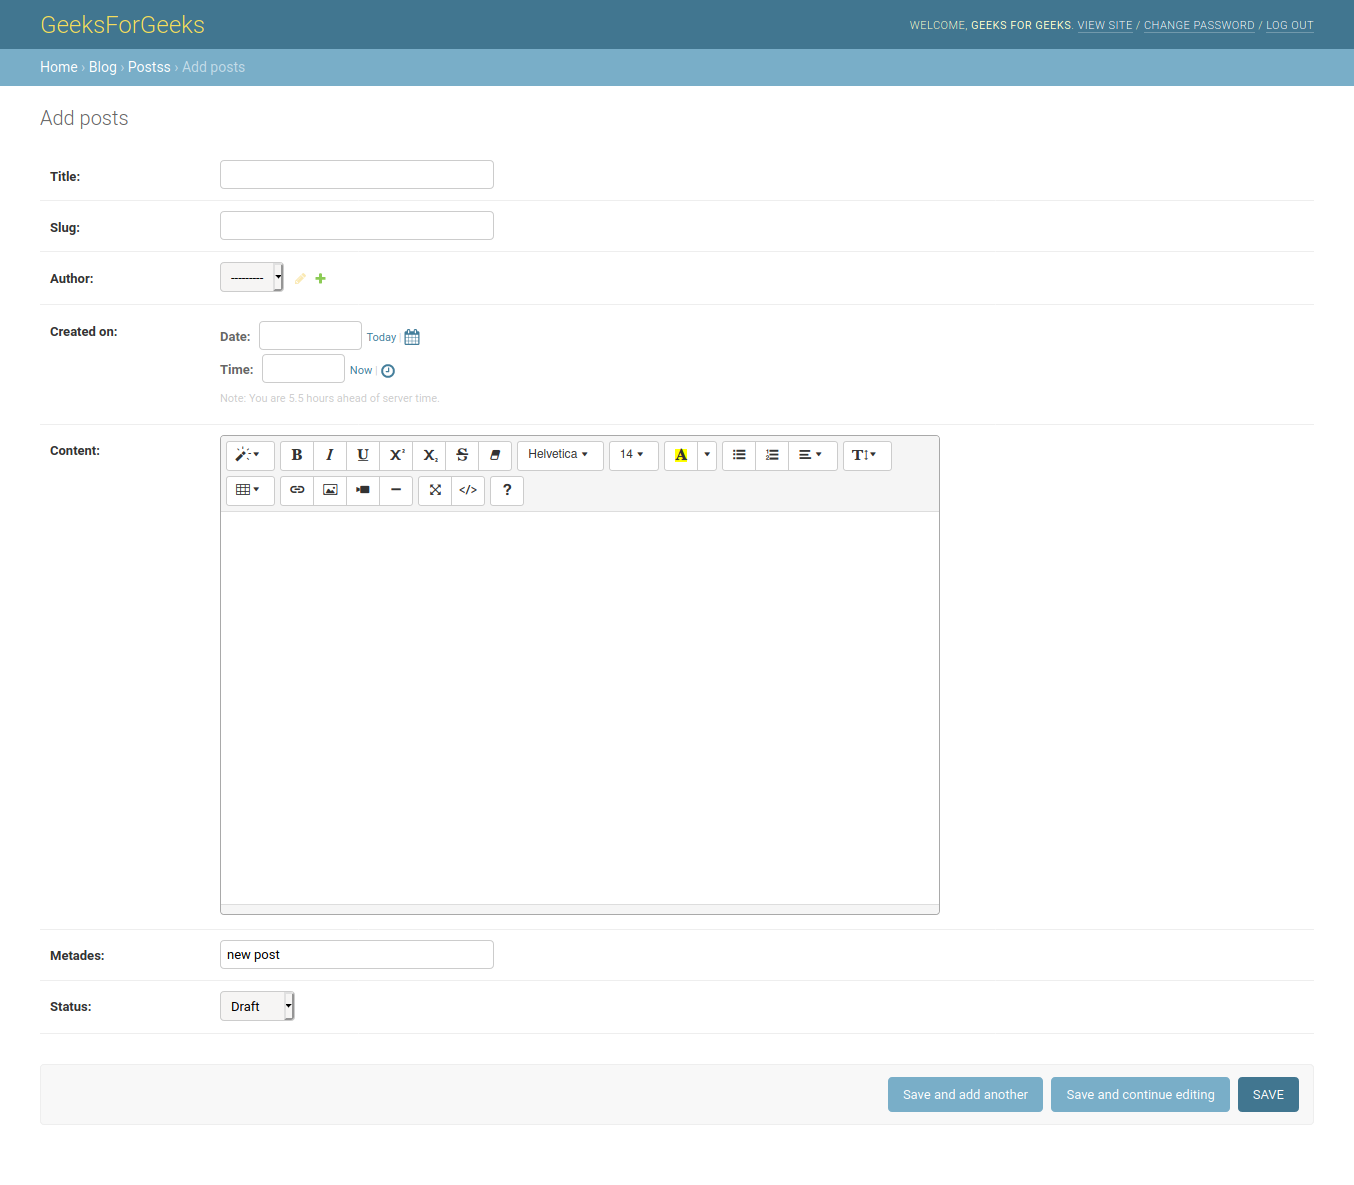
editor for posts
Like Article
Suggest improvement
Share your thoughts in the comments
Please Login to comment...