Adding Button in Bokeh
Last Updated :
03 Mar, 2021
In this article, we will learn about how to add a button in bokeh. Now, Bokeh provides us with a variety of widgets that can be used for various purposes. One of them is button. The button is one of the widgets of bokeh.models module that helps us in creating a button in our python notebook. Lets us see an example in order to understand the concept better. But before that, if you are using local device for the above implementation, then be sure to have python installed in the device and after that, run this code in the command prompt for the bokeh functionalities to work properly in the code editor.
pip install bokeh
After the installation is done, let’s move to the code and learn the implementation.
Example 1: Adding a button in Bokeh:
Approach:
In the code below, apart from importing show and button, we are importing another package in our python shell and that is customJS. customJS provides the user to have customized behaiviors in response to change of a particular event . It is a javascript callback that works in bokeh server apps. In the implementation, we will be using js_on_click(handler) which sets up a javascript handler for button clicks. It activates when the button created is clicked and inside which, customJS will be used as a handler and the message will be printed in the console.
js_on_click(handler)
Code:
Python3
from bokeh.io import show
from bokeh.models import Button, CustomJS
button = Button(label = "Click on the button",
button_type = "danger")
button.js_on_click(CustomJS(code = "console.log('button: You have clicked on the button!')"))
show(button)
|
Output:
Code Explain:
Now, in the code, after importing the packages and creating a variable(button) inside which we are specifying different properties of the button, we are using js_on_click handler which is used for button clicks. So, as soon as someone clicks the button, the handler gets triggered, and after that customJS callback activates and prints the message in the console which can be checked using “inspect element” by the right click of the mouse.
Now, we can add buttons of varying colors such as warning(yellow), success(yellow), primary(blue) etc.
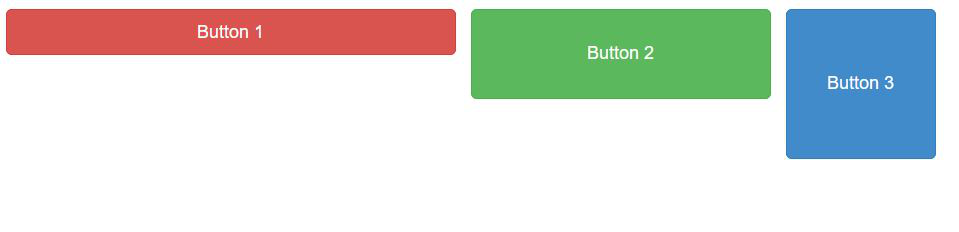
Example 2: Adding multiple buttons in Bokeh.
Let us take another example where we will be adding multiple buttons, row-wise and column-wise in our plot. In the code below, we are importing a package from bokeh.layouts module is known as row which helps us to show the buttons in a row-wise manner.
Code:
Python
from bokeh.io import show
from bokeh.models import Button
from bokeh.layouts import row
buttons = [Button(label="Button 1", button_type="danger"),
Button(label='Button 2', button_type='success', width=200, height=60),
Button(label='Button 3', button_type='primary', width=100, height=100)]
show(row(buttons))
|
Output:
Code Explain:
In the above code, after importing all the necessary packages we are using variable buttons which is an array or list of 3 buttons, each with a different size, color, and label. After that using show(row(buttons)), e is showing all the buttons in ‘row-wise’ manner.
Apart from that, we can also show all the buttons in column-wise format. For that, we need to import column package from bokeh.layouts, and instead of show(row(buttons)), we need to write show(column(buttons)) and all the buttons will be printed column-wise.
Like Article
Suggest improvement
Share your thoughts in the comments
Please Login to comment...