A Beginners Guide To Streamlit
Last Updated :
06 Feb, 2023
The trend of Data Science and Analytics is increasing day by day. From the data science pipeline, one of the most important steps is model deployment. We have a lot of options in python for deploying our model. Some popular frameworks are Flask and Django. But the issue with using these frameworks is that we should have some knowledge of HTML, CSS, and JavaScript. Keeping these prerequisites in mind, Adrien Treuille, Thiago Teixeira, and Amanda Kelly created “Streamlit”. Now using streamlit you can deploy any machine learning model and any python project with ease and without worrying about the frontend. Streamlit is very user-friendly.
In this article, we will learn some important functions of streamlit, create a python project, and deploy the project on a local web server.
Let’s install streamlit. Type the following command in the command prompt.
pip install streamlit
Once Streamlit is installed successfully, run the given python code and if you do not get an error, then streamlit is successfully installed and you can now work with streamlit.
How to run Streamlit file?
Open command prompt or Anaconda shell and type
streamlit run filename.py

Run Streamlit file
Here my filename is ‘sample.py’. Open the local URL in the web browser.

Understanding the Streamlit basic functions
1. Title:
Python3
import streamlit as st
st.title("Hello GeeksForGeeks !!!")
|
Output:
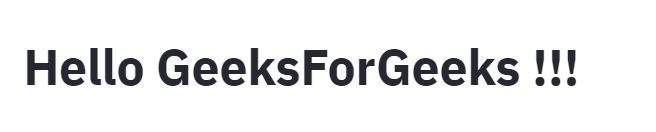
Title
2. Header and Subheader:
Python
st.header("This is a header")
st.subheader("This is a subheader")
|
Output:
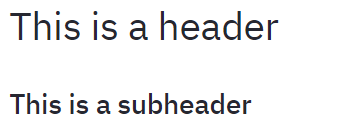
Header/Subheader
3. Text:
Python3
st.text("Hello GeeksForGeeks!!!")
|
Output:

Text
4. Markdown:
Python3
st.markdown("### This is a markdown")
|
Output:
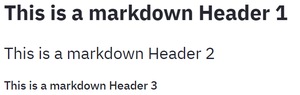
Markdown
5. Success, Info, Warning, Error, Exception:
Python3
st.success("Success")
st.info("Information")
st.warning("Warning")
st.error("Error")
exp = ZeroDivisionError("Trying to divide by Zero")
st.exception(exp)
|
Output:

Success, Information, Warning, Error and Exception
6. Write:
Using write function, we can also display code in coding format. This is not possible using st.text(”).
Python3
st.write("Text with write")
st.write(range(10))
|
Output:
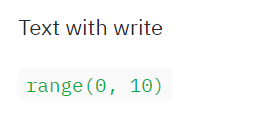
write() function
7. Display Images:
Python3
from PIL import Image
img = Image.open("streamlit.png")
st.image(img, width=200)
|
Output:

Display image using streamlit
8. Checkbox:
A checkbox returns a boolean value. When the box is checked, it returns a True value else returns a False value.
Python3
if st.checkbox("Show/Hide"):
st.text("Showing the widget")
|
Output:

Checkbox is not checked
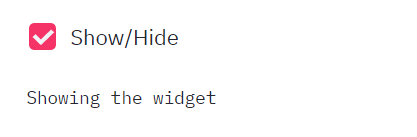
The text is displayed when the box is checked
9. Radio Button:
Python3
status = st.radio("Select Gender: ", ('Male', 'Female'))
if (status == 'Male'):
st.success("Male")
else:
st.success("Female")
|
Output:
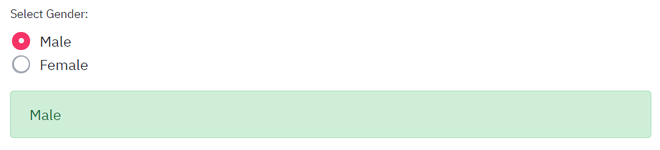
Success shows Male when male option is selected
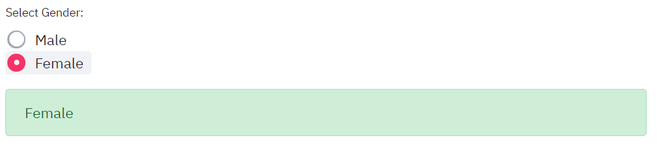
Success shows Female when Female option is selected
10. Selection Box:
You can select any one option from the select box.
Python3
hobby = st.selectbox("Hobbies: ",
['Dancing', 'Reading', 'Sports'])
st.write("Your hobby is: ", hobby)
|
Output:
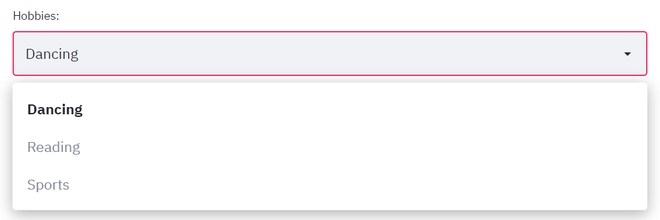
Selectbox showing options to select from

Selected option is printed
11. Multi-Selectbox:
The multi-select box returns the output in the form of a list. You can select multiple options.
Python3
hobbies = st.multiselect("Hobbies: ",
['Dancing', 'Reading', 'Sports'])
st.write("You selected", len(hobbies), 'hobbies')
|
Output:

Multi-SelectBox

Selected 2 options
12. Button:
st.button() returns a boolean value. It returns a True value when clicked else returns False.
Python3
st.button("Click me for no reason")
if(st.button("About")):
st.text("Welcome To GeeksForGeeks!!!")
|
Output:
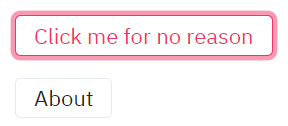
Click the first button
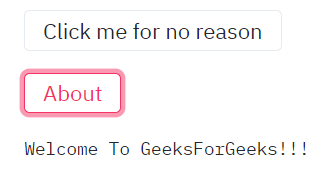
Click the About button
13. Text Input:
Python3
name = st.text_input("Enter Your name", "Type Here ...")
if(st.button('Submit')):
result = name.title()
st.success(result)
|
Output:

Text Input
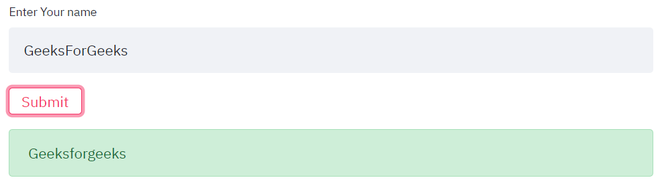
Display success message when the Submit button is clicked
14. Slider:
Python3
level = st.slider("Select the level", 1, 5)
st.text('Selected: {}'.format(level))
|
Output:

Slider
Mini Project:
Let us recollect everything that we learn above and create a BMI Calculator web app.
The formula of BMI Index when weight is in Kgs and height is in meters is:

Python3
import streamlit as st
st.title('Welcome to BMI Calculator')
weight = st.number_input("Enter your weight (in kgs)")
status = st.radio('Select your height format: ',
('cms', 'meters', 'feet'))
if(status == 'cms'):
height = st.number_input('Centimeters')
try:
bmi = weight / ((height/100)**2)
except:
st.text("Enter some value of height")
elif(status == 'meters'):
height = st.number_input('Meters')
try:
bmi = weight / (height ** 2)
except:
st.text("Enter some value of height")
else:
height = st.number_input('Feet')
try:
bmi = weight / (((height/3.28))**2)
except:
st.text("Enter some value of height")
if(st.button('Calculate BMI')):
st.text("Your BMI Index is {}.".format(bmi))
if(bmi < 16):
st.error("You are Extremely Underweight")
elif(bmi >= 16 and bmi < 18.5):
st.warning("You are Underweight")
elif(bmi >= 18.5 and bmi < 25):
st.success("Healthy")
elif(bmi >= 25 and bmi < 30):
st.warning("Overweight")
elif(bmi >= 30):
st.error("Extremely Overweight")
|
Output:
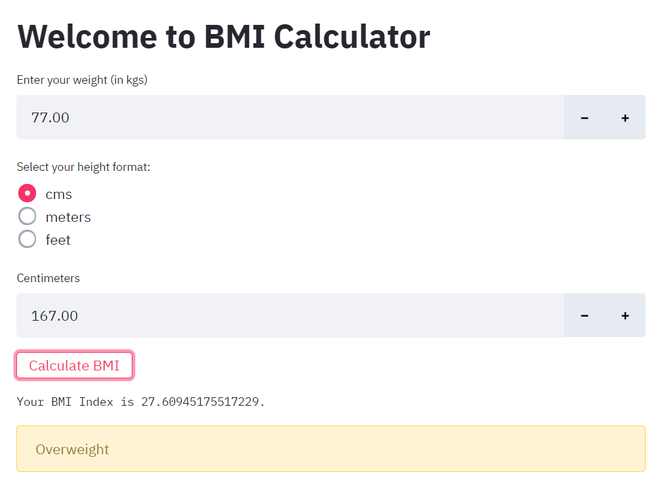
Calculate BMI Index, Scenario 1
Height in Meters:

Calculate BMI Index Scenario 2
Height in Feet:
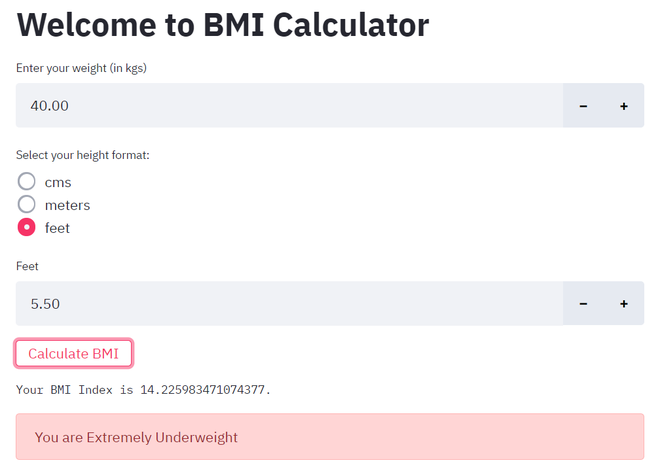
Calculate BMI Index, Scenario 3
Conclusion
This way we can use streamlit to deploy our projects without having any knowledge of HTML, CSS, or JavaScript.
Note: Streamlit is still under development and the team is bringing new concepts.
Share your thoughts in the comments
Please Login to comment...